Cette version peut contenir des modifications incorrectes. Passez au dernier aperçu vérifié.
Ce dont vous avez besoin
-
Cette étape n’est pas traduite. Aidez à la traduire
-
Grasp the side of the accent ring. There is a notch that your thumb will be able to grab ahold of.
-
-
Cette étape n’est pas traduite. Aidez à la traduire
-
Twist the accent ring until it pops off. You may need to use both hands if the accent ring is stuck.
-
-
Cette étape n’est pas traduite. Aidez à la traduire
-
Replace your accent ring with whichever color you choose.
-
-
Cette étape n’est pas traduite. Aidez à la traduire
-
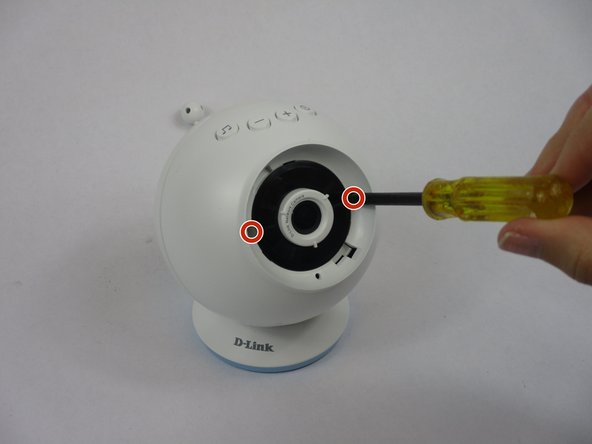
Remove one Phillips #2 screw from each side of the camera lens.
-
-
-
Cette étape n’est pas traduite. Aidez à la traduire
-
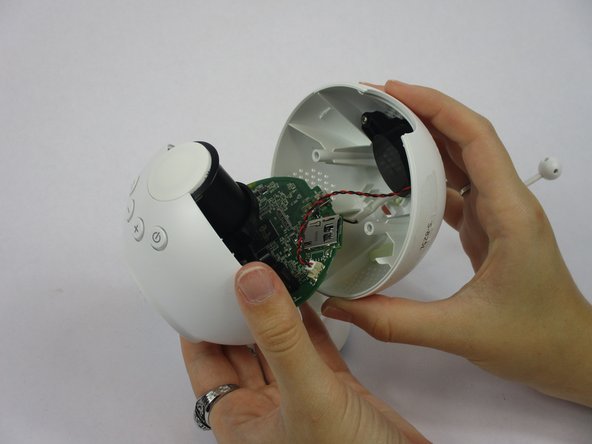
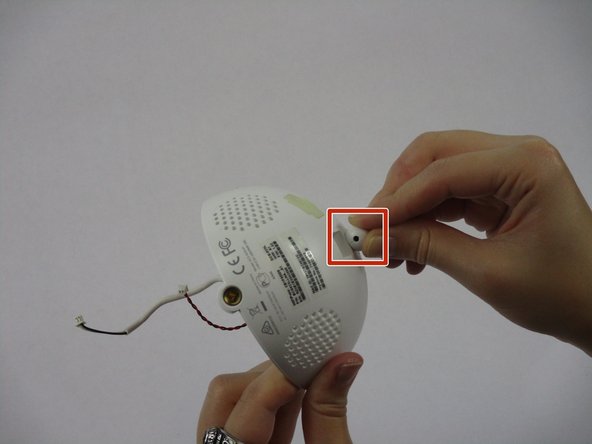
Take your tweezers and gently pull the white tip out from its plug that is connected to a red and black twisted wire.
-
-
Cette étape n’est pas traduite. Aidez à la traduire
-
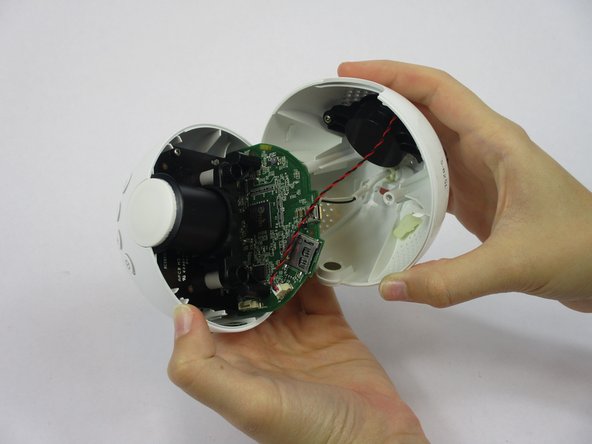
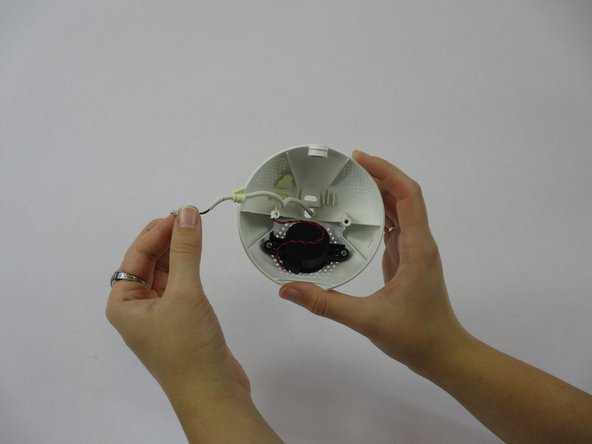
Take your tweezers and gently pull the white tip that is on the end of the white wire (the antenna) out from its plug in.
-
-
Cette étape n’est pas traduite. Aidez à la traduire
-
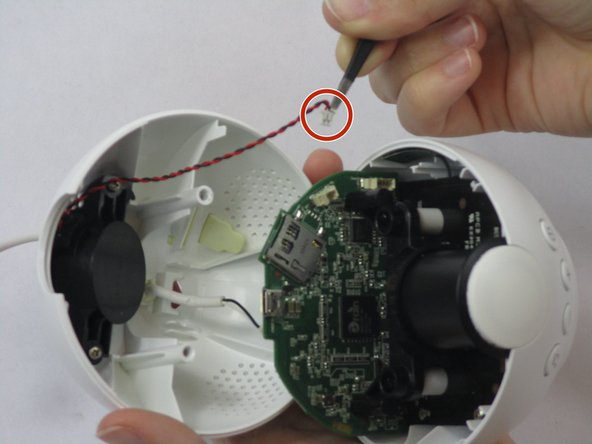
There will be a light yellow rubber stopper that is holding the antenna in place.
-
With your tweezers, gently tug on the stopper to make it come out, or at least come loose.
-
If the stopper does not completely come out, use the round top of the antenna to push down on it.
-
-
Cette étape n’est pas traduite. Aidez à la traduire
-
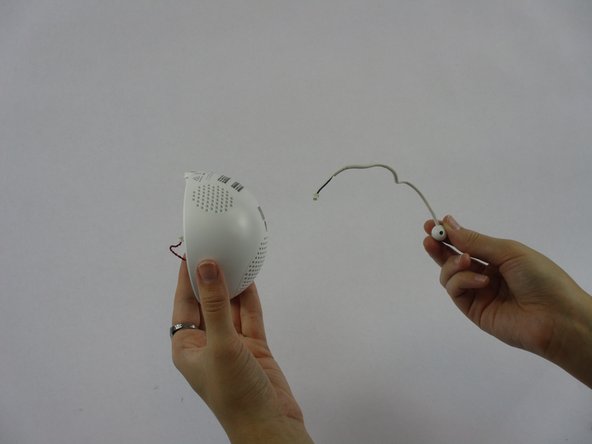
Once the rubber stopper has been pushed out, you will now be able to easily pull the antenna out from the back casing.
-


Équipe

USF Tampa, Team S1-G5, Leahy Fall 2018 Membre de l'équipe USF Tampa, Team S1-G5, Leahy Fall 2018
USFT-LEAHY-F18S1G5
4 membres
4 tutoriels rédigés