Aller au contenu principal

Datawind Ubislate 7ci Battery Replacement

Ce dont vous avez besoin

  1. Datawind Ubislate 7ci Battery Replacement, Finding a workspace: étape 1, image 1 de 1
    • Be sure to repair your device on a clean surface so you are less likely to lose small parts.

  2. Datawind Ubislate 7ci Battery Replacement, Pry open your tablet: étape 2, image 1 de 2 Datawind Ubislate 7ci Battery Replacement, Pry open your tablet: étape 2, image 2 de 2
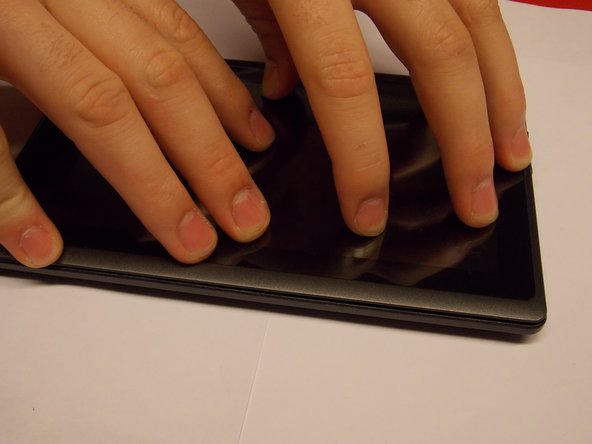
    • Run your prying tool along the front edge of the device to pop off the front cover.

    • Once the halves are separated your device should look like this.

    • (HINT: be careful of the device's small wiring when separating the two halves.

  3. Datawind Ubislate 7ci Battery Replacement, Removing the tape around the battery: étape 3, image 1 de 3 Datawind Ubislate 7ci Battery Replacement, Removing the tape around the battery: étape 3, image 2 de 3 Datawind Ubislate 7ci Battery Replacement, Removing the tape around the battery: étape 3, image 3 de 3
    • Remove the black tape.

    • (HINT: be careful not to remove the tablet camera.)

    • Your tablet should look like photo 3 after you have removed the tape.

  4. Datawind Ubislate 7ci Battery Replacement, Removing the Battery: étape 4, image 1 de 3 Datawind Ubislate 7ci Battery Replacement, Removing the Battery: étape 4, image 2 de 3 Datawind Ubislate 7ci Battery Replacement, Removing the Battery: étape 4, image 3 de 3
    • Pry off the battery, be careful not to break the battery.

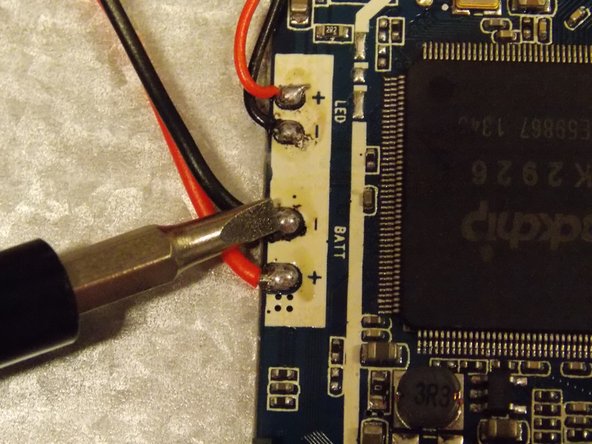
    • Use soldering iron or gun to remove the battery from both its attachment points.

  5. Datawind Ubislate 7ci Battery Replacement, Replacing the Battery: étape 5, image 1 de 2 Datawind Ubislate 7ci Battery Replacement, Replacing the Battery: étape 5, image 2 de 2
    • Insert your replacement battery in the same spot as the old battery.

    • Tape battery into place.

  6. Datawind Ubislate 7ci Battery Replacement, Closing the Tablet: étape 6, image 1 de 2 Datawind Ubislate 7ci Battery Replacement, Closing the Tablet: étape 6, image 2 de 2
    • Solder the new battery to the connection points.

    • Press the back cover on firmly till it clicks

Conclusion

To reassemble your device, follow these instructions in reverse order.

6 autres ont terminé cette réparation.

Mekides

Membre depuis le 10/20/14

40 Réputation

3 tutoriels rédigés

Équipe

UMass Dartmouth, Team 6-3, Vijaybhaskar Fall 2014 Membre de l'équipe UMass Dartmouth, Team 6-3, Vijaybhaskar Fall 2014

UMASSD-VIJAYBHASKAR-F14S6G3

3 membres

6 tutoriels rédigés

2 commentaires

On my 7Ci the battery is SFH-HLKJ-204.

Datawind doesn't sale those pieces.

Where can I find one?

What type is it, voltage and so?

THX!

ylco - Réponse

3.7V, 2200mAh lithium ion. Yiu can get a bigger or smaller one depending on shat you want.

Jessica Parnelli Fawkes - Réponse

Ajouter un commentaire

Nombre de vues :

Dernières 24 heures : 0

7 derniers jours : 2

30 derniers jours : 5

Total : 9,018