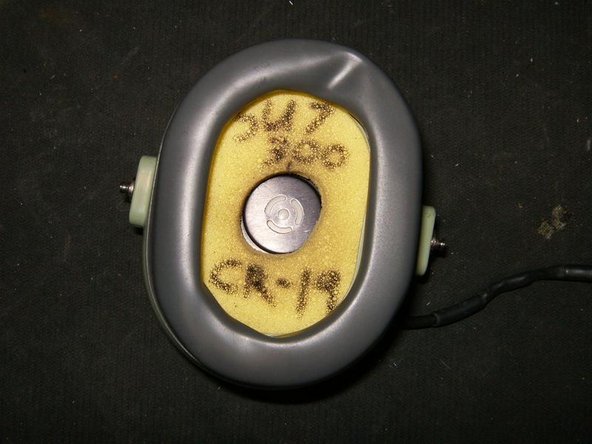
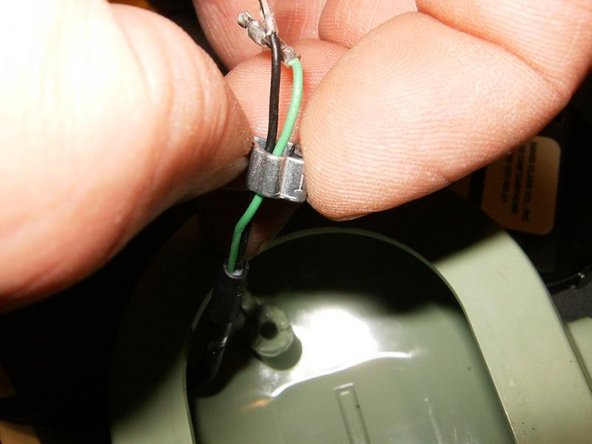
Aller au contenu principal

David Clark Over-Ear Headphones Right Dome Replacement

Ce dont vous avez besoin

  1. David Clark Over-Ear Headphones Right Dome Replacement, Right Dome: étape 1, image 1 de 3 David Clark Over-Ear Headphones Right Dome Replacement, Right Dome: étape 1, image 2 de 3 David Clark Over-Ear Headphones Right Dome Replacement, Right Dome: étape 1, image 3 de 3
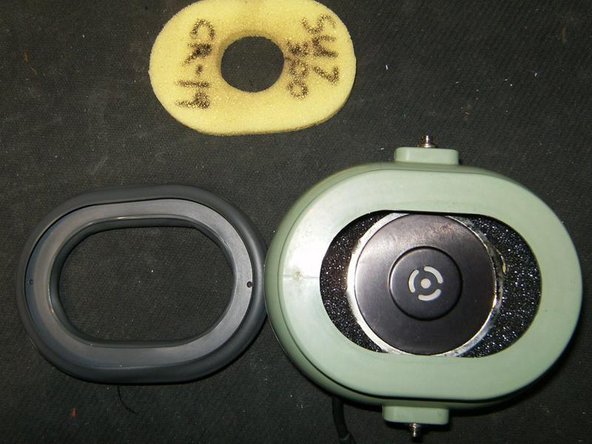
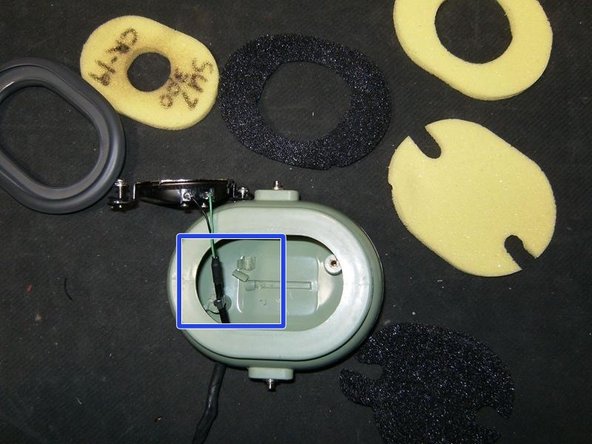
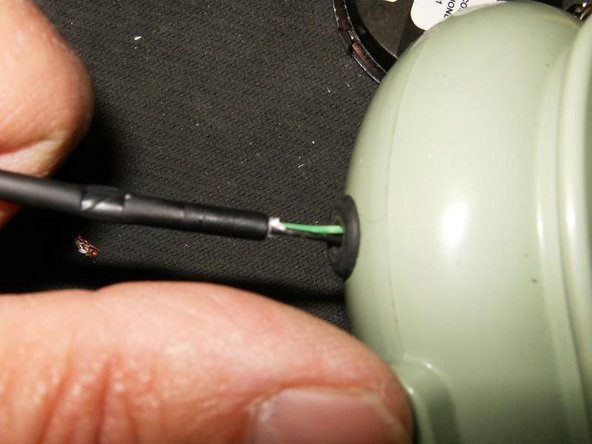
    • This is the headset that will get both domes replaced. This guide is for the right side dome only.

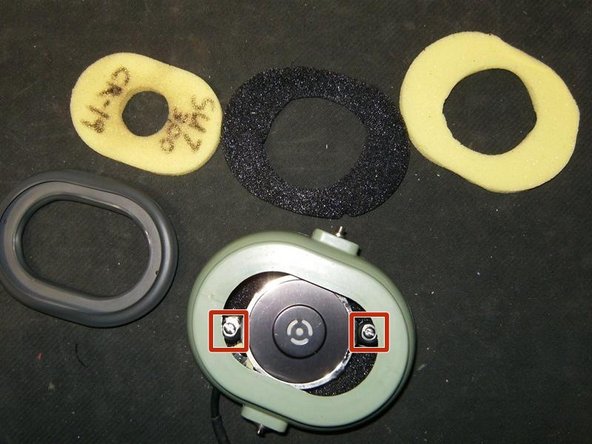
    • Missing retainer pins are obvious.

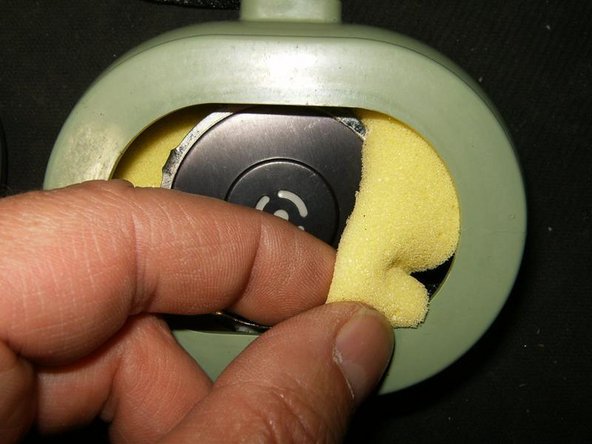
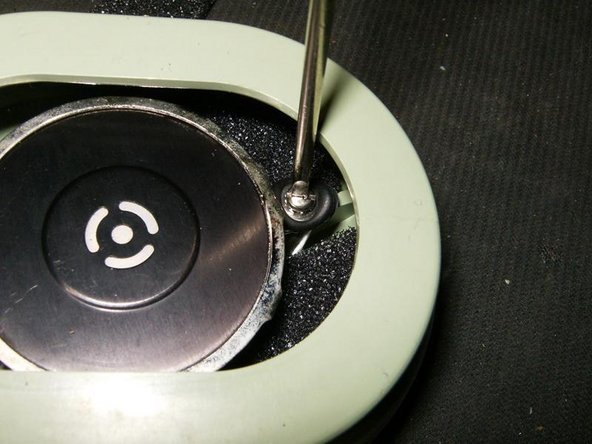
    • This is where the retainer rings would be normally sitting to hold the dome to the stirrup

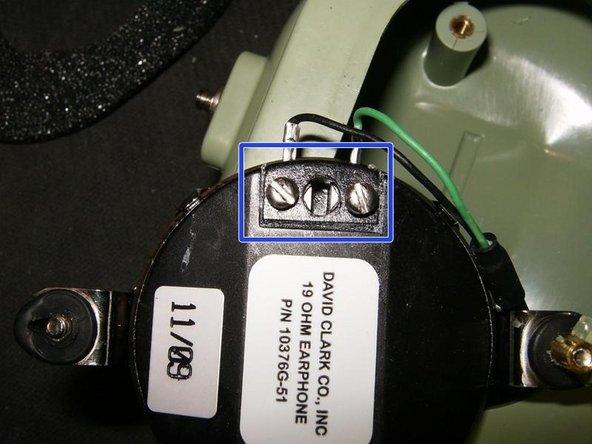
    • I always wonder who owned the equipment before and what the story is behind those initials

  2. David Clark Over-Ear Headphones Right Dome Replacement: étape 2, image 1 de 3 David Clark Over-Ear Headphones Right Dome Replacement: étape 2, image 2 de 3 David Clark Over-Ear Headphones Right Dome Replacement: étape 2, image 3 de 3
    • Since the retainers are missing, just pulling up on the stirrup

    • will release the dome.

    • Same thing on the other side

  3. David Clark Over-Ear Headphones Right Dome Replacement: étape 3, image 1 de 3 David Clark Over-Ear Headphones Right Dome Replacement: étape 3, image 2 de 3 David Clark Over-Ear Headphones Right Dome Replacement: étape 3, image 3 de 3
    • Here is the dome free of the stirrup.

    • The earseal is in decent condition. The filter (foam) shows plenty of wear and markings.

    • The earseal is held on by a groove in the dome. Simply pulling it off will release it.

  4. David Clark Over-Ear Headphones Right Dome Replacement: étape 4, image 1 de 3 David Clark Over-Ear Headphones Right Dome Replacement: étape 4, image 2 de 3 David Clark Over-Ear Headphones Right Dome Replacement: étape 4, image 3 de 3
    • Earseal removed from dome, filter visible.

    • Next remove the filter (foam) to visualize the speaker.

    • Remove the next filter (foam) that is layered around the speaker

  5. David Clark Over-Ear Headphones Right Dome Replacement: étape 5, image 1 de 3 David Clark Over-Ear Headphones Right Dome Replacement: étape 5, image 2 de 3 David Clark Over-Ear Headphones Right Dome Replacement: étape 5, image 3 de 3
    • Filter removed, and another filter is visible around the speaker. The original headset will have three filters

    • Remove the next filter

    • One more filter under the speaker that needs to be removed.

    • The two screws that hold the speaker to the dome are clearly visible

  6. David Clark Over-Ear Headphones Right Dome Replacement: étape 6, image 1 de 3 David Clark Over-Ear Headphones Right Dome Replacement: étape 6, image 2 de 3 David Clark Over-Ear Headphones Right Dome Replacement: étape 6, image 3 de 3
    • These are the two slotted screws that hold the speaker to the dome

    • Remove those with a flathead screw driver

    • Once the two screws are loose, lift the speaker out of the dome.

  7. David Clark Over-Ear Headphones Right Dome Replacement: étape 7, image 1 de 3 David Clark Over-Ear Headphones Right Dome Replacement: étape 7, image 2 de 3 David Clark Over-Ear Headphones Right Dome Replacement: étape 7, image 3 de 3
    • Flip the speaker out of the dome to remove the last filter.

    • With the speaker and the filter removed, damage to a standoff for the speaker becomes evident

    • The speaker wires are held in place by two slotted screws

  8. David Clark Over-Ear Headphones Right Dome Replacement: étape 8, image 1 de 3 David Clark Over-Ear Headphones Right Dome Replacement: étape 8, image 2 de 3 David Clark Over-Ear Headphones Right Dome Replacement: étape 8, image 3 de 3
    • Loosen the two screws to remove the speaker

    • Pull the speaker wire (overhead cord) to the inside of the dome to free the cord clip

    • Using a pair of combination pliers, squeeze the two tabs of the cord clip

  9. David Clark Over-Ear Headphones Right Dome Replacement: étape 9, image 1 de 3 David Clark Over-Ear Headphones Right Dome Replacement: étape 9, image 2 de 3 David Clark Over-Ear Headphones Right Dome Replacement: étape 9, image 3 de 3
    • This will open the cord clip

    • Remove the cord clip

    • Pull the speaker wire (overhead cord) out of the dome.

  10. David Clark Over-Ear Headphones Right Dome Replacement: étape 10, image 1 de 3 David Clark Over-Ear Headphones Right Dome Replacement: étape 10, image 2 de 3 David Clark Over-Ear Headphones Right Dome Replacement: étape 10, image 3 de 3
    • Here is the damage of the speaker standoff

    • Remove the rubber grommet from the speaker cable opening by using a jewelers screw driver. Gently use the screw driver to push the lip out of the opening.

    • Removed rubber grommet.

  11. David Clark Over-Ear Headphones Right Dome Replacement: étape 11, image 1 de 1
    • Here is the old dome ready to be replaced with a new one.

Conclusion

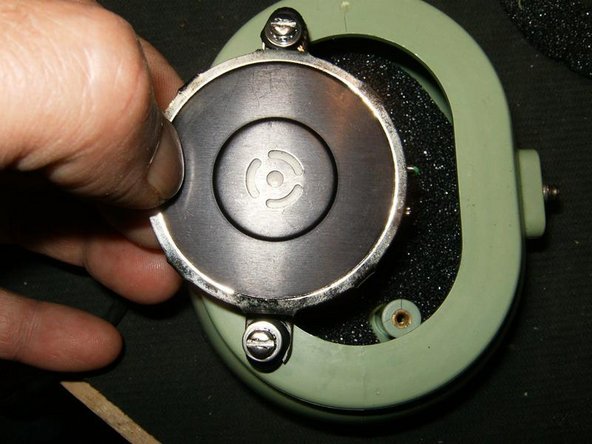
To reassemble your device, follow these instructions in reverse order.

Une autre personne a terminé cette réparation.

oldturkey03

Membre depuis le 09/29/10

781 574 Réputation

119 tutoriels rédigés

Équipe

Global Fixers Membre de l'équipe Global Fixers

Community

32 membres

531 tutoriels rédigés

0 commentaires

Ajouter un commentaire

Nombre de vues :

Dernières 24 heures : 1

7 derniers jours : 2

30 derniers jours : 9

Total : 1,794