Introduction
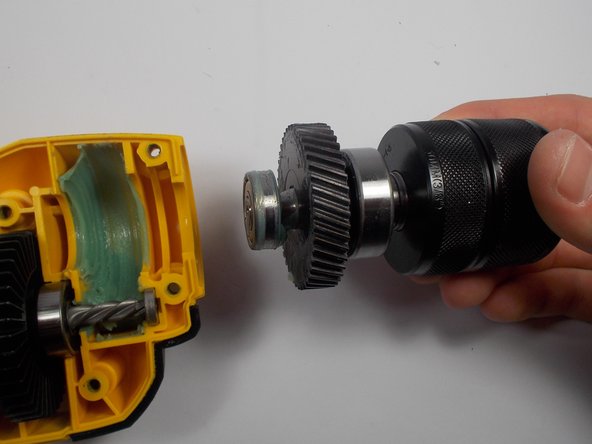
The chuck holds the drill bit in place—and if the chuck becomes broken, the drill serves no function. Use this guide to replace a damaged or broken chuck in the DeWalt DWD112.
Ce dont vous avez besoin


To reassemble your device, follow these instructions in reverse order.
To reassemble your device, follow these instructions in reverse order.
Annulation : je n'ai pas terminé ce tutoriel.
Une autre personne a terminé cette réparation.
Équipe

UMass Dartmouth, Team 2-3, Isaacson Spring 2016 Membre de l'équipe UMass Dartmouth, Team 2-3, Isaacson Spring 2016
UMASSD-ISAACSON-S16S2G3
3 membres
6 tutoriels rédigés
Un commentaire
Or actually read the manual, and find you can use an allen wrench with no dissasembly at all.