Cette traduction a été générée automatiquement et n’a pas encore fait l’objet d’une relecture humaine. Vous parlez cette langue ? Relisez-la.
Introduction
Comme expliqué dans le tutoriel de Miroslav sur le retrait des logos d'une voiture, il existe de nombreuses raisons pour lesquelles vous pourriez vouloir retirer le logo de votre voiture. Cependant, tous les logos ne sont pas identiques, surtout si vous souhaitez retirer celui d'une Ferrari. Ce guide vous donnera un bref aperçu du retrait du logo de votre Ferrari afin que vous puissiez conduire sans badge ou installer un logo personnalisé.
Ce tutoriel vidéo a été créé par How To Remove A Car Badge DIY Ferrari 458. Tout le crédit pour les captures d'écran revient à la chaîne YouTube Do You Know Alex...?.
Ce dont vous avez besoin
Vidéo d'introduction
-
-
-
Selon le modèle de Ferrari que vous possédez, vous devrez peut-être retirer plusieurs boulons qui maintiennent l'insigne en place.
 Demander à FixBot
-
-
-
Délimitez l'insigne de votre Ferrari avec du ruban de masquage, comme indiqué.
-
-
-
-
Chauffez le badge à l'aide de votre pistolet à air chaud.
-
-
-
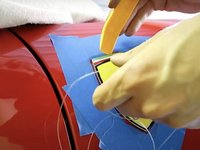
À l'aide de l'outil de levier en plastique, faites délicatement levier sur un coin du badge et glissez le fil dentaire en dessous.
-
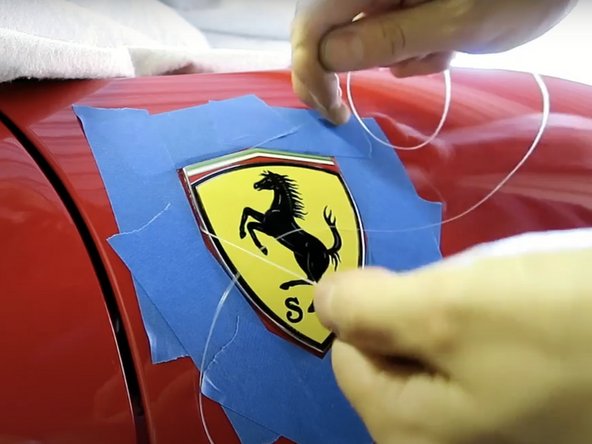
Faites un mouvement de va-et-vient avec le fil dentaire comme une scie, tout en le tirant le long du périmètre du badge jusqu'à ce qu'il se détache du panneau.
-
-
-
Une fois l'emblème retiré, vous pouvez utiliser de l'eau savonneuse et le côté abrasif d'une éponge pour éliminer l'excès d'adhésif. D'autres produits, comme le Goo Gone ou le Goof Off, sont également d'excellents dissolvants pour adhésif.
-
-




Pour remettre votre logo en place, appliquez un nouvel adhésif et suivez ces instructions dans l'ordre inverse.


