
Dell Chromebook 11 3180 LCD Back Cover Replacement
Introduction
Passez à l'étape 1Replacing a damaged back lid. This process is easy and takes just the PH1 bit, a pair of needle nose tweezers and a spluger. Takes about 10 minutes if you are familiar with repair but new to this device.
Ce dont vous avez besoin


-
-
This LCD back lid comes with the metal tape and wifi wire already attached. This guild is based on purchasing this model WITHOUT the camera board. You can buy them with the camera board if you wish.
-
-
-
Based on how parts come apart, I recommend removing the bottom of the chromebook first. You will need it to disconnect the wifi wires.
-
There are 7 screws on this bottom. Two of them are hidden under the black dot stickers. I found that using a needle nose tweezer is the best tool to remove these dots.
-
-
-
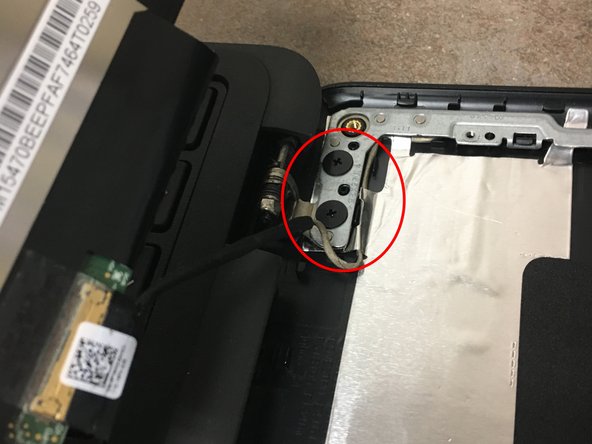
Remove this screw near the (right) hinge with a PH1 driver. then disconnect the two wires.
-
NOTE: with chromebook oriented with hinges towards you (as in picture) the white wire connects to the top lead. You will want to take note of this in case your chromebook is different, as you will need to reconnect this later on.
-
-
-
After a few repairs I found that some chromebooks had trouble booting. What i discovered is that I was shorting the logic board. So, Please at this point disconnect the battery. It will save you time in the end.
-
-
-
-
At this point you should be able to compeletly remove the back cover from the main chromebook.
-
If some seems stuck look for a wire still held down by foil tape. and gently remove the foil tape and release the wire.
-
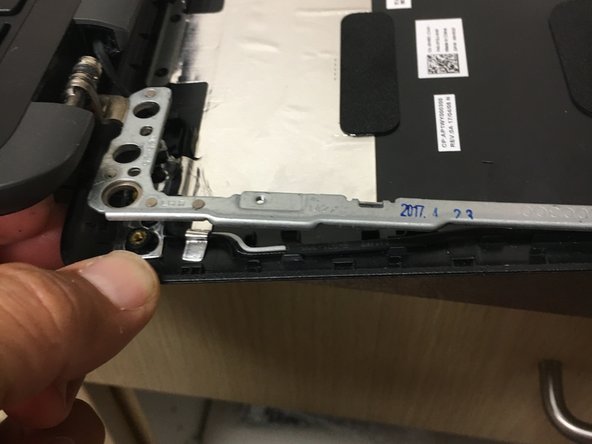
Attach the NEW back cover and connect the wifi wires. Be careful to route this sire around the hinges so that your hinge covers fit back on. You can adjust this later a little if you are unsure.
-
-
-
Re-route your wires under the foil tape and through the wire management channels. Reconnect the board at the to of the back lid. (remember the little screw we removed)
-
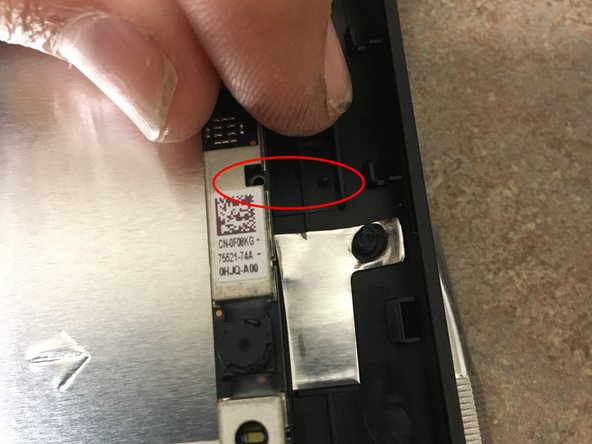
Hard to see in the photo, but there are two little alignment pegs that hold the camera board in proper alignment. I circled them in the photo to help you see them.
-


To reassemble your device, follow these instructions in reverse order.
To reassemble your device, follow these instructions in reverse order.
Équipe
