Introduction
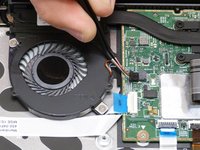
The cooling fan is an integral part of the laptop; if it is running loudly or poorly, it could mean that the device is at risk of overheating. Fortunately, this problem is easy to fix, and the fan itself can be replaced following this guide.
Ce dont vous avez besoin
-
-
-
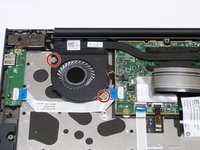
Using the #1 Philips screwdriver, remove the two, 2mm screws securing the fan assembly.
-


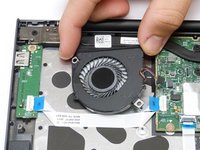
Congratulations! You have successfully removed the cooling fan of your Dell Chromebook 13-7310. To reassemble your device, follow these instructions in reverse order.
Congratulations! You have successfully removed the cooling fan of your Dell Chromebook 13-7310. To reassemble your device, follow these instructions in reverse order.
Équipe

Western Carolina University, Team S1-G3, Virtue Fall 2017 Membre de l'équipe Western Carolina University, Team S1-G3, Virtue Fall 2017
WCU-VIRTUE-F17S1G3
4 membres
5 tutoriels rédigés