Cette version peut contenir des modifications incorrectes. Passez au dernier aperçu vérifié.
Ce dont vous avez besoin
-
Cette étape n’est pas traduite. Aidez à la traduire
-
To remove the screen, start by using the black nylon spudger to pry off the plastic hinge cover. This allows easy removal of the screen cover.
-
Using the same spudger and your finger nails, gently pry the outer casing around the screen itself. Once it is 1/3 to 1/2 of the way removed, gently pull the rest free by hand.
-
Once the clips are undone, remove the cover and you are ready for the next step!
-
-
-
Cette étape n’est pas traduite. Aidez à la traduire
-
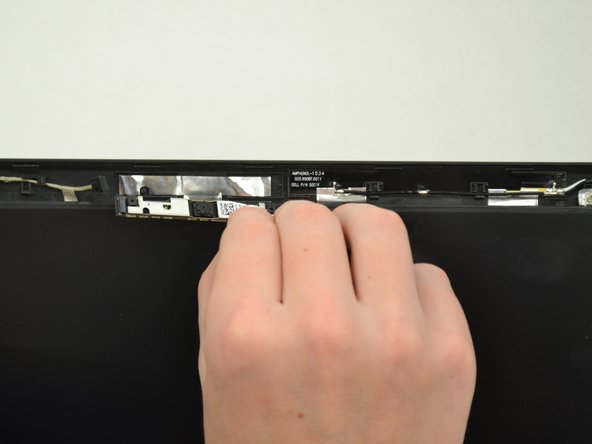
Now that the camera is exposed, disconnect the wire by hand to untether the camera unit from the motherboard.
-
To disconnect, pull to the straight back from the camera connection point.
-
-
Cette étape n’est pas traduite. Aidez à la traduire
-
Once you have disconnected the camera, use the small nylon pry bar to dislodge the camera assembly from the computer housing.
-
After the camera assembly is free from the backing plate, remove it from the housing bay hand.
-


Équipe

Western Carolina University, Team S1-G3, Virtue Fall 2017 Membre de l'équipe Western Carolina University, Team S1-G3, Virtue Fall 2017
WCU-VIRTUE-F17S1G3
4 membres
5 tutoriels rédigés