Introduction
If the sound is dull or nonexistent from your Dell Chromebook 3100 2-in-1 laptop, use this guide to remove and replace your speakers.
Before using this guide, check the speaker for blockage that may be interfering with the sound. Usually, dust and debris can be cleared by a small dust blower. Make sure to check that the volume is not muted to confirm it needs replacing.
To begin this guide, check that the Chromebook’s power is off and disconnected from any power source.
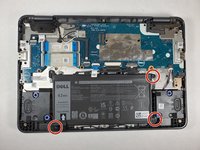
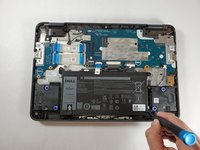
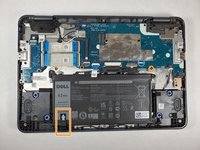
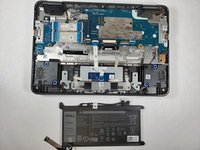
It is not necessary to remove the battery; instead, the battery connector can be disconnected to isolate power to the system.
Ce dont vous avez besoin
-
-
Using a Phillips #1 screwdriver, remove all nine of the 5 mm screws from the back cover.
-
-
-
-
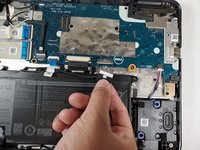
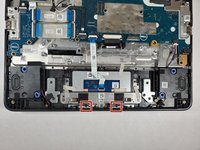
Remove adhesive tape that secures the speaker cable.
-
Disconnect the speaker cable from the connector on the system board.
-


To reassemble your device, follow these instructions in reverse order.
To reassemble your device, follow these instructions in reverse order.
Équipe

Gateway, Team 1-1, Pee Fall 2021 Membre de l'équipe Gateway, Team 1-1, Pee Fall 2021
GCC-PEE-F21S1G1
5 membres
5 tutoriels rédigés