Aller au contenu principal

Dell Inspirion N4050 laptop hard drive replacement

Ce dont vous avez besoin

  1. Dell Inspirion N4050 laptop hard drive replacement, Removing the battery part 1: étape 1, image 1 de 3 Dell Inspirion N4050 laptop hard drive replacement, Removing the battery part 1: étape 1, image 2 de 3 Dell Inspirion N4050 laptop hard drive replacement, Removing the battery part 1: étape 1, image 3 de 3
    • Check your laptop model

    • Turn it over to work on the bottom of the laptop

    • Open the first latch for the battery

  2. Dell Inspirion N4050 laptop hard drive replacement, Remove the battery part 2: étape 2, image 1 de 3 Dell Inspirion N4050 laptop hard drive replacement, Remove the battery part 2: étape 2, image 2 de 3 Dell Inspirion N4050 laptop hard drive replacement, Remove the battery part 2: étape 2, image 3 de 3
    • Open the second latch in the direction that the arrow is pointing. This requires more effort than the first one.

    • The battery will come out a little. Finish removing it gently.

  3. Dell Inspirion N4050 laptop hard drive replacement, Remove the bottom screws: étape 3, image 1 de 2 Dell Inspirion N4050 laptop hard drive replacement, Remove the bottom screws: étape 3, image 2 de 2
    • Remove the 8 screws.

    • Use a Phillips 0 screwdriver.

  4. Dell Inspirion N4050 laptop hard drive replacement, Removing the keyboard part 1: étape 4, image 1 de 3 Dell Inspirion N4050 laptop hard drive replacement, Removing the keyboard part 1: étape 4, image 2 de 3 Dell Inspirion N4050 laptop hard drive replacement, Removing the keyboard part 1: étape 4, image 3 de 3
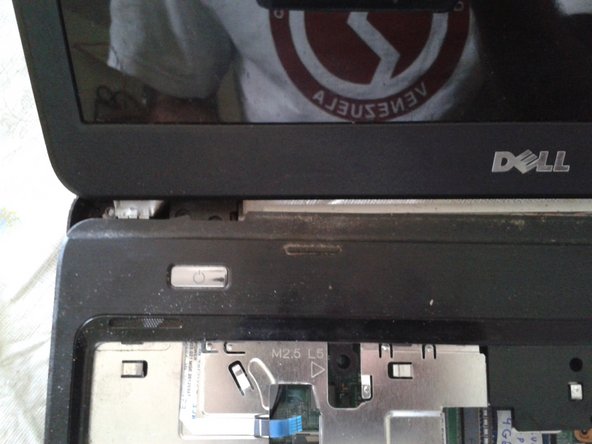
    • Turn the laptop with the keyboard facing up.

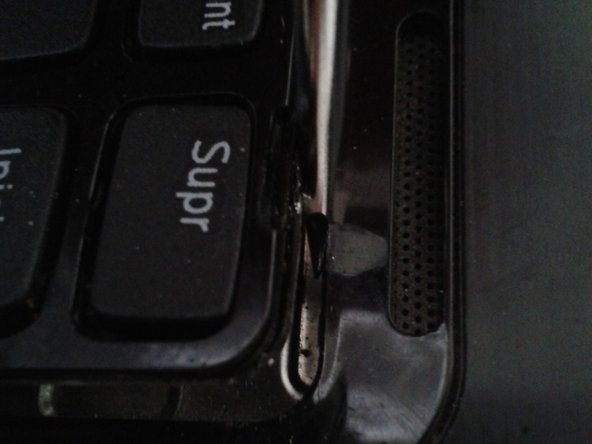
    • Use a flat-blade screwdriver to separate the keyboard from the computer case.

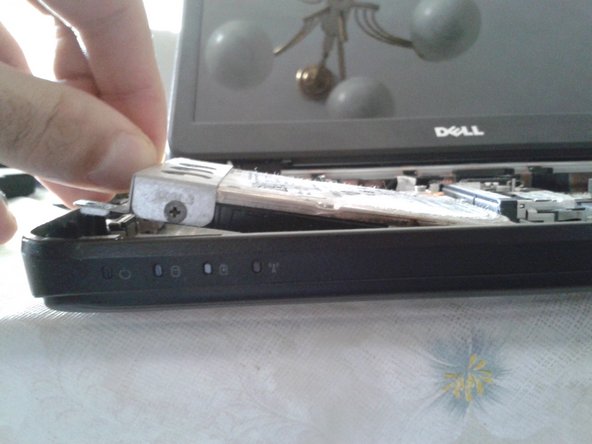
    • Tilt the keyboard as shown in the image. Do not remove it completely because it is connected to a cable.

  5. Dell Inspirion N4050 laptop hard drive replacement, Remove the cable that connects the keyboard to the motherboard: étape 5, image 1 de 2 Dell Inspirion N4050 laptop hard drive replacement, Remove the cable that connects the keyboard to the motherboard: étape 5, image 2 de 2
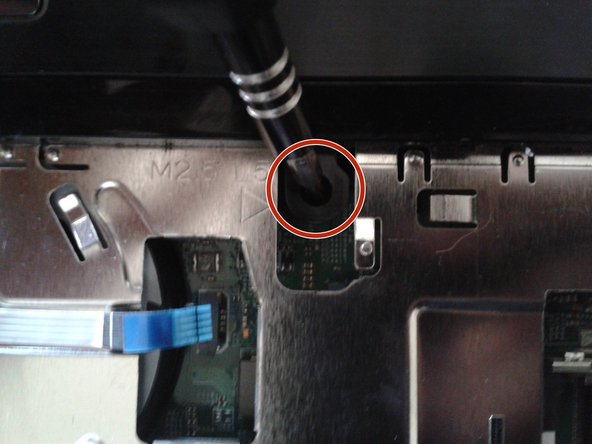
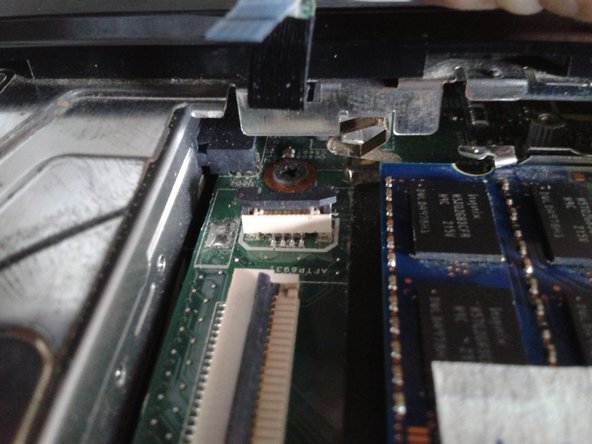
    • Remove the clip that holds the cable to the motherboard.
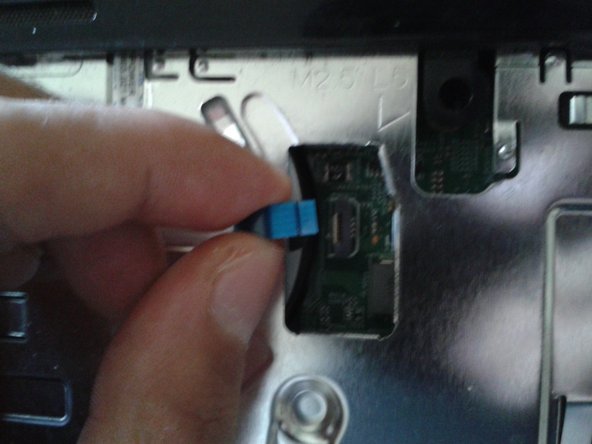
    • Remove the cable.

  6. Dell Inspirion N4050 laptop hard drive replacement, Remove the RAM: étape 6, image 1 de 2 Dell Inspirion N4050 laptop hard drive replacement, Remove the RAM: étape 6, image 2 de 2
    • Remove the memory cards by moving the retaining clips in the direction that the arrows are pointing.

  7. Dell Inspirion N4050 laptop hard drive replacement, Remove the screws: étape 7, image 1 de 3 Dell Inspirion N4050 laptop hard drive replacement, Remove the screws: étape 7, image 2 de 3 Dell Inspirion N4050 laptop hard drive replacement, Remove the screws: étape 7, image 3 de 3
    • Remove the 3 screws.

  8. Dell Inspirion N4050 laptop hard drive replacement, Remove the small cables: étape 8, image 1 de 3 Dell Inspirion N4050 laptop hard drive replacement, Remove the small cables: étape 8, image 2 de 3 Dell Inspirion N4050 laptop hard drive replacement, Remove the small cables: étape 8, image 3 de 3
    • Remove the 2 small cables.

  9. Dell Inspirion N4050 laptop hard drive replacement: étape 9, image 1 de 2 Dell Inspirion N4050 laptop hard drive replacement: étape 9, image 2 de 2
    • Use a plastic tool to separate the top of the laptop.

  10. Dell Inspirion N4050 laptop hard drive replacement, Internal parts of the laptop: étape 10, image 1 de 1
    • CPU

    • DDR3 RAM memory, 2 slots avaiable

    • SATA hard disc

    • Heatsink

    • DVD unit

    • Wireless network card

    • Battery for the internal clock

  11. Dell Inspirion N4050 laptop hard drive replacement, Hard Drive: étape 11, image 1 de 3 Dell Inspirion N4050 laptop hard drive replacement, Hard Drive: étape 11, image 2 de 3 Dell Inspirion N4050 laptop hard drive replacement, Hard Drive: étape 11, image 3 de 3
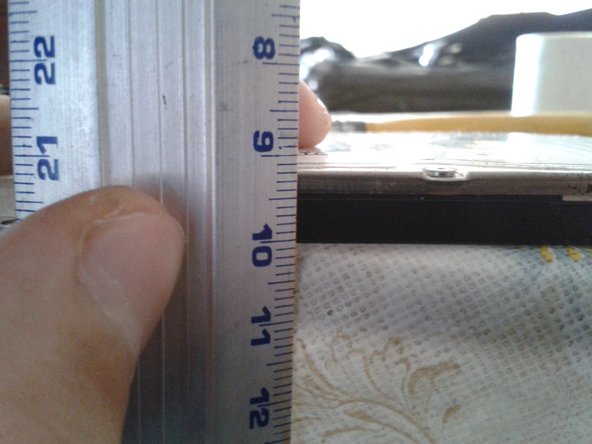
    • The hard disc does not have this support to the mother board from the factory. It is only attached by the SATA connector.

    • Height is 8.5 mm

Conclusion

To reassemble your device, follow these instructions in reverse.

5 autres ont terminé cette réparation.

Merci à ces traducteurs :

es en

100%

Ces traducteurs nous aident réparer le monde ! Vous voulez contribuer ?
Commencez à traduire ›

Marcos Mora

Membre depuis le 12/17/17

3 588 Réputation

11 tutoriels rédigés

0 commentaires

Ajouter un commentaire

Nombre de vues :

Dernières 24 heures : 3

7 derniers jours : 14

30 derniers jours : 32

Total : 4,266