Aller au contenu principal

Dell Inspiron 1100 CD Drive Replacement

Ce dont vous avez besoin

  1. Dell Inspiron 1100 CD Drive Replacement, CD Drive: étape 1, image 1 de 2 Dell Inspiron 1100 CD Drive Replacement, CD Drive: étape 1, image 2 de 2
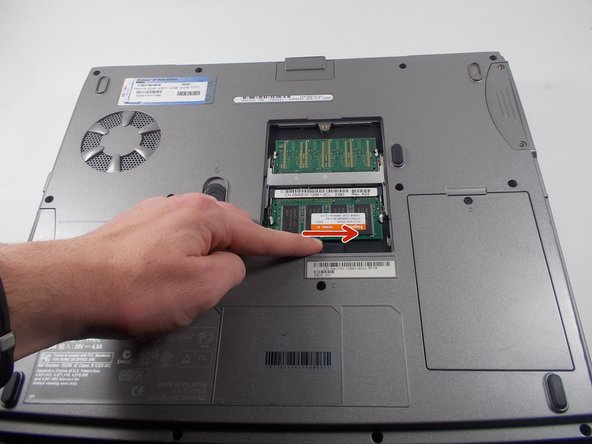
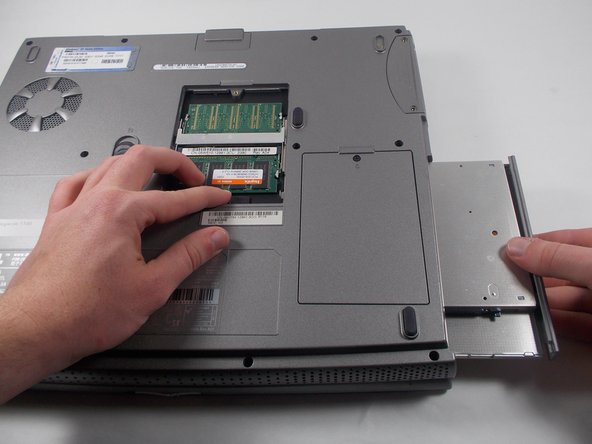
    • Unscrew the one 8mm Phillips #0 screw immediately below the RAM compartment and remove the panel.

    • This screw locks the CD Drive into place and must be completely removed before proceeding.

  2. Dell Inspiron 1100 CD Drive Replacement: étape 2, image 1 de 3 Dell Inspiron 1100 CD Drive Replacement: étape 2, image 2 de 3 Dell Inspiron 1100 CD Drive Replacement: étape 2, image 3 de 3
    • Unscrew the one Phillips #0 screw at the bottom of the RAM compartment cover, and remove the RAM compartment cover.

    • The screw does not separate from the cover. Be careful when using force to remove the cover. Also be sure that the screw has been completely unscrewed.

  3. Dell Inspiron 1100 CD Drive Replacement: étape 3, image 1 de 2 Dell Inspiron 1100 CD Drive Replacement: étape 3, image 2 de 2
    • Push and hold the switch inside the RAM compartment to the right.

    • This will cause the CD Drive to be slightly pushed out of its slot.

    • If the switch cannot be moved, check to make sure you have completed the first step in this guide.

  4. Dell Inspiron 1100 CD Drive Replacement: étape 4, image 1 de 2 Dell Inspiron 1100 CD Drive Replacement: étape 4, image 2 de 2
    • While holding down the switch in the RAM compartment, pull out the CD Drive.

Conclusion

To reassemble your device, follow these instructions in reverse order.

Alexander Pacheco

Membre depuis le 10/19/16

610 Réputation

5 tutoriels rédigés

Équipe

UMass Dartmouth, Team 3-3, Isaacson Fall 2016 Membre de l'équipe UMass Dartmouth, Team 3-3, Isaacson Fall 2016

UMASSD-ISAACSON-F16S3G3

3 membres

9 tutoriels rédigés

0 commentaires

Ajouter un commentaire

Nombre de vues :

Dernières 24 heures : 0

7 derniers jours : 4

30 derniers jours : 8

Total : 393