Introduction
This guide to remove your Dell Inspiron 13-7359 screen. You will need a phillips #0 screwdriver and a small plastic spudger. This guide will require more time and is more difficult than the other replacement guides.
Ce dont vous avez besoin
-
-
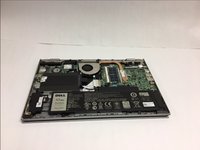
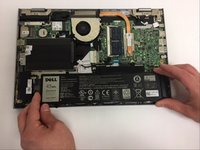
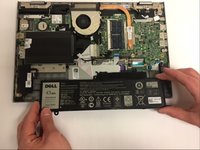
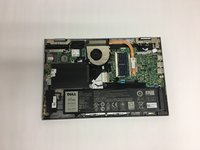
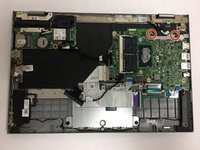
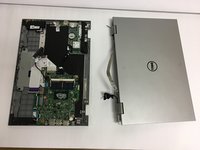
First flip over the laptop to expose the back panel
-
Use a Phillips #0 screwdriver to unscrew all ten 7mm Phillips head screws holding the back panel in place.
-
-
-
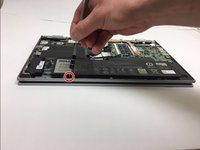
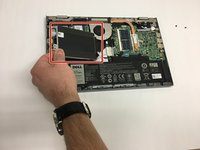
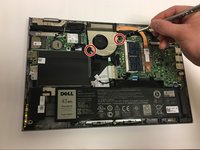
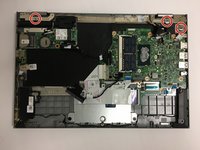
Unscrew and remove the 2 of the 3mm Phillips head screws holding the hard drive in place.
-
-
-
-
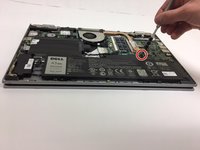
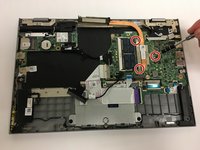
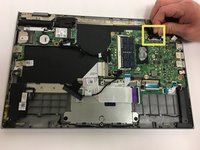
Unscrew and remove the 2 of the 7mm Phillips head screws holding the cooling fan in place.
-
-
-
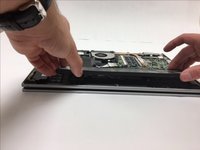
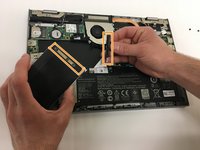
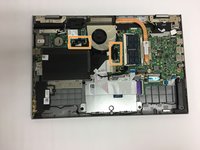
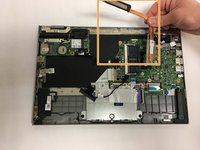
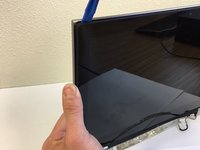
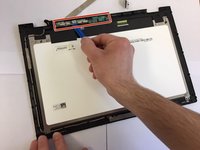
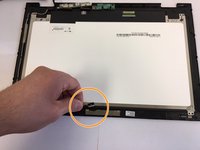
Remove the loose wiring from the perimeter of the screen.
-
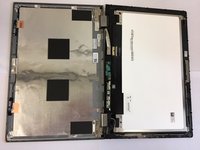
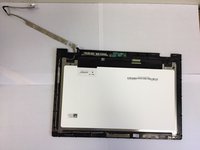
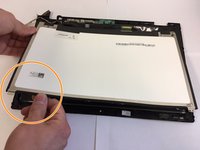
Gently separate the LCD screen from the laptop casing.
Hello Austin,
according to the very last step where you separate the screen from the glass/touch-unit: is it possible to take out the screen without any problems? I would have expected that it is fixed to the glass with a kind of glue or anything similar? Someone has told me that separating the lcd from the glass could cause damage to the touchfunctioniality.
thanks
-


To reassemble your device, follow these instructions in reverse order.
To reassemble your device, follow these instructions in reverse order.
Annulation : je n'ai pas terminé ce tutoriel.
7 autres ont terminé cette réparation.
Équipe

Baylor, Team S1-G6, Johnson Spring 2018 Membre de l'équipe Baylor, Team S1-G6, Johnson Spring 2018
BU-JOHNSON-S18S1G6
3 membres
5 tutoriels rédigés
Un commentaire
Hi, I was wondering if there's any possibility of cross compatibility between i7378 and i7359 from dell? My computer is the i7359 but I haven't been able to find a reasonably priced replacement display. Thank you very much! Also, I found this alternate guide suggesting that the screen can be replaced slightly more easily than the manual and this guide suggests, is this process feasible? https://www.insidemylaptop.com/replacing...