Introduction
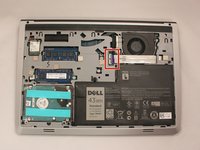
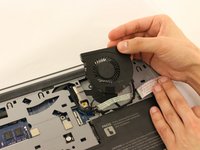
This guide will teach users how to replace a faulty fan for the Dell Inspiron 14-5447. With removal of the fan, cleaning any debris left behind will help your new fan run much quieter and have better cooling circulation.
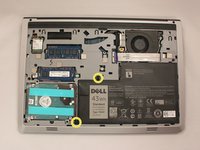
Prior to beginning this repair, be sure to power off the laptop and unplug it from the power cord.
Ce dont vous avez besoin


Presque terminé !
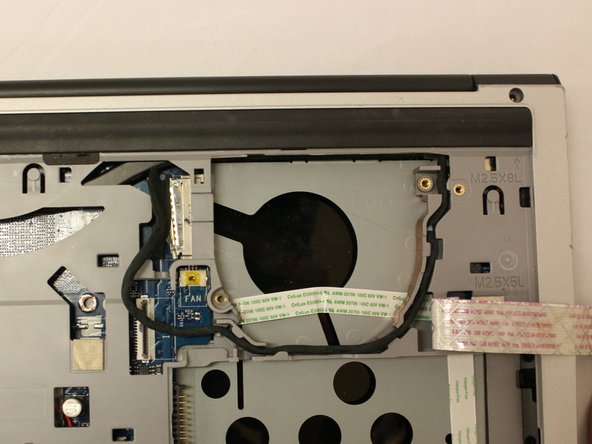
To reassemble your device, follow these instructions in reverse order.
Conclusion
To reassemble your device, follow these instructions in reverse order.
Équipe

Eastern Washington University, Team S1-G3, Crane Spring 2017 Membre de l'équipe Eastern Washington University, Team S1-G3, Crane Spring 2017
EWU-CRANE-S17S1G3
3 membres
5 tutoriels rédigés