Cette version peut contenir des modifications incorrectes. Passez au dernier aperçu vérifié.
Ce dont vous avez besoin
-
Cette étape n’est pas traduite. Aidez à la traduire
-
Remove the six 6 mm screws from the back panel with a Phillips #1 screwdriver.
-
Loosen the four captive screws at the bottom using a Phillips #1 screwdriver.
-
-
-
Cette étape n’est pas traduite. Aidez à la traduire
-
Pry out the back panel using the flat head side of the spudger.
-
-
Cette étape n’est pas traduite. Aidez à la traduire
-
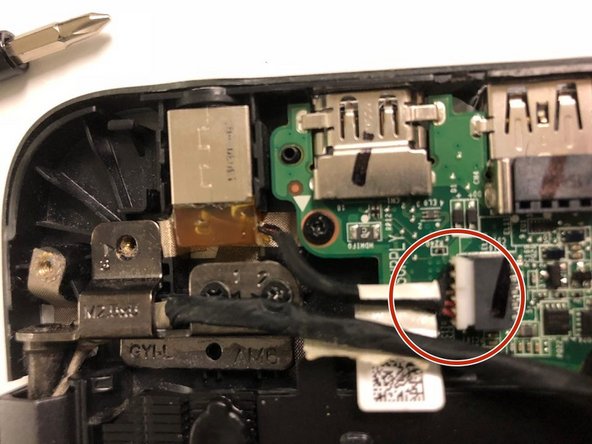
Grab the wires and lightly pull to remove the power port from the motherboard.
-


Annulation : je n'ai pas terminé ce tutoriel.
Une autre personne a terminé cette réparation.
Équipe

University of North Texas, Team S7-G3, Thompson Fall 2018 Membre de l'équipe University of North Texas, Team S7-G3, Thompson Fall 2018
UNT-THOMPSON-F18S7G3
3 membres
5 tutoriels rédigés