Ce tutoriel a des changements plus récents. Passer à la dernière version non vérifiée.
Introduction
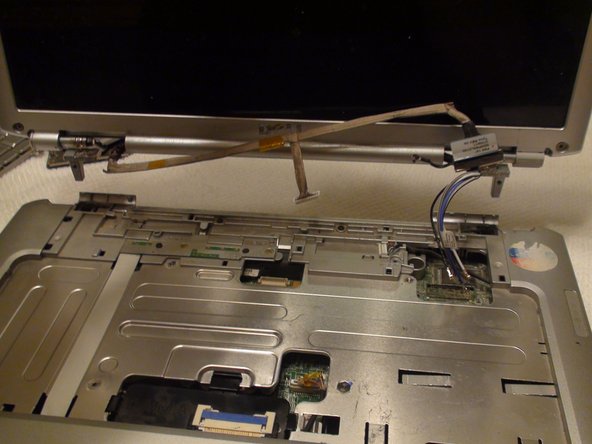
This guide explains how to remove and replace the Liquid Crystal Display (LCD), which is also called the monitor or screen.
Ce dont vous avez besoin
-
-
Find the two small indentations of the sides of the panel covering the power button.
-
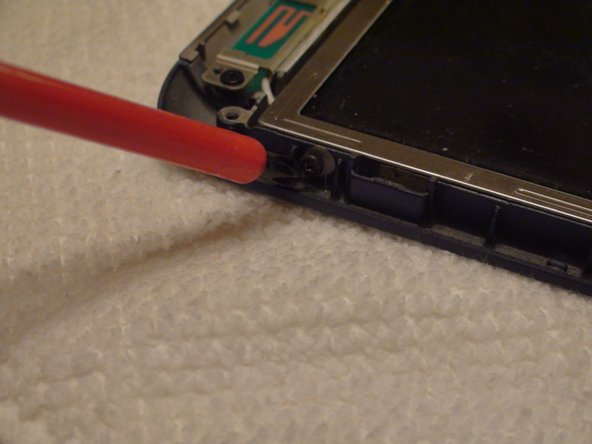
Pry up both sides of the panel by sticking the plastic opener tool in each indentation and prying up.
-
-
-
-
Locate the two Phillips #1 screws holding the Wireless Local Area Network (WLAN) panel in place.
-
Remove these two screws with a Phillips #1 screwdriver.
-
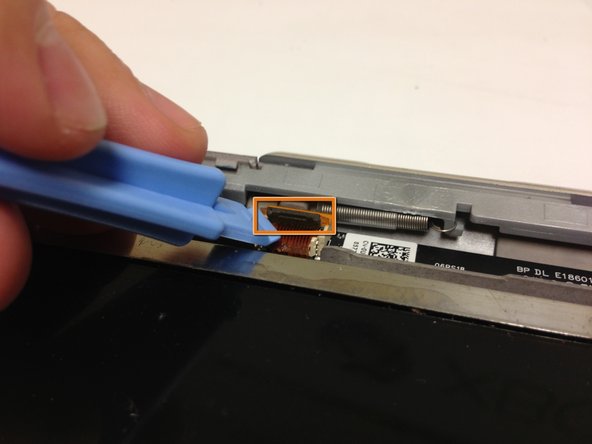
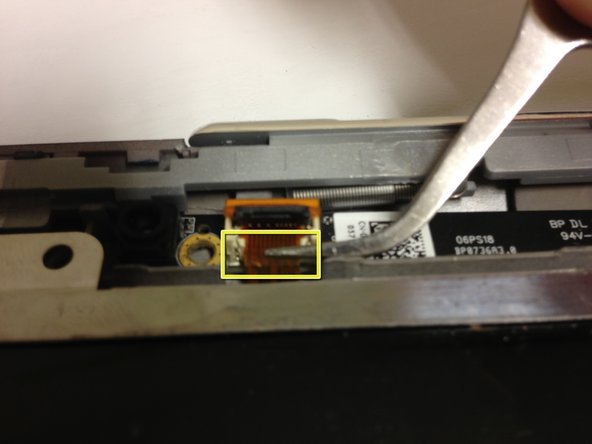
Remove the WLAN panel by pulling it up with your hand.
-
-
-
Remove the two 10 mm Phillips #1 screws from the bottom of the laptop that attach the lid assembly to the laptop with a Phillips #1 screwdriver.
-
Remove the two 10 mm Phillips #1 screws from the back of the laptop that also attach the lid assembly to the laptop with a Phillips #1 screwdriver.
-
-
-
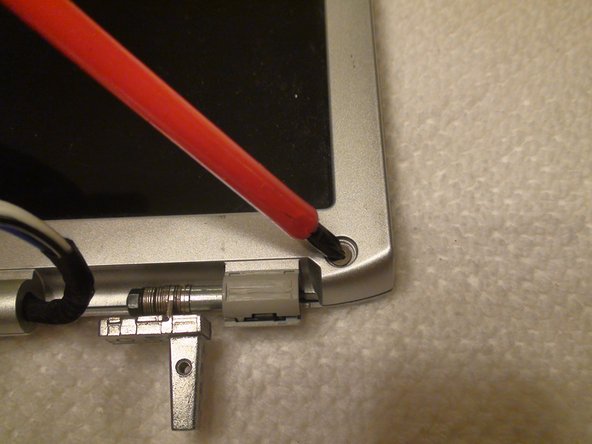
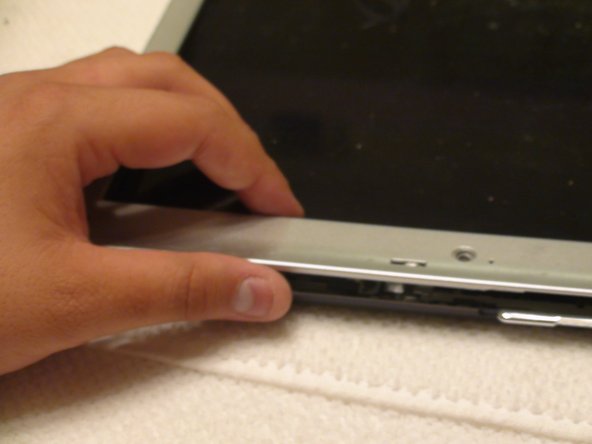
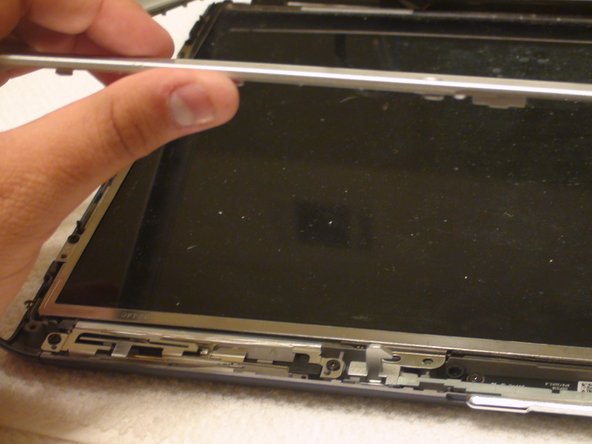
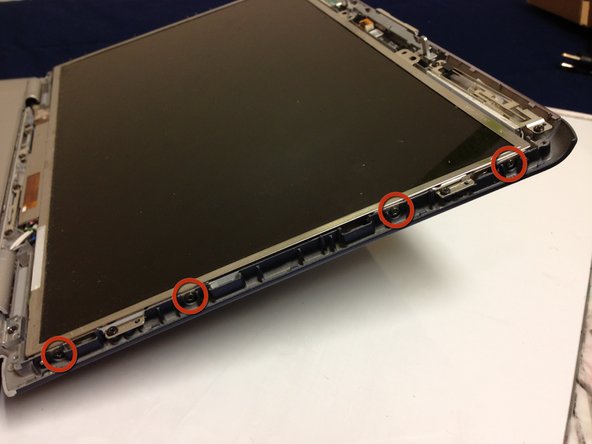
Locate the six 5 mm Phillips #1 screws connecting the display bezel to the back cover.
-
Remove the six screws with a Phillips #1 screwdriver.
-


To reassemble your device, follow these instructions in reverse order.
To reassemble your device, follow these instructions in reverse order.
Annulation : je n'ai pas terminé ce tutoriel.
2 autres ont terminé cette réparation.
Équipe

Cal Poly, Team 15-47, Forte Fall 2012 Membre de l'équipe Cal Poly, Team 15-47, Forte Fall 2012
CPSU-FORTE-F12S15G47
5 membres
9 tutoriels rédigés