Aller au contenu principal

Dell Inspiron 15R 5520 Hard Drive Replacement

Ce dont vous avez besoin

  1. Dell Inspiron 15R 5520 Hard Drive Replacement, Battery: étape 1, image 1 de 1
    • We are removing the battery to avoid the possibility of an electrical discharge when working with this system.

    • Flip device on its back displaying the battery.

  2. Dell Inspiron 15R 5520 Hard Drive Replacement: étape 2, image 1 de 3 Dell Inspiron 15R 5520 Hard Drive Replacement: étape 2, image 2 de 3 Dell Inspiron 15R 5520 Hard Drive Replacement: étape 2, image 3 de 3
    • Place a finger on both latches and push outwards.

    • Grab by the lip and pull upwards to remove battery.

  3. Dell Inspiron 15R 5520 Hard Drive Replacement, Hard Drive: étape 3, image 1 de 2 Dell Inspiron 15R 5520 Hard Drive Replacement, Hard Drive: étape 3, image 2 de 2
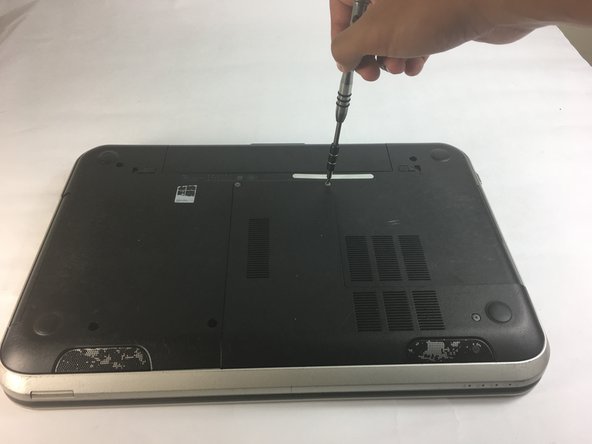
    • Locate and loosen the three 3 mm screws.

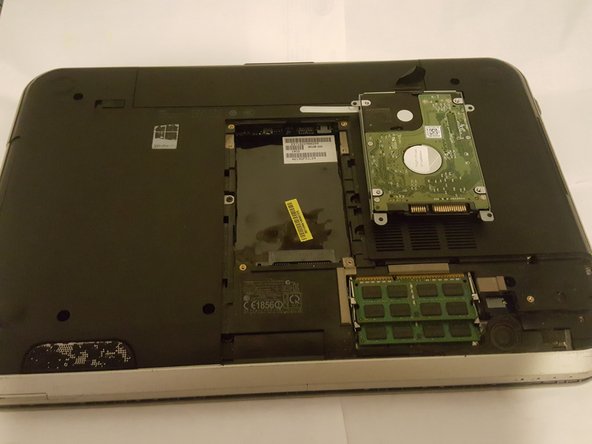
    • Remove the plastic casing with the screws attached.

  4. Dell Inspiron 15R 5520 Hard Drive Replacement: étape 4, image 1 de 3 Dell Inspiron 15R 5520 Hard Drive Replacement: étape 4, image 2 de 3 Dell Inspiron 15R 5520 Hard Drive Replacement: étape 4, image 3 de 3
    • Locate and remove the four 4mm screws holding the hard drive in place.

  5. Dell Inspiron 15R 5520 Hard Drive Replacement: étape 5, image 1 de 3 Dell Inspiron 15R 5520 Hard Drive Replacement: étape 5, image 2 de 3 Dell Inspiron 15R 5520 Hard Drive Replacement: étape 5, image 3 de 3
    • Push the hard drive horizontally and away from yourself.

  6. Dell Inspiron 15R 5520 Hard Drive Replacement: étape 6, image 1 de 2 Dell Inspiron 15R 5520 Hard Drive Replacement: étape 6, image 2 de 2
    • Lift the hard drive up and out of the bay.

Conclusion

To reassemble your device, follow these instructions in reverse order.

3 autres ont terminé cette réparation.

zAj

Membre depuis le 09/15/16

484 Réputation

2 tutoriels rédigés

Équipe

USF Tampa, Team 18-1, Blackwell Fall 2016 Membre de l'équipe USF Tampa, Team 18-1, Blackwell Fall 2016

USFT-BLACKWELL-F16S18G1

3 membres

5 tutoriels rédigés

2 commentaires

I have a Dell 15R 5537. The drive removal is about the same. There are only two screws holding the drive, though. They’re located at the back of the drive. Push the drive back to clear the connector and pull up aided by a clear plastic pull tab on the drive.

Adrian Kocurek - Réponse

It worked and was well worth installing an SSD.

Adrian Kocurek - Réponse

Ajouter un commentaire

Nombre de vues :

Dernières 24 heures : 0

7 derniers jours : 1

30 derniers jours : 8

Total : 2,344