Introduction
If you are having visual issues with images or videos, it is recomended to use this guide to replace the LCD display in the Dell Inspiron 5555.
Essentially, the LCD display is operated by light currents that work to control the amount of light that pass through liquid crystal molecules in a screen.
To be sure that the LCD display is the faulty component, connect the laptop to a TV or monitor. If the display is clear on the TV or monitor then the LCD display should be replaced in the laptop. However, if it is still unclear then the LCD display is not affecting the quality of the image or video.
Before beginning the repair, be sure that the device is not connected to an electric source and that it is completely powered off.
Ce dont vous avez besoin
-
-
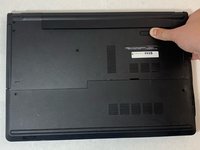
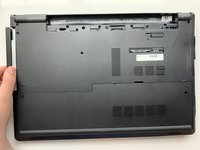
Close the laptop and lay it flat, logo side down.
-
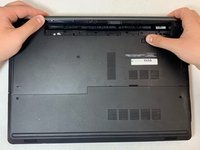
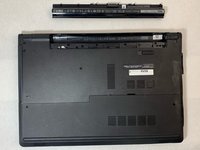
Make sure that the battery is visible and at the top of the device.
-
-
-
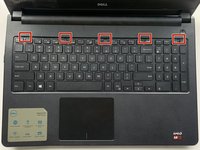
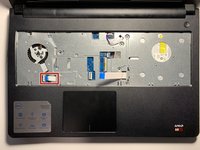
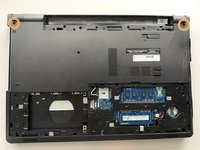
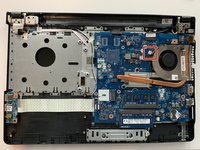
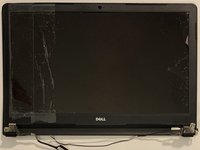
Turn the laptop over and open the device.
-
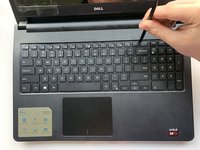
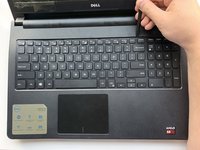
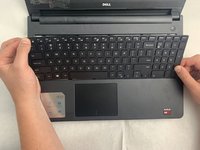
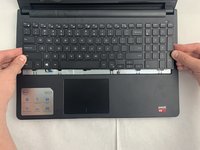
Insert the flat end of the spudger into the five notches located at the top of the keyboard and pry the keyboard up by pushing down and up.
-
-
-
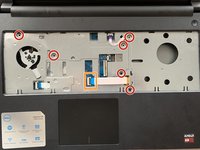
Remove the six 5 mm screws using the Phillips #0 screwdriver.
-
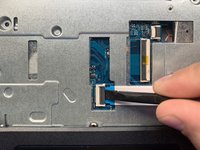
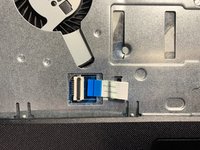
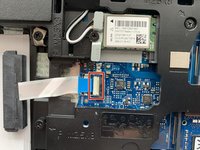
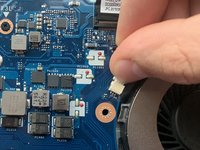
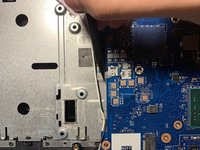
Use the spudger to lift the black tab of the ZIF connector, removing the optical drive cable.
-
-
-
Outil utilisé dans cette étape :Halberd Spudger$2.99
-
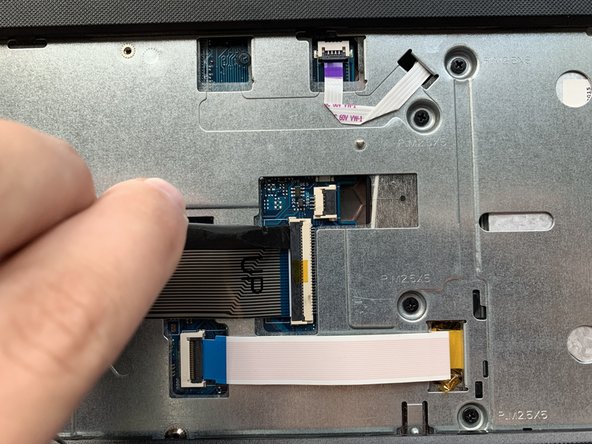
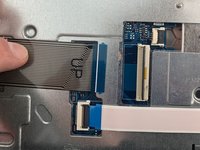
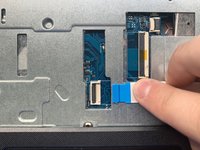
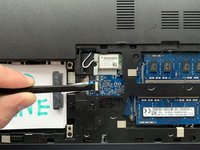
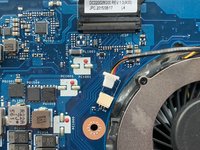
Using the hooked end of the Halberd Spudger, pull the black tab to the left to expose the touchpad cable.
-
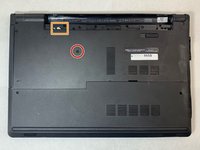
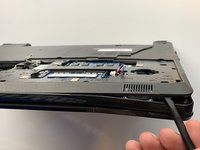
Close the laptop and flip it over, so the bottom is facing up.
-
-
-
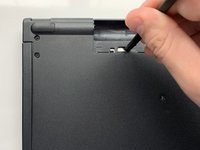
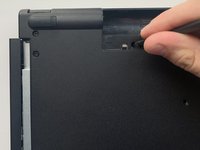
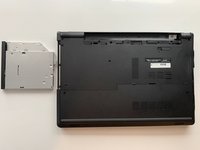
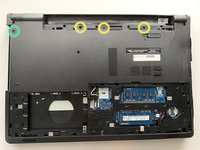
Remove the three 2 mm wafer screws in the optical drive port with the Phillips #0 screwdriver.
-
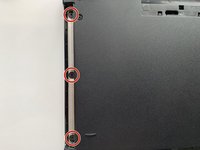
Remove the two 8 mm hinge screws with the Phillips #0 screwdriver.
-
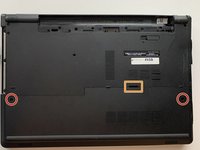
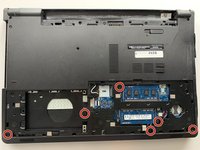
Remove the three 5 mm screws from the battery opening with the Phillips #0 screwdriver.
-
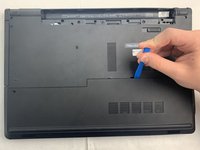
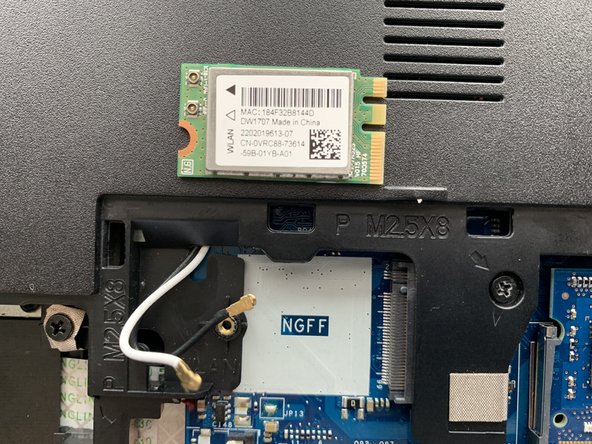
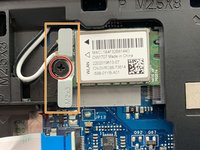
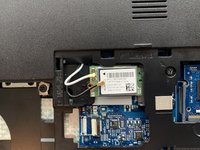
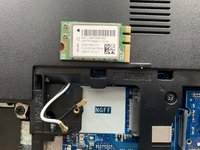
Remove the 5 mm screw with the Phillips #0 screwdriver.
-
-
Outil utilisé dans cette étape :Halberd Spudger$2.99
-
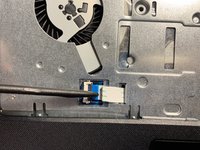
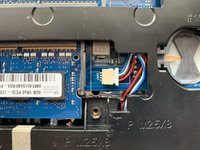
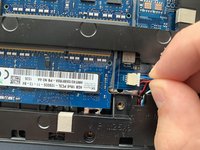
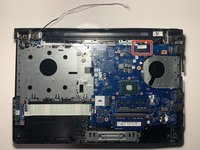
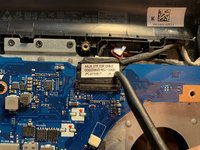
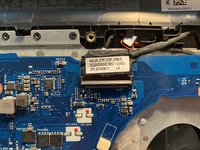
Using the hooked end of the Halberd Spudger, hook onto the black tab that holds the LCD cable in place and pull up on it to lift it.
-


To reassemble your device, follow these instructions in reverse order.
To reassemble your device, follow these instructions in reverse order.

Équipe

Embry-Riddle Aeronautical University, Team S2-G6, Watkins Fall 2019 Membre de l'équipe Embry-Riddle Aeronautical University, Team S2-G6, Watkins Fall 2019
ERAU-WATKINS-F19S2G6
4 membres
5 tutoriels rédigés