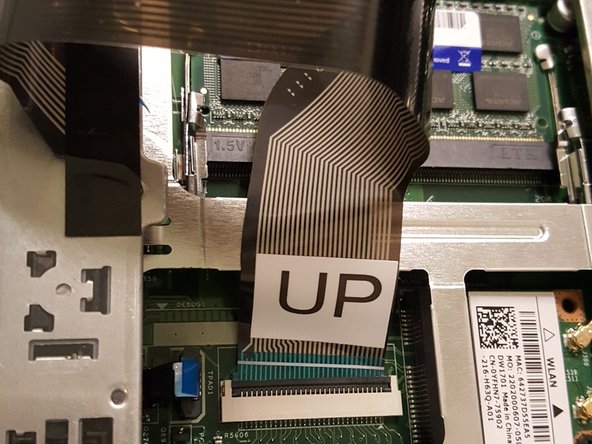
Aller au contenu principal

Dell Inspiron N5050 Hard Drive Replacement

Ce dont vous avez besoin

  1. Dell Inspiron N5050 Hard Drive Replacement, Battery: étape 1, image 1 de 1
    • Flip your laptop over to view the bottom and the two locks.

  2. Dell Inspiron N5050 Hard Drive Replacement: étape 2, image 1 de 1
    • Slide the two locks away from each other.

    • Sliding these locks will loosen the battery to allow removal.

  3. Dell Inspiron N5050 Hard Drive Replacement: étape 3, image 1 de 2 Dell Inspiron N5050 Hard Drive Replacement: étape 3, image 2 de 2
    • Pull the battery out of the laptop.

    • Your laptop's battery should be completely removed.

  4. Dell Inspiron N5050 Hard Drive Replacement, Hard Drive: étape 4, image 1 de 1
    • Remove the eleven 5mm palmrest screws from the bottom of the laptop with a Phillips #PH00 screw.

    • Remove the two 3mm hard drive screws from the bottom of the laptop with a Phillips #PH00 screw.

  5. Dell Inspiron N5050 Hard Drive Replacement: étape 5, image 1 de 2 Dell Inspiron N5050 Hard Drive Replacement: étape 5, image 2 de 2
    • Flip over and open the laptop to view the keyboard.

    • Use a plastic opening tool to press down on four clips, one by one.

    • Press down on the clips and pull the tool towards you to pry the keyboard loose.

    • The four clips are above the Esc, F6, F11, and Delete keys.

  6. Dell Inspiron N5050 Hard Drive Replacement: étape 6, image 1 de 3 Dell Inspiron N5050 Hard Drive Replacement: étape 6, image 2 de 3 Dell Inspiron N5050 Hard Drive Replacement: étape 6, image 3 de 3
    • Remove the keyboard carefully.

    • Make sure to lift the keyboard gently, because a cable is connected to the back.

    • Flip the keyboard over to find the keyboard cable.

    • Pull the cable labeled "UP" out to disconnect it from the laptop.

  7. Dell Inspiron N5050 Hard Drive Replacement: étape 7, image 1 de 3 Dell Inspiron N5050 Hard Drive Replacement: étape 7, image 2 de 3 Dell Inspiron N5050 Hard Drive Replacement: étape 7, image 3 de 3
    • Unscrew the two palmrest screws.

    • Lift the two, blue palmrest cables up and out of their sockets.

  8. Dell Inspiron N5050 Hard Drive Replacement: étape 8, image 1 de 2 Dell Inspiron N5050 Hard Drive Replacement: étape 8, image 2 de 2
    • Lift the entire surface (palmrest casing) to expose the motherboard underneath.

  9. Dell Inspiron N5050 Hard Drive Replacement: étape 9, image 1 de 1
    • Slide the hard drive right and up to remove it from the laptop.

Conclusion

To reassemble your device, follow these instructions in reverse order.

11 autres ont terminé cette réparation.

Kristy Mayo

Membre depuis le 09/15/16

1 394 Réputation

3 tutoriels rédigés

Équipe

4 commentaires

Thanks again. This guide was made straightforward and clear.

jason acn - Réponse

Thanks you - The clear instructions make this guide easy to follow.

Jay - Réponse

wouldnt turn on after i re-assembled it

Taemon Coolz - Réponse

Sehr gute Arbeit

pouchman - Réponse

Ajouter un commentaire

Nombre de vues :

Dernières 24 heures : 4

7 derniers jours : 18

30 derniers jours : 78

Total : 6,685