Introduction
The keyboard is an essential part to a laptop. Without it, all of the functions of the laptop will not be accessible. If the keyboard stops working, this guide will help you replace it.
Ce dont vous avez besoin
-
-
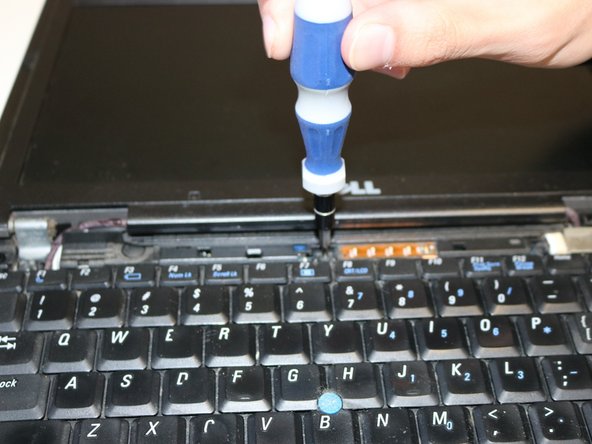
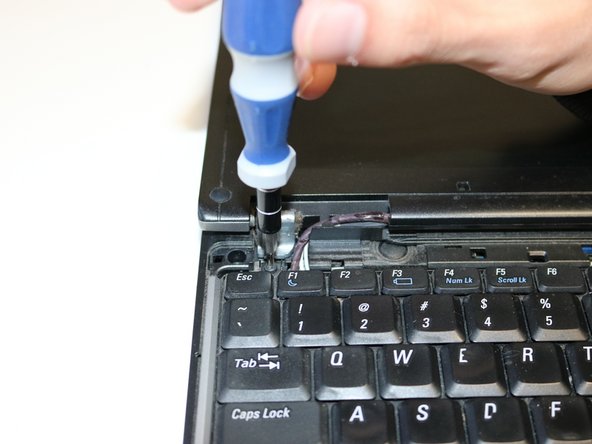
Lay the laptop flat with the screen facing upward. This will allow you to have the most room while performing the keyboard replacement.
-
-
-
-
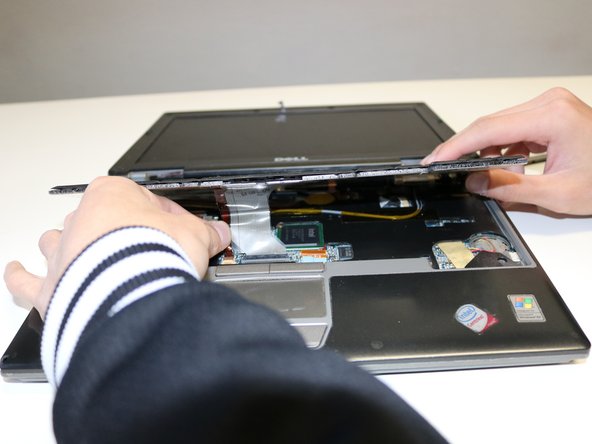
Gently lift the keyboard from the top.
-
At the bottom of the keyboard, there will be ribbons connecting it to the motherboard. Be sure not to tear the ribbons.
-
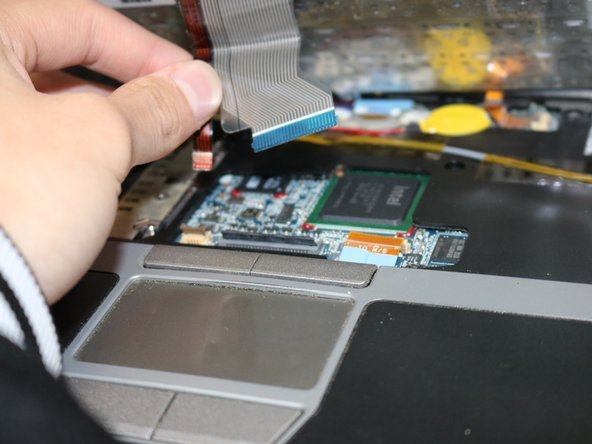
Lift the clamps that are holding the ribbons in place in order to remove them. You should be able to remove the keyboard at this point.
-


To reassemble your device, follow these instructions in reverse order.
To reassemble your device, follow these instructions in reverse order.
Annulation : je n'ai pas terminé ce tutoriel.
Une autre personne a terminé cette réparation.
Équipe

University of North Texas, Team S2-G1, Riccardelli Fall 2018 Membre de l'équipe University of North Texas, Team S2-G1, Riccardelli Fall 2018
UNT-RICCARDELLI-F18S2G1
3 membres
4 tutoriels rédigés