Aller au contenu principal

Dell Latitude E5450-5450 LCD Screen Replacement

Ce dont vous avez besoin

  1. Dell Latitude E5450-5450 LCD Screen Replacement, Unscrew the Lower Case: étape 1, image 1 de 1
    Outil utilisé dans cette étape :
    Magnetic Project Mat
    $19.95
    J'achète
    • Remove the six Philips #0 screws from the lower case.

    • These screws are all 5.6 mm long, but it's still a good idea to keep track of them and make sure they go back in their proper holes!

  2. Dell Latitude E5450-5450 LCD Screen Replacement: étape 2, image 1 de 1
    • This photo shows the location of the ten clips that hold the lower case in place. Take note of the location of the clips, and refer back to this step if your lower case gets stuck during removal.

    • Four clips hold the upper half of the case in place and can be released by prying around them with a spudger.

    • The other six clips along the bottom edge can not be released by prying at them. Instead, they come free by sliding the whole case upward, as shown in step 5 below.

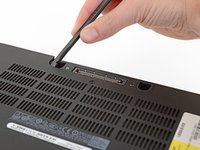
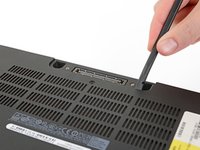
  3. Dell Latitude E5450-5450 LCD Screen Replacement: étape 3, image 1 de 2 Dell Latitude E5450-5450 LCD Screen Replacement: étape 3, image 2 de 2
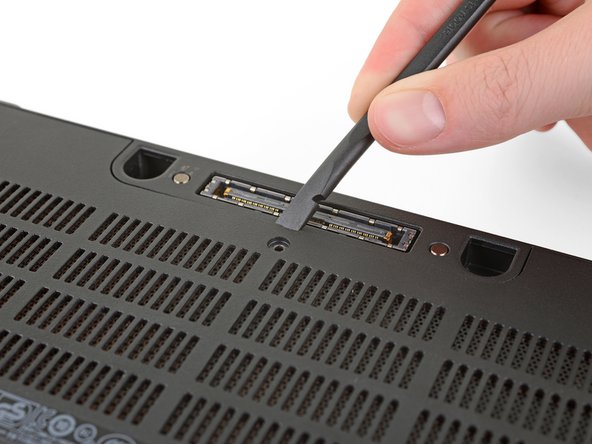
    • Insert the flat edge of a spudger into the small divot along the top edge of the case, just below the docking station port.

    • Pry up to release the two central clips along the upper edge of the case.

  4. Dell Latitude E5450-5450 LCD Screen Replacement: étape 4, image 1 de 3 Dell Latitude E5450-5450 LCD Screen Replacement: étape 4, image 2 de 3 Dell Latitude E5450-5450 LCD Screen Replacement: étape 4, image 3 de 3
    • Use your spudger to pry up the remaining clips along the top edge.

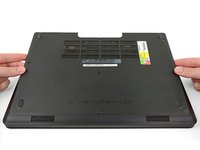
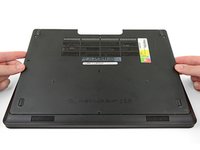
  5. Dell Latitude E5450-5450 LCD Screen Replacement, Remove the Lower Case: étape 5, image 1 de 3 Dell Latitude E5450-5450 LCD Screen Replacement, Remove the Lower Case: étape 5, image 2 de 3 Dell Latitude E5450-5450 LCD Screen Replacement, Remove the Lower Case: étape 5, image 3 de 3
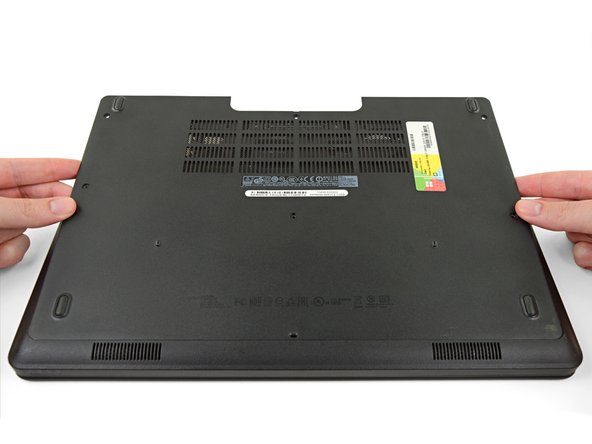
    • Slide the lower case upward and remove it.

  6. Dell Latitude E5450-5450 LCD Screen Replacement: étape 6, image 1 de 2 Dell Latitude E5450-5450 LCD Screen Replacement: étape 6, image 2 de 2
    • When reinstalling the lower case, make sure you slide the bottom edge (the edge without the cutout) into place first before snapping the rest of the clips shut.

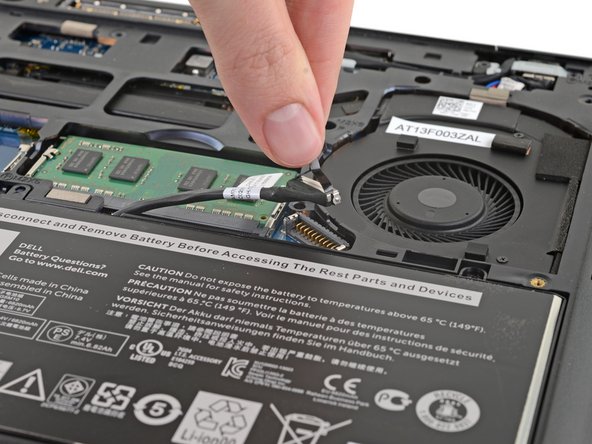
  7. Dell Latitude E5450-5450 LCD Screen Replacement, Disconnect the Battery: étape 7, image 1 de 2 Dell Latitude E5450-5450 LCD Screen Replacement, Disconnect the Battery: étape 7, image 2 de 2
    • Pull up on the battery connector's pull tab to disconnect the battery.

  8. Dell Latitude E5450-5450 LCD Screen Replacement, Unscrew the Battery: étape 8, image 1 de 1
    • Remove the three 5.6 mm Philips #0 screws from the top edge of the battery.

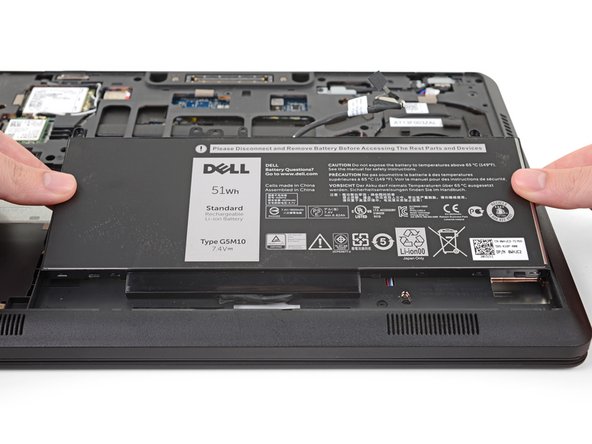
  9. Dell Latitude E5450-5450 LCD Screen Replacement, Remove the Battery: étape 9, image 1 de 3 Dell Latitude E5450-5450 LCD Screen Replacement, Remove the Battery: étape 9, image 2 de 3 Dell Latitude E5450-5450 LCD Screen Replacement, Remove the Battery: étape 9, image 3 de 3
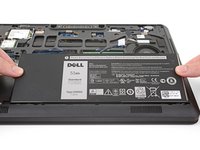
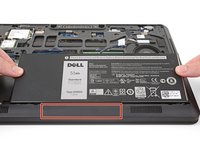
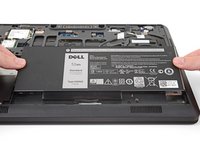
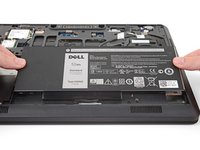
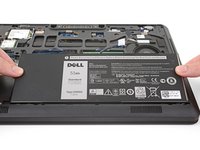
    • Remove the battery from the laptop.

    • The battery cell extends below the bottom lip of the enclosure. Make sure you lift the battery away from the bottom edge of the laptop at an angle, as shown in the photos.

  10. Dell Latitude E5450-5450 LCD Screen Replacement: étape 10, image 1 de 2 Dell Latitude E5450-5450 LCD Screen Replacement: étape 10, image 2 de 2
    • When installing your new battery, slide the bottom edge in first, and make sure it lays flat before you proceed to reinsert the screws or reconnect it.

  11. Dell Latitude E5450-5450 LCD Screen Replacement, LCD Screen: étape 11, image 1 de 1
    • Flip the laptop so the front panel is facing you.

    • Open the laptop.

  12. Dell Latitude E5450-5450 LCD Screen Replacement: étape 12, image 1 de 2 Dell Latitude E5450-5450 LCD Screen Replacement: étape 12, image 2 de 2
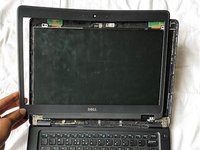
    • Remove the plastic cover surrounding the screen.

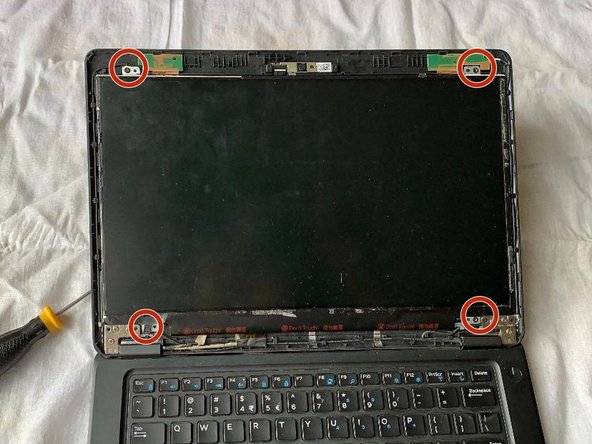
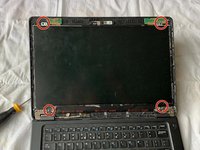
    • Remove the four Phillips #0 screws from each corner of the laptop.

  13. Dell Latitude E5450-5450 LCD Screen Replacement: étape 13, image 1 de 2 Dell Latitude E5450-5450 LCD Screen Replacement: étape 13, image 2 de 2
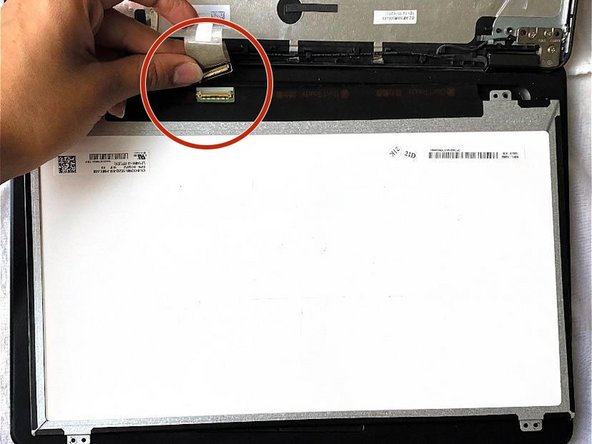
    • Carefully put the screen upside down on the keyboard.

    • Disconnect the cable with the QR code on the opposite side of the screen.

  14. Dell Latitude E5450-5450 LCD Screen Replacement: étape 14, image 1 de 1
    • Remove the screen from the laptop.

Conclusion

To reassemble your device, follow these instructions in reverse order. If you have removed too much adhesive, then please reapply it and let it dry before you start using the laptop.

3 autres ont terminé cette réparation.

Tulsi Panchal

Membre depuis le 09/17/20

157 Réputation

1 tutoriel rédigé

Équipe

York University, Team S2-G19, Melo-Thaiss Fall 2020 Membre de l'équipe York University, Team S2-G19, Melo-Thaiss Fall 2020

YORK-MELO-THAISS-F20S2G19

1 membre

1 tutoriel rédigé

0 commentaires

Ajouter un commentaire

Nombre de vues :

Dernières 24 heures : 2

7 derniers jours : 9

30 derniers jours : 50

Total : 2,424