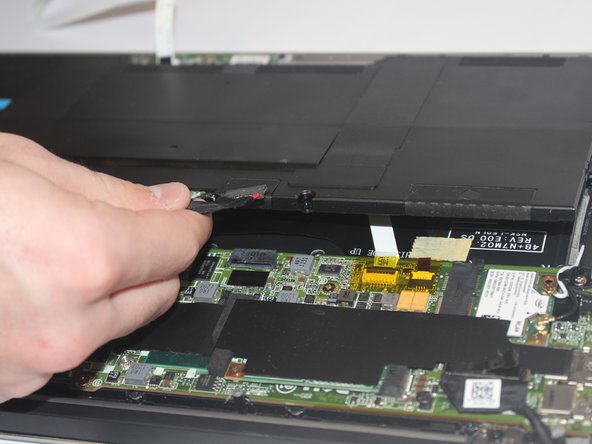
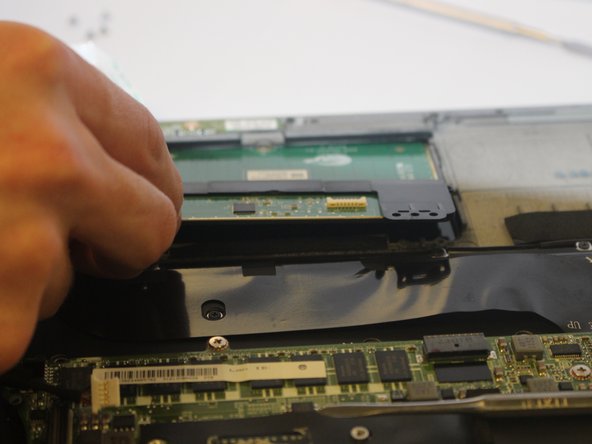
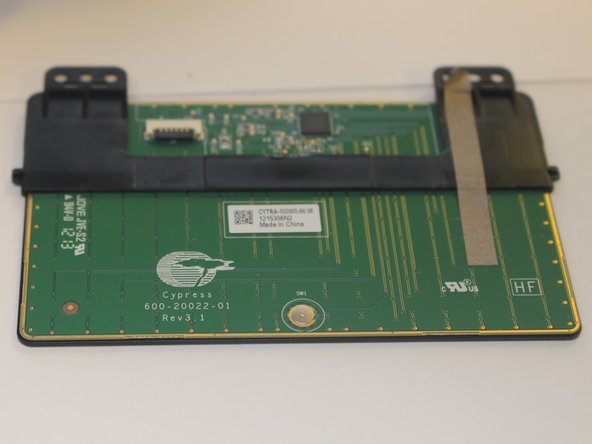
Aller au contenu principal

Dell XPS 13 L321X Mouse pad Replacement

Ce dont vous avez besoin

  1. Dell XPS 13 L321X Mouse pad Replacement, Track Pad: étape 1, image 1 de 2 Dell XPS 13 L321X Mouse pad Replacement, Track Pad: étape 1, image 2 de 2
    • Remove ten 3mm screws from the back cover with a T5 screwdriver.

  2. Dell XPS 13 L321X Mouse pad Replacement: étape 2, image 1 de 2 Dell XPS 13 L321X Mouse pad Replacement: étape 2, image 2 de 2
    • Disconnect the ribbon cable with a plastic iFixit opening tool, by lifting up the black clip and by pulling the white ribbon off.

    • Pull aside the ribbon cable.

  3. Dell XPS 13 L321X Mouse pad Replacement: étape 3, image 1 de 1
    • With a plastic iFixit opeing tool, insert it in between and remove the battery cable.

  4. Dell XPS 13 L321X Mouse pad Replacement: étape 4, image 1 de 2 Dell XPS 13 L321X Mouse pad Replacement: étape 4, image 2 de 2
    • Use a PH00 size screwdriver to remove the 8 screws that secure the battery.

    • Six 3mm screws.

    • Two 5mm screws.

    • Lift the battery out.

  5. Dell XPS 13 L321X Mouse pad Replacement: étape 5, image 1 de 1
    • Disconnect the ribbon cable with a plastic iFixit opening tool by lifting up the black clip and by pulling the white ribbon.

    • Place aside.

  6. Dell XPS 13 L321X Mouse pad Replacement: étape 6, image 1 de 3 Dell XPS 13 L321X Mouse pad Replacement: étape 6, image 2 de 3 Dell XPS 13 L321X Mouse pad Replacement: étape 6, image 3 de 3
    • Remove four 2mm screws with a PH00 screwdriver.

    • Remove the mouse pad.

Ligne d'arrivée

Une autre personne a terminé cette réparation.

Ahmad EL Herbawi

Membre depuis le 03/01/17

499 Réputation

3 tutoriels rédigés

Équipe

USF Tampa, Team S6-G3, Lacy Spring 2017 Membre de l'équipe USF Tampa, Team S6-G3, Lacy Spring 2017

USFT-LACY-S17S6G3

4 membres

5 tutoriels rédigés

0 commentaires

Ajouter un commentaire

Nombre de vues :

Dernières 24 heures : 0

7 derniers jours : 3

30 derniers jours : 8

Total : 790