Introduction
Does your Digital2 tablet battery deplete faster than it used to? Is the battery overheating or causing issues with performance? If so, it may be time to replace it. This guide will take you through the necessary steps to replace the battery. Soldering is required to complete this guide. For information on soldering, take a look at this guide.
Ce dont vous avez besoin
-
-
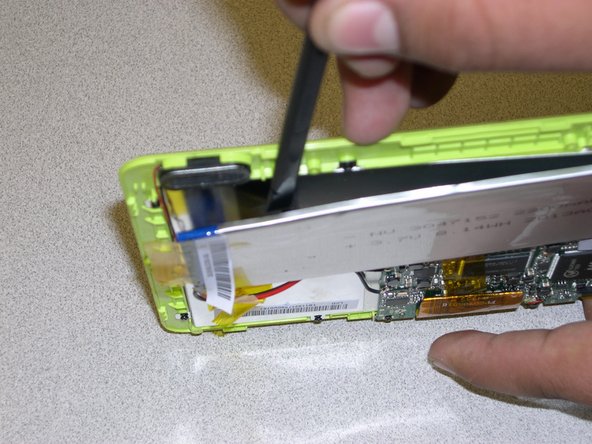
Insert the prying tool into the crack between the case and the display border found to the right of the charging port.
-
Continue to pry around the case.
-
After prying all around the device, separate the back cover from the display.
-
-
-
Use the soldering iron to remove the cables from the circuit board.
-
Solder the new battery cables onto the circuit board.
-
To reassemble your device, follow these instructions in reverse order.
To reassemble your device, follow these instructions in reverse order.
Annulation : je n'ai pas terminé ce tutoriel.
Une autre personne a terminé cette réparation.


