Cette version peut contenir des modifications incorrectes. Passez au dernier aperçu vérifié.
Ce dont vous avez besoin
-
Cette étape n’est pas traduite. Aidez à la traduire
-
First be sure to turn the power switch to the off position.
-
Do this by turning the leftmost knob counter-clockwise as until the line points to "off."
-
-
Cette étape n’est pas traduite. Aidez à la traduire
-
Now remove the battery.
-
On the back of the device locate the battery cover.
-
Remove it by pushing down on the clip.
-
Then pull the piece of fabric until the battery comes out.
-
-
-
Cette étape n’est pas traduite. Aidez à la traduire
-
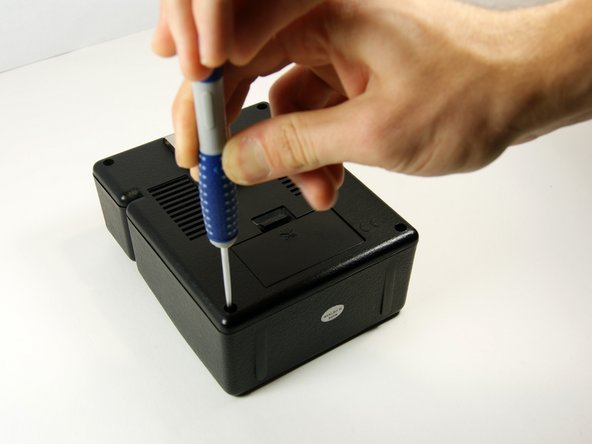
Use the long, skinny phillips head screwdriver to remove the 4 7/16" screws on the back of the device in the four corners.
-
-
Cette étape n’est pas traduite. Aidez à la traduire
-
Now pull the back panel off and place it down as shown. Pull the panel straight up so you do not lose the screws.
-


Annulation : je n'ai pas terminé ce tutoriel.
Une autre personne a terminé cette réparation.
Équipe

University of Maryland, Team 1-1, Shastany Fall 2013 Membre de l'équipe University of Maryland, Team 1-1, Shastany Fall 2013
UMD-SHASTANY-F13S1G1
3 membres
5 tutoriels rédigés