Aller au contenu principal

Disassembling Onkyo TX-800 Logic board

Ce dont vous avez besoin

  1. Disassembling Onkyo TX-800 Logic board, Disassembling Onkyo TX-800 Top case: étape 1, image 1 de 3 Disassembling Onkyo TX-800 Logic board, Disassembling Onkyo TX-800 Top case: étape 1, image 2 de 3 Disassembling Onkyo TX-800 Logic board, Disassembling Onkyo TX-800 Top case: étape 1, image 3 de 3
    • Remove the two screws on both sides of the receiver. Keep these and the rest of the screws in a safe place.

  2. Disassembling Onkyo TX-800 Logic board: étape 2, image 1 de 2 Disassembling Onkyo TX-800 Logic board: étape 2, image 2 de 2
    • Remove the top screw on the back panel.

  3. Disassembling Onkyo TX-800 Logic board: étape 3, image 1 de 2 Disassembling Onkyo TX-800 Logic board: étape 3, image 2 de 2
    • Slide off the case to expose the internal components of the receiver.

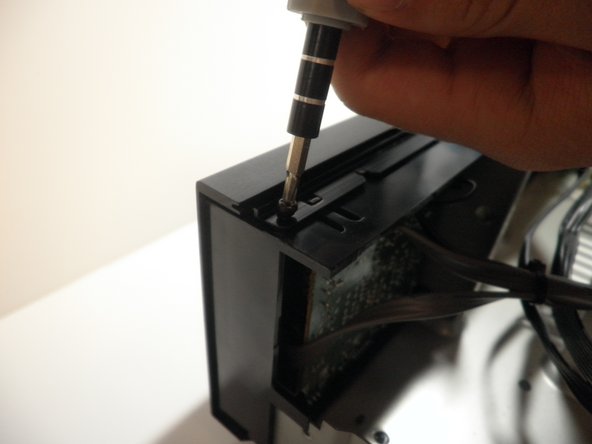
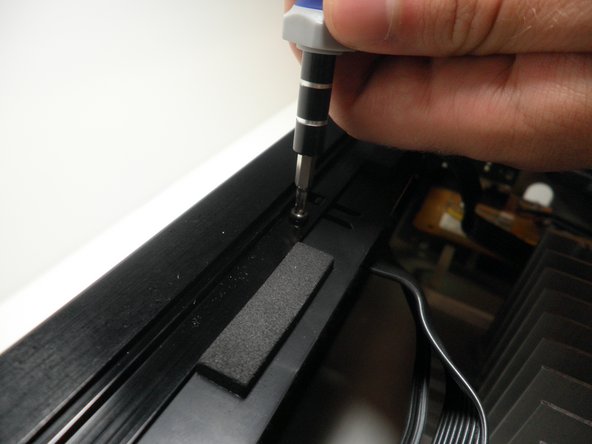
  4. Disassembling Onkyo TX-800 Logic board, Face plate: étape 4, image 1 de 3 Disassembling Onkyo TX-800 Logic board, Face plate: étape 4, image 2 de 3 Disassembling Onkyo TX-800 Logic board, Face plate: étape 4, image 3 de 3
    • Unscrew the three screws on top of the face plate.

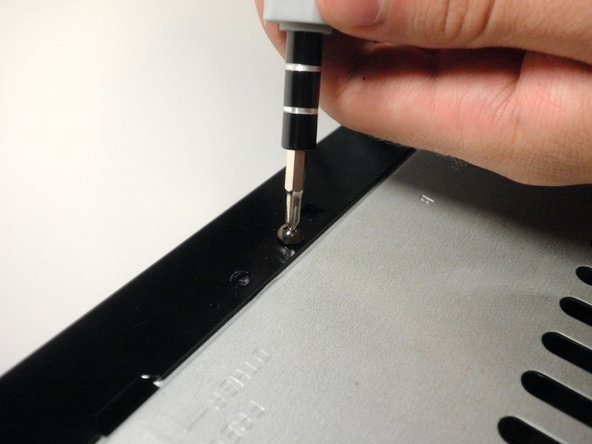
  5. Disassembling Onkyo TX-800 Logic board: étape 5, image 1 de 2 Disassembling Onkyo TX-800 Logic board: étape 5, image 2 de 2
    • Unscrew the one screw on the bottom of the front panel.

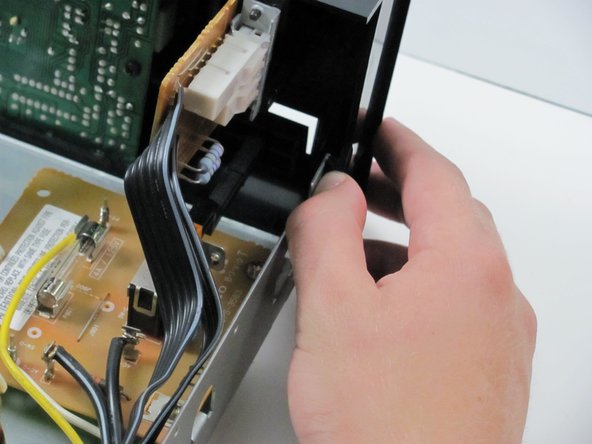
  6. Disassembling Onkyo TX-800 Logic board: étape 6, image 1 de 3 Disassembling Onkyo TX-800 Logic board: étape 6, image 2 de 3 Disassembling Onkyo TX-800 Logic board: étape 6, image 3 de 3
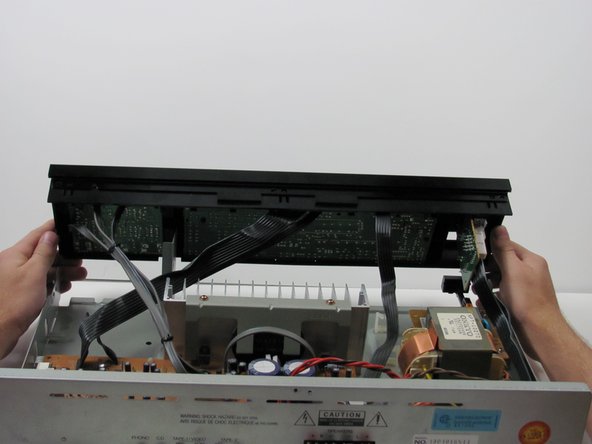
    • Simultaneously push down on the head of the snap on each end of the device with your thumbs and push to seperate the face plate. This may take some force.

  7. Disassembling Onkyo TX-800 Logic board, Logic board: étape 7, image 1 de 3 Disassembling Onkyo TX-800 Logic board, Logic board: étape 7, image 2 de 3 Disassembling Onkyo TX-800 Logic board, Logic board: étape 7, image 3 de 3
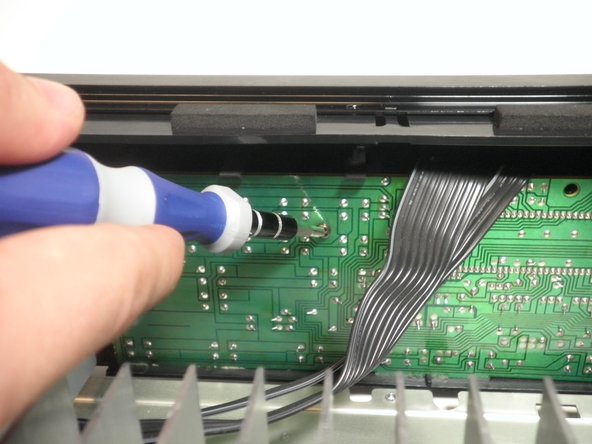
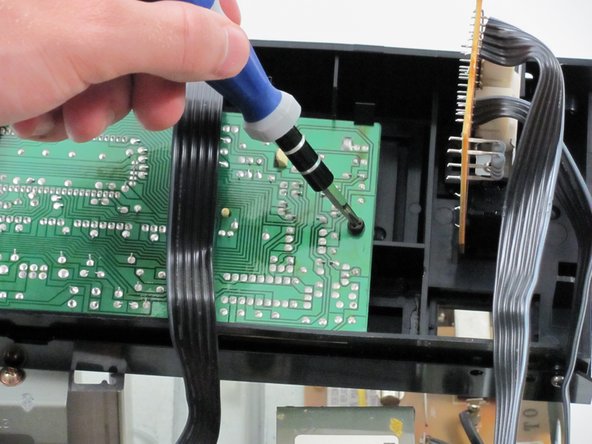
    • On the inside middle of the face plate you will see two screws in the logic board. Unscrew these two screws.

  8. Disassembling Onkyo TX-800 Logic board: étape 8, image 1 de 2 Disassembling Onkyo TX-800 Logic board: étape 8, image 2 de 2
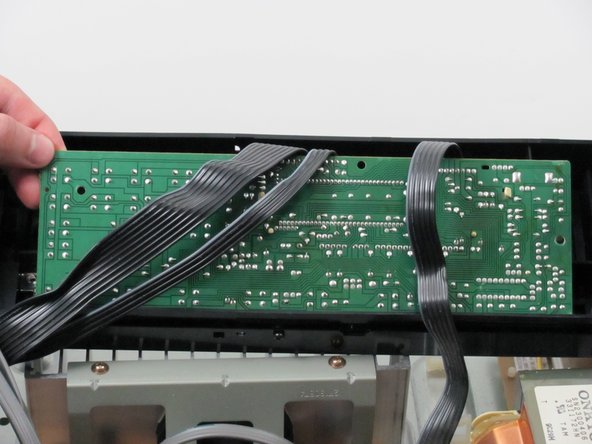
    • You will see the same snaps along the top of the logic board. Press the heads of the snaps down and pull the logic board out and up.

Conclusion

To reassemble your device, follow these instructions in reverse order.

Une autre personne a terminé cette réparation.

Ryan

Membre depuis le 04/13/10

108 Réputation

3 tutoriels rédigés

Équipe

Cal Poly, Team 27-92, Amido Spring 2010 Membre de l'équipe Cal Poly, Team 27-92, Amido Spring 2010

CPSU-AMIDO-S10S27G92

4 membres

7 tutoriels rédigés

0 commentaires

Ajouter un commentaire

Nombre de vues :

Dernières 24 heures : 0

7 derniers jours : 1

30 derniers jours : 6

Total : 2,615