Cette version peut contenir des modifications incorrectes. Passez au dernier aperçu vérifié.
Ce dont vous avez besoin
-
Cette étape n’est pas traduite. Aidez à la traduire
-
Remove the two screws on both sides of the receiver. Keep these and the rest of the screws in a safe place.
-
-
Cette étape n’est pas traduite. Aidez à la traduire
-
Slide off the case to expose the internal components of the receiver.
-
-
-
Cette étape n’est pas traduite. Aidez à la traduire
-
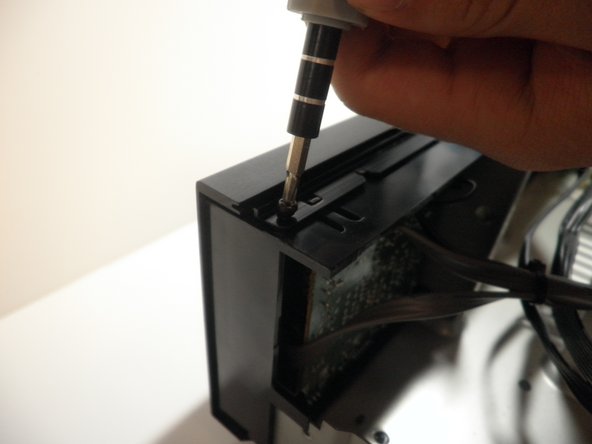
Unscrew the three screws on top of the face plate.
-
-
Cette étape n’est pas traduite. Aidez à la traduire
-
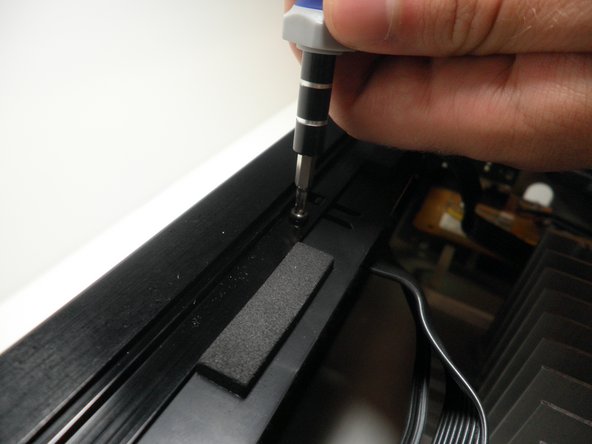
Unscrew the one screw on the bottom of the front panel.
-
-
Cette étape n’est pas traduite. Aidez à la traduire
-
Simultaneously push down on the head of the snap on each end of the device with your thumbs and push to seperate the face plate. This may take some force.
-
-
Cette étape n’est pas traduite. Aidez à la traduire
-
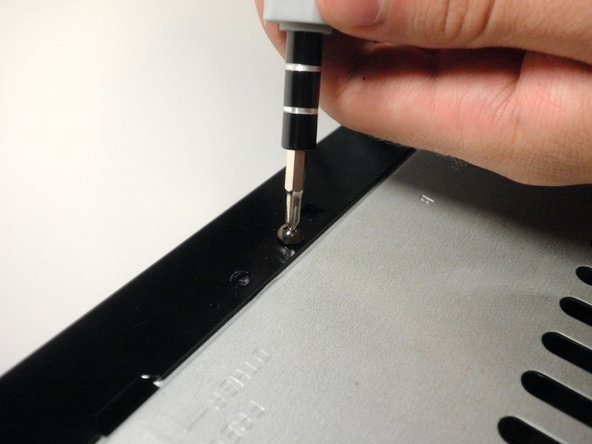
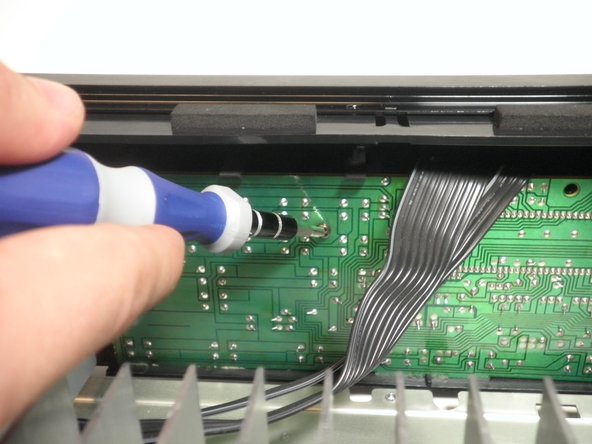
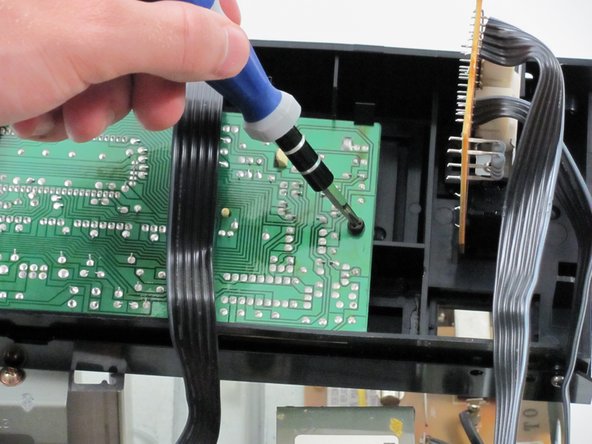
On the inside middle of the face plate you will see two screws in the logic board. Unscrew these two screws.
-
-
Cette étape n’est pas traduite. Aidez à la traduire
-
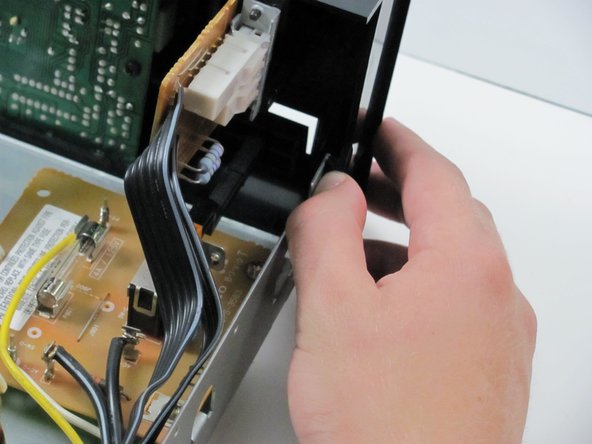
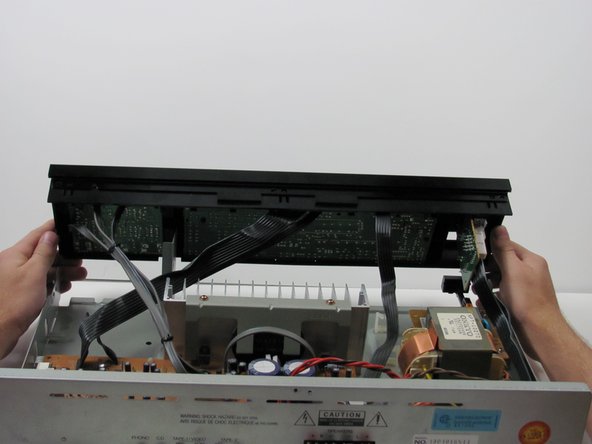
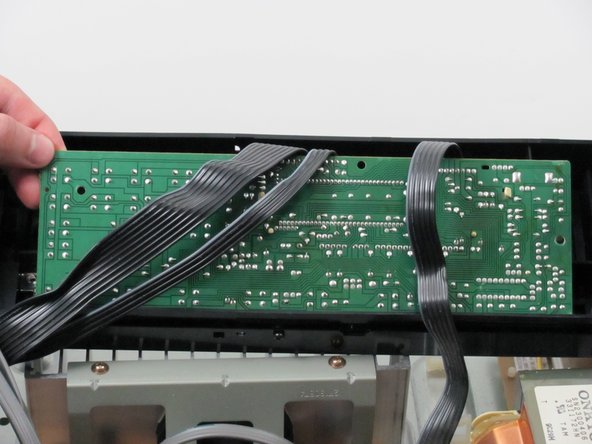
You will see the same snaps along the top of the logic board. Press the heads of the snaps down and pull the logic board out and up.
-


Annulation : je n'ai pas terminé ce tutoriel.
Une autre personne a terminé cette réparation.
Équipe

Cal Poly, Team 27-92, Amido Spring 2010 Membre de l'équipe Cal Poly, Team 27-92, Amido Spring 2010
CPSU-AMIDO-S10S27G92
4 membres
7 tutoriels rédigés