Aller au contenu principal

Disassembling Sanyo SCP-8100 Back Panel

Ce dont vous avez besoin

  1. Disassembling Sanyo SCP-8100 Back Panel, Battery: étape 1, image 1 de 3 Disassembling Sanyo SCP-8100 Back Panel, Battery: étape 1, image 2 de 3 Disassembling Sanyo SCP-8100 Back Panel, Battery: étape 1, image 3 de 3
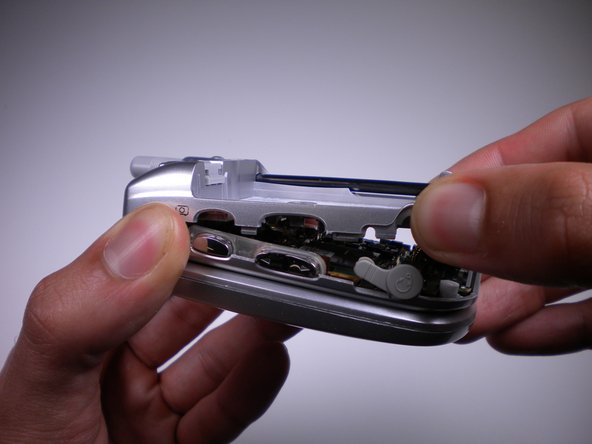
    • Push and hold the button on the back toward the direction of the arrow to unlock the battery.

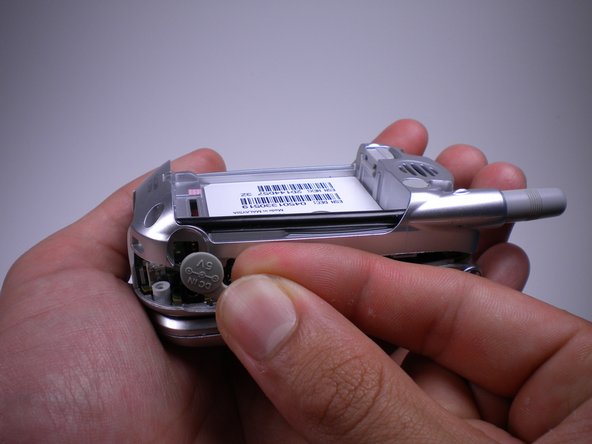
    • Lift and remove the battery from the back of the phone.

  2. Disassembling Sanyo SCP-8100 Back Panel, Back Panel: étape 2, image 1 de 2 Disassembling Sanyo SCP-8100 Back Panel, Back Panel: étape 2, image 2 de 2
    • Using a push pin, pull out the plug on the back, located under the antenna.

    • You may try to use a spudger or opening tool, however, you may damage the plug because those tools are too thick.

  3. Disassembling Sanyo SCP-8100 Back Panel: étape 3, image 1 de 1
    • Unscrew the four 6mm long screws with a Tri-Wing Y1 screwdriver.

  4. Disassembling Sanyo SCP-8100 Back Panel: étape 4, image 1 de 2 Disassembling Sanyo SCP-8100 Back Panel: étape 4, image 2 de 2
    • Use a plastic opening tool to pry the back panel along the edges.

    • You may need to apply some force when prying.

  5. Disassembling Sanyo SCP-8100 Back Panel: étape 5, image 1 de 3 Disassembling Sanyo SCP-8100 Back Panel: étape 5, image 2 de 3 Disassembling Sanyo SCP-8100 Back Panel: étape 5, image 3 de 3
    • While removing the back panel, take out the rubber cover on each side.

Conclusion

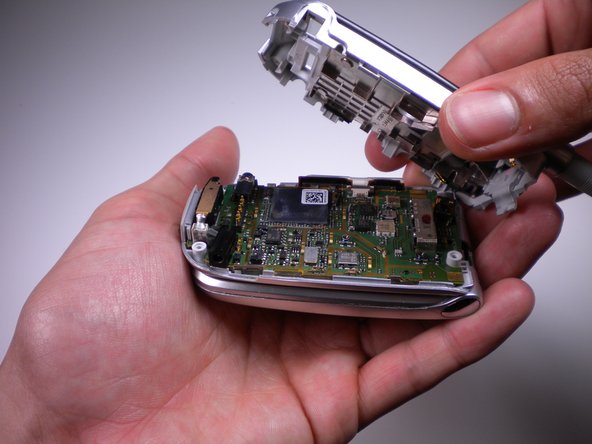
To reassemble your device, follow these instructions in reverse order.

Yemane

Membre depuis le 04/13/13

11 Réputation

1 tutoriel rédigé

Équipe

Cal Poly, Team 10-41, Amido Spring 2013 Membre de l'équipe Cal Poly, Team 10-41, Amido Spring 2013

CPSU-AMIDO-S13S10G41

4 membres

12 tutoriels rédigés

0 commentaires

Ajouter un commentaire

Nombre de vues :

Dernières 24 heures : 0

7 derniers jours : 0

30 derniers jours : 2

Total : 358