Aller au contenu principal

Disassembling Siemens A56 Motherboard Metal Frame

Ce dont vous avez besoin

  1. Disassembling Siemens A56 Motherboard Metal Frame, Front Plate: étape 1, image 1 de 3 Disassembling Siemens A56 Motherboard Metal Frame, Front Plate: étape 1, image 2 de 3 Disassembling Siemens A56 Motherboard Metal Frame, Front Plate: étape 1, image 3 de 3
    • Firmly grasp the white casing of the phone with one hand and the blue cover with the other hand as seen in the first picture.

    • Pull up on the two plastic clips at the top of the phone.

    • While the clips are pulled up, pull the blue cover away from the white casing to remove it.

  2. Disassembling Siemens A56 Motherboard Metal Frame, Back Plastic Cover: étape 2, image 1 de 3 Disassembling Siemens A56 Motherboard Metal Frame, Back Plastic Cover: étape 2, image 2 de 3 Disassembling Siemens A56 Motherboard Metal Frame, Back Plastic Cover: étape 2, image 3 de 3
    • Along the side of the metal frame of the phone, locate the six screws.

    • Using a T5 screwdriver bit, unscrew the six 1/4 inch screws and store them in a safe place.

    • The screws are very small and can strip easily, so proper care is required when removing and storing the screws.

  3. Disassembling Siemens A56 Motherboard Metal Frame: étape 3, image 1 de 3 Disassembling Siemens A56 Motherboard Metal Frame: étape 3, image 2 de 3 Disassembling Siemens A56 Motherboard Metal Frame: étape 3, image 3 de 3
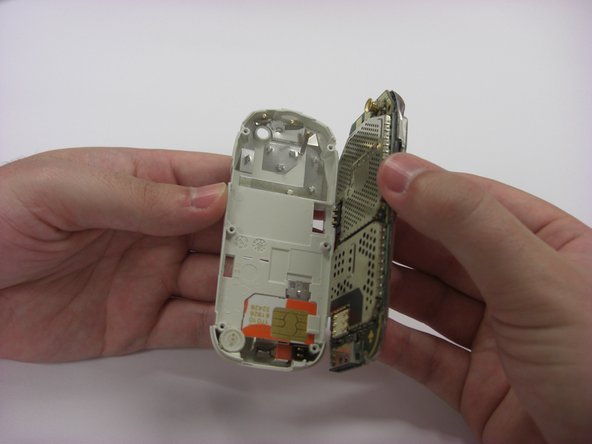
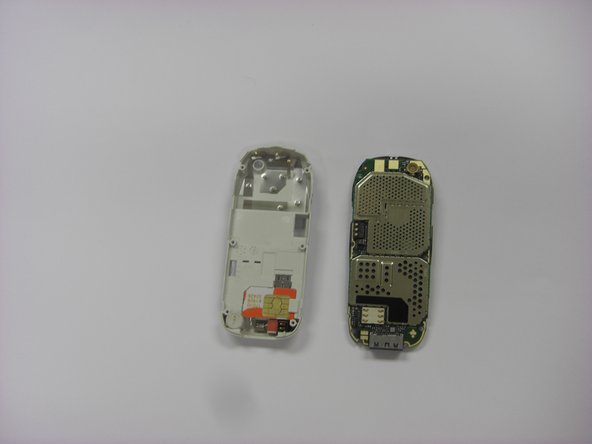
    • To remove the back plastic cover, grasp the device with both hands as seen in the first picture.

    • Gently remove the motherboard from the back plastic cover.

    • The motherboard is fragile, so proper care is necessary when handling and storing in order to prevent damage.

  4. Disassembling Siemens A56 Motherboard Metal Frame, Motherboard Metal Frame: étape 4, image 1 de 3 Disassembling Siemens A56 Motherboard Metal Frame, Motherboard Metal Frame: étape 4, image 2 de 3 Disassembling Siemens A56 Motherboard Metal Frame, Motherboard Metal Frame: étape 4, image 3 de 3
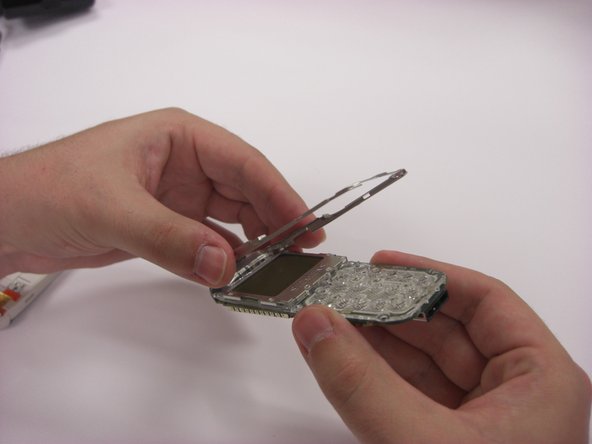
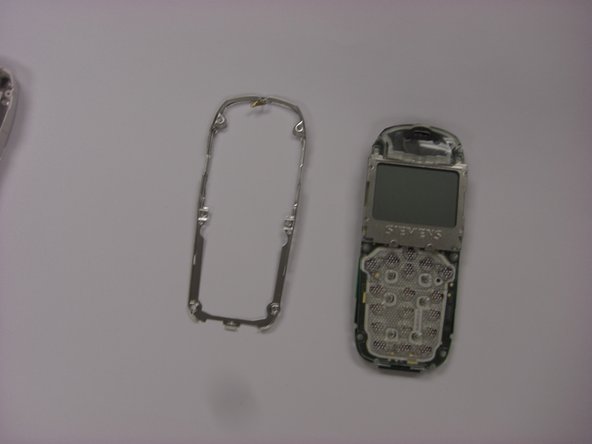
    • Turn over the keypad interface and using the blue plastic opening tool, gently pry the bottom of the metal frame.

    • Once loosened, the metal frame should be able to be lifted from the motherboard.

Conclusion

To reassemble your device, follow these instructions in reverse order.

Joseph Casey

Membre depuis le 03/26/14

409 Réputation

4 tutoriels rédigés

Équipe

Clemson, Team 6-6, Benson Spring 2014 Membre de l'équipe Clemson, Team 6-6, Benson Spring 2014

CLEM-BENSON-S14S6G6

4 membres

18 tutoriels rédigés

0 commentaires

Ajouter un commentaire

Nombre de vues :

Dernières 24 heures : 0

7 derniers jours : 1

30 derniers jours : 1

Total : 158