Cette version peut contenir des modifications incorrectes. Passez au dernier aperçu vérifié.
Ce dont vous avez besoin
-
Cette étape n’est pas traduite. Aidez à la traduire
-
Remove the battery (which also functions as the back cover) from the device. This step is not explicitly shown, but a picture without the battery cover shows the device post-battery removal.
-
-
-
Cette étape n’est pas traduite. Aidez à la traduire
-
Use a Philip's head screw driver to remove the screws from the case.
-
Place the screws in a small container to avoid losing them.
-
-
Cette étape n’est pas traduite. Aidez à la traduire
-
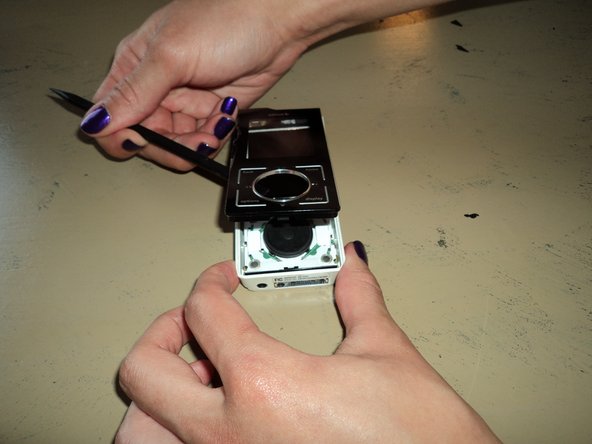
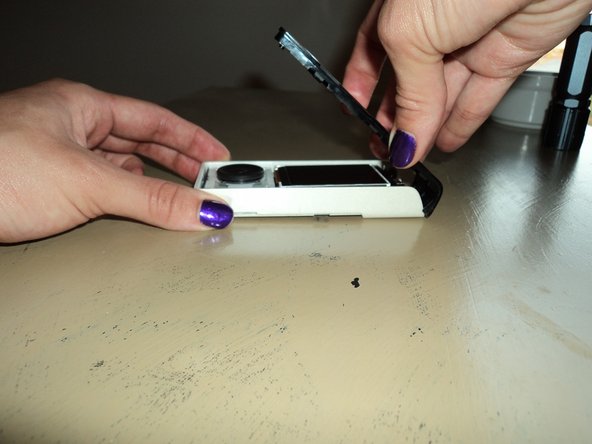
Remove the front cover.
-
First, insert a small pry bar where the black front cover and white back cover meet.
-
Begin prying the black plastic up, slowing moving around to the bottom and other side.
-
At an angle, carefully pull up on the front cover separate the two pieces.
-
Excellent! Now you have removed the front cover!
-


Équipe

Clemson, Team 2-1, Benson Spring 2012 Membre de l'équipe Clemson, Team 2-1, Benson Spring 2012
CLEM-BENSON-S12S2G1
3 membres
6 tutoriels rédigés