Cette version peut contenir des modifications incorrectes. Passez au dernier aperçu vérifié.
Ce dont vous avez besoin
-
Cette étape n’est pas traduite. Aidez à la traduire
-
Unscrew the 1.9mm screw located at the top of the device with a Phillips #00 screwdriver.
-
-
-
Cette étape n’est pas traduite. Aidez à la traduire
-
Unscrew the 2.5mm screw located on the left side of the device with a Phillips #00 screwdriver.
-
-
Cette étape n’est pas traduite. Aidez à la traduire
-
Unscrew the five 2.5mm screws on the back panel with a Phillips #00 screwdriver.
-
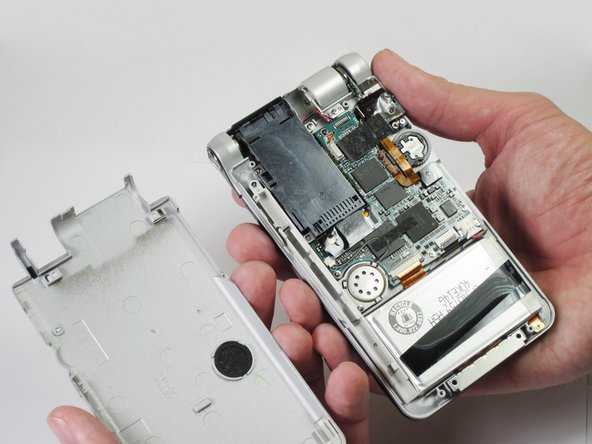
Remove the back panel by lifting it away with your hands.
-
Annulation : je n'ai pas terminé ce tutoriel.
Une autre personne a terminé cette réparation.


