Aller au contenu principal

Ce dont vous avez besoin

Cette vue éclatée n'est pas un tutoriel de réparation. Pour réparer votre iClicker, utilisez notre manuel de réparation.

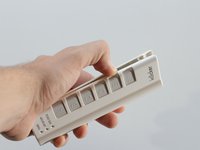
  1. Disassembling iClicker Device, Disassembling iClicker Device: étape 1, image 1 de 1
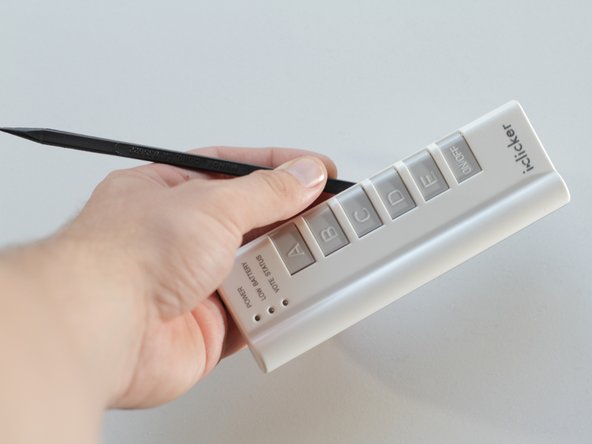
    • Behold the iclicker in all its interactive and educational beauty.

  2. Disassembling iClicker Device: étape 2, image 1 de 1
    • Place the device on a flat surface, buttons facing down.

    • Remove the battery cover and the three batteries within.

  3. Disassembling iClicker Device: étape 3, image 1 de 2 Disassembling iClicker Device: étape 3, image 2 de 2
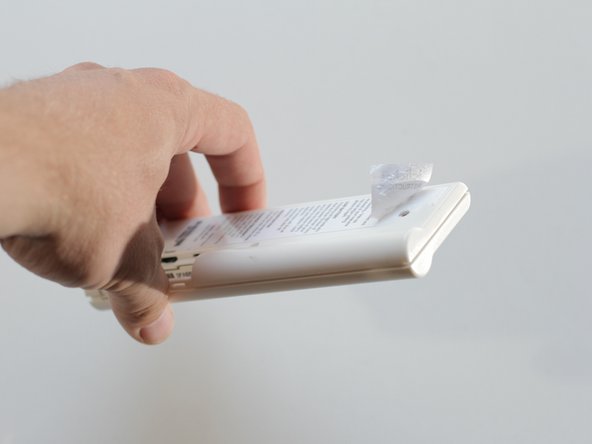
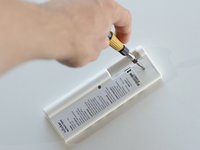
    • Remove the two visible screws using a #00 Phillips screwdriver.

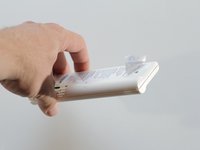
    • Oops! Don't forget a hidden third screw beneath the factory label.

    • Peel back the corner of the label to reveal the hidden screw.

    • If you wish to maintain the integrity of the label, a blowdryer may be used to soften the adhesive on the label before removal.

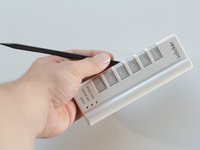
  4. Disassembling iClicker Device: étape 4, image 1 de 2 Disassembling iClicker Device: étape 4, image 2 de 2
    • Depending on how much abuse your iclicker has endured, you might be able to separate the front and rear panels of the iclicker with your fingers.

    • For the more resistent iclickers, a spudger may be employed to separate the pieces.

  5. Disassembling iClicker Device: étape 5, image 1 de 1
    • Your iclicker is now exposed for all its worth.

    • The back panel can be set aisde, as the remaining components are housed in the front panel.

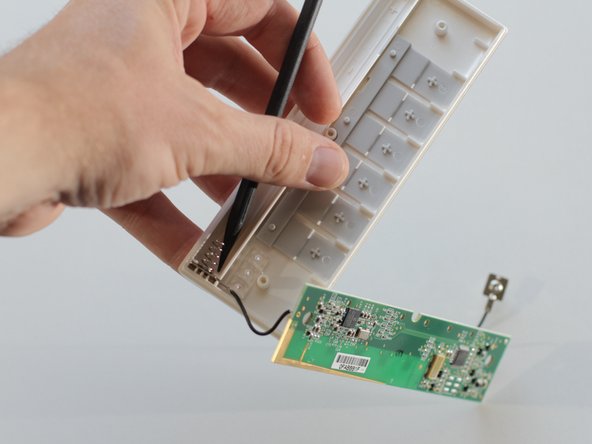
  6. Disassembling iClicker Device: étape 6, image 1 de 2 Disassembling iClicker Device: étape 6, image 2 de 2
    • Using a spudger, gently pry the battery connectors from the front panel.

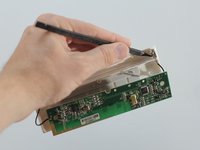
  7. Disassembling iClicker Device: étape 7, image 1 de 1
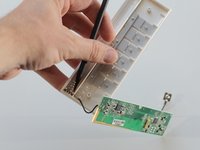
    • If your circuit board is stuck in the front panel, use a spudger to lift the circuit board from the front panel.

  8. Disassembling iClicker Device: étape 8, image 1 de 1
    • The buttons can be easily removed from the front assembly sans spudger.

  9. Disassembling iClicker Device: étape 9, image 1 de 1
    • Don't lose the small LED cover sitting precariously in the front panel.

  10. Disassembling iClicker Device: étape 10, image 1 de 1
    • Your iclicker is now disassembled.

Un commentaire

What is an iClicker ?

furbies - Réponse

Ajouter un commentaire

Nombre de vues :

Dernières 24 heures : 0

7 derniers jours : 0

30 derniers jours : 6

Total : 7,765