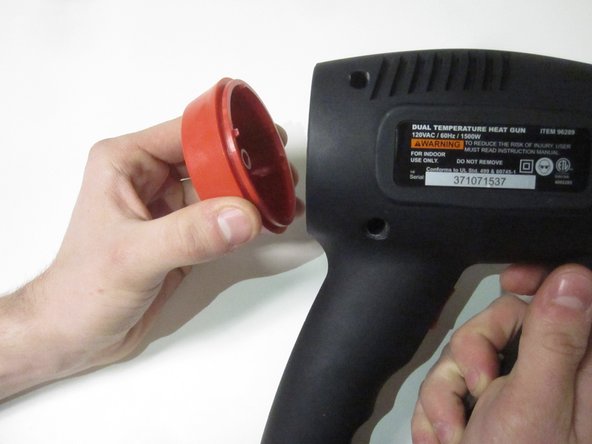
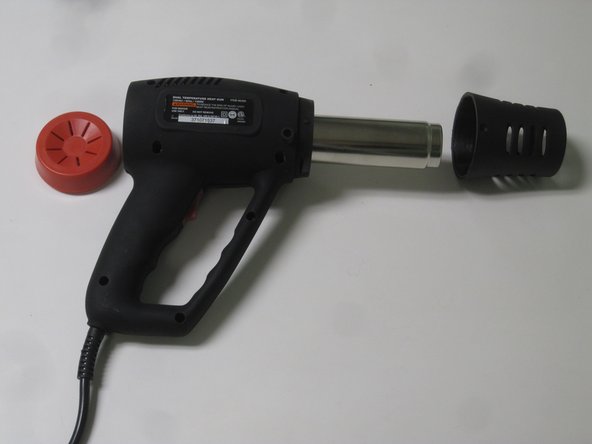
Aller au contenu principal

Drill Master Heat Gun Fan Replacement

Ce dont vous avez besoin

  1. Drill Master Heat Gun Fan Replacement, Fan: étape 1, image 1 de 1
    • Be sure the heat gun is unplugged before starting this process.

    • Remove the seven 14mm screws from the side of the drill using the PH#0 screwdriver.

    • You will need a screwdriver extension.

  2. Drill Master Heat Gun Fan Replacement: étape 2, image 1 de 1
    • Remove the 8mm screw from underside of barrel using the PH#0 screwdriver.

    • Don't try to open the casing just yet.

  3. Drill Master Heat Gun Fan Replacement: étape 3, image 1 de 3 Drill Master Heat Gun Fan Replacement: étape 3, image 2 de 3 Drill Master Heat Gun Fan Replacement: étape 3, image 3 de 3
    • Remove the barrel casing on either end by twisting and pulling each side off.

  4. Drill Master Heat Gun Fan Replacement: étape 4, image 1 de 1
    • Remove the top casing to reveal inside of drill. You might have to tug a little harder for this one.

  5. Drill Master Heat Gun Fan Replacement: étape 5, image 1 de 1
    • Remove the metal casing and fan cover from the fan unit.

  6. Drill Master Heat Gun Fan Replacement: étape 6, image 1 de 1
    • Bend the metal prongs backward that connect the fan motor to the plastic cap.

    • Bending the brackets too far back can cause the brackets to break.

  7. Drill Master Heat Gun Fan Replacement: étape 7, image 1 de 1
    • Remove the plastic cap from the motor,

    • This will allow you to work only with the motor and fan.

  8. Drill Master Heat Gun Fan Replacement: étape 8, image 1 de 1
    • Remove the fan by pulling it from the motor rod and replace.

Conclusion

To reassemble your device, follow these instructions in reverse order.

Mikayla Kim

Membre depuis le 01/31/17

523 Réputation

5 tutoriels rédigés

Équipe

0 commentaires

Ajouter un commentaire

Nombre de vues :

Dernières 24 heures : 1

7 derniers jours : 4

30 derniers jours : 29

Total : 2,440