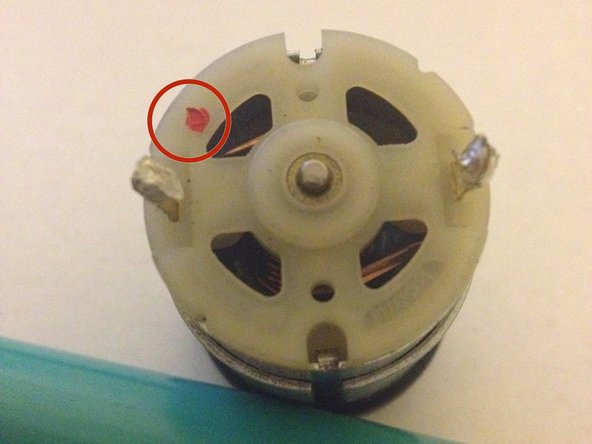
Aller au contenu principal
Pour réparer ensemble - Je crée un compte

Durofix RV332 Motor Replacement

Ce dont vous avez besoin

  1. Durofix RV332 Motor Replacement, Screwdriver Motor: étape 1, image 1 de 1
    • Use the Phillips #0 screwdriver to remove six 13 mm screws from the casing.

    • Place the screws in a small container so they don’t get lost.

  2. Durofix RV332 Motor Replacement: étape 2, image 1 de 2 Durofix RV332 Motor Replacement: étape 2, image 2 de 2
    • Use a plastic separating tool (or a prying tool) to gently pry apart the top and bottom halves of the driver’s plastic housing.

    • Work slowly around the edges to avoid cracking the plastic or damaging internal clips.

  3. Durofix RV332 Motor Replacement: étape 3, image 1 de 2 Durofix RV332 Motor Replacement: étape 3, image 2 de 2
    • Once the casing is open, lift out the printed circuit board (PCB), battery, LED, and existing motor assembly as one unit from inside the housing.

    • Using wire cutters, cut the black and red motor wires where they connect to the motor. (You’ll later re-solder to the new motor.)

  4. Durofix RV332 Motor Replacement: étape 4, image 1 de 1
    • Strip about ¼ inch (≈ 6 mm) of insulation off the ends of both red and black wires.

    • Make sure the exposed wire is clean (unoxidized) and ready to solder.

  5. Durofix RV332 Motor Replacement: étape 5, image 1 de 3 Durofix RV332 Motor Replacement: étape 5, image 2 de 3 Durofix RV332 Motor Replacement: étape 5, image 3 de 3
    • Before soldering, check that the contacts on the new motor are clean and free from residue.

    • Solder the red wire to the motor’s positive terminal (usually marked with a “+” or a red circle).

    • Solder the black wire to the motor’s negative terminal (or the remaining terminal).

    • Allow the solder joints and motor to cool down fully before proceeding.

    • Solder carefully! Using a hot soldering tool may result in injury!

  6. Durofix RV332 Motor Replacement: étape 6, image 1 de 1
    • Place the motor, along with the PCB, LED, and battery, back into the plastic housing in the correct orientation.

    • Close the casing halves together, ensuring clips and alignment are correct.

    • Reinsert and tighten the six screws you removed earlier.

    • Finally, test the device to confirm the motor now works.

    • If everything functions, you're done. If not, reopen and re-check your soldering and connections.

Conclusion

To reassemble your device, follow these instructions in reverse order.

Tyler Vincent

Membre depuis le 02/24/14

503 Réputation

4 tutoriels rédigés

Équipe

Michigan Tech, Team 5-5, Lauer Spring 2014 Membre de l'équipe Michigan Tech, Team 5-5, Lauer Spring 2014

MTU-LAUER-S14S5G5

3 membres

5 tutoriels rédigés

1 commentaire de tutoriel

Too late finding this (although self-explanatory). I was wondering when I tried this - WHERE does one find the spare component motor to replace? I searched the internet, but for something so specific, I just couldn't locate the right channels. For future reference, is there a typical store of small motors, etc... to locate these things?

Arkadiusz - Réponse

Ajouter un commentaire

Nombre de vues :

Dernières 24 heures : 1

7 derniers jours : 8

30 derniers jours : 28

Total : 1,079