Introduction
This guide is for maintaining the dust container on a Dyson DC24 Ball All-Floors Upright Vacuum Cleaner.
Dust containers need to be properly taken care of in order to maintain the efficiency they hold after initial purchase. The dust container should be emptied constantly as to not overfill, but even basic maintenance like that will not cut it over time. To ensure longevity of the vacuum's service life, it is recommended that the following steps are repeated every 1-2 months.
Dust will travel past major dust container and will collect in the interior of the pieces holding the filter, which will also lower the efficiency and suction power of the vacuum. It is important to understand how to take the dust container apart in order to clean the pieces and prevent these outcomes.
As you are disassembling these pieces you should clean them to be able to conduct a proper damage assessment.
Ce dont vous avez besoin
-
-
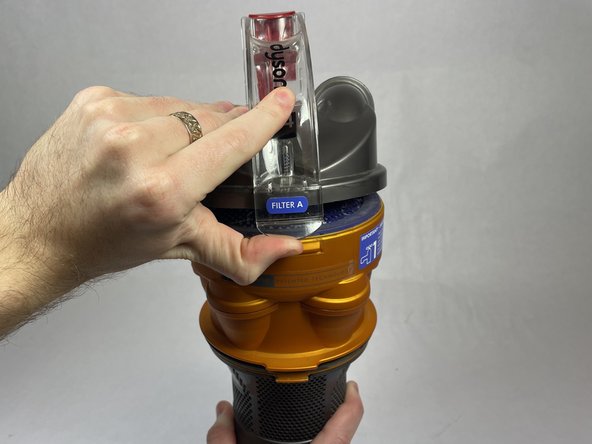
Remove the dirt container by clicking on the red button.
-
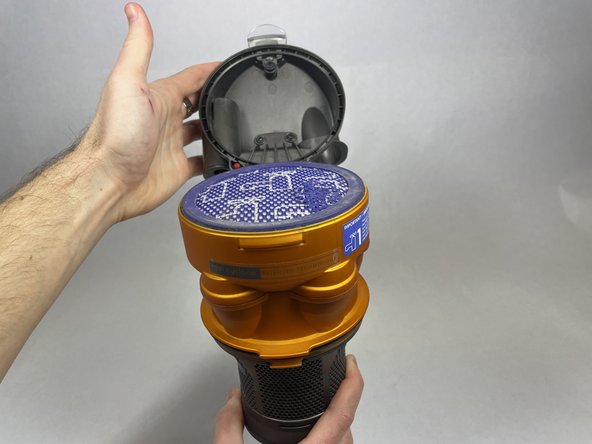
Pull away the container from the main body.
-
-


With the completion of step 7, you are done. To reassemble your device, follow these instructions in reverse order.
With the completion of step 7, you are done. To reassemble your device, follow these instructions in reverse order.

Équipe

UC Davis, Team 1-4, Morris Winter 2023 Membre de l'équipe UC Davis, Team 1-4, Morris Winter 2023
UCD-MORRIS-W23S1G4
2 membres
1 tutoriel rédigé