Aller au contenu principal

EDCO PRO KL-18 Concrete Saw Belts Replacement

Ce dont vous avez besoin

  1. EDCO PRO KL-18 Concrete Saw Belts Replacement, Chock the wheels: étape 1, image 1 de 2 EDCO PRO KL-18 Concrete Saw Belts Replacement, Chock the wheels: étape 1, image 2 de 2
    • Before you begin, ensure the machine is powered down and cool to the touch.

    • Chock the wheels to prevent the machine from moving while you are working on it.

  2. EDCO PRO KL-18 Concrete Saw Belts Replacement, Turn off the ignition switches: étape 2, image 1 de 3 EDCO PRO KL-18 Concrete Saw Belts Replacement, Turn off the ignition switches: étape 2, image 2 de 3 EDCO PRO KL-18 Concrete Saw Belts Replacement, Turn off the ignition switches: étape 2, image 3 de 3
    • Flip the ignition switches on the motor and the handle bar into their "OFF" positions.

  3. EDCO PRO KL-18 Concrete Saw Belts Replacement, Close the fuel valve: étape 3, image 1 de 2 EDCO PRO KL-18 Concrete Saw Belts Replacement, Close the fuel valve: étape 3, image 2 de 2
    • Flip the fuel cutoff valve switch into the off position.

  4. EDCO PRO KL-18 Concrete Saw Belts Replacement, Disconnect the spark plug: étape 4, image 1 de 2 EDCO PRO KL-18 Concrete Saw Belts Replacement, Disconnect the spark plug: étape 4, image 2 de 2
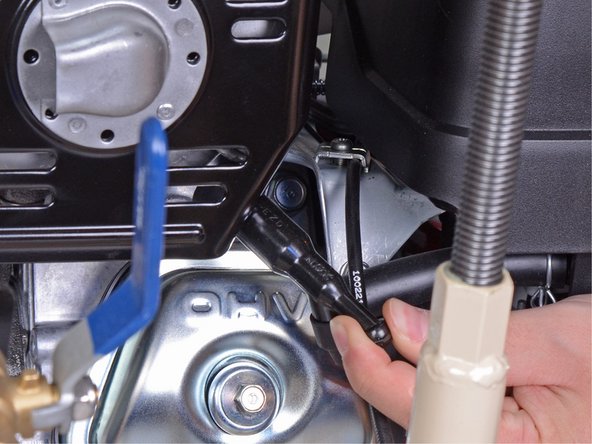
    • Grab the plastic housing at the end of the spark plug wire.

    • Pull firmly to disconnect the wire from the spark plug.

  5. EDCO PRO KL-18 Concrete Saw Belts Replacement, Remove the belt guard: étape 5, image 1 de 1
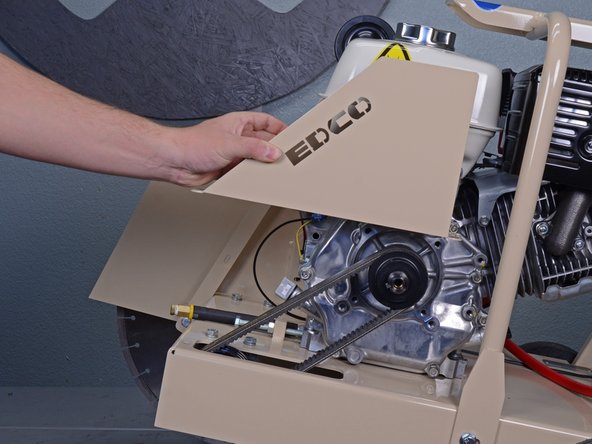
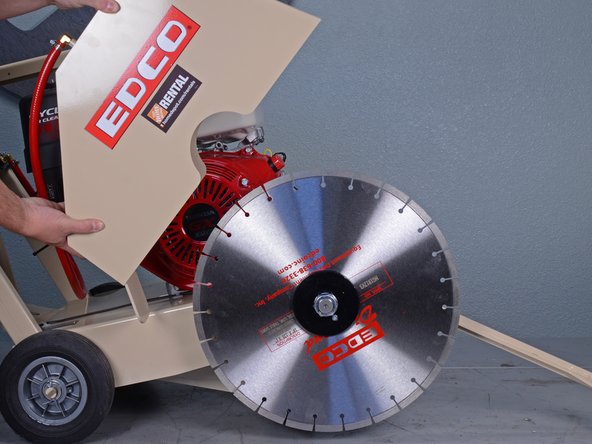
    • Use a 9/16 inch socket to remove the two bolts securing the belt guard to the main frame.

  6. EDCO PRO KL-18 Concrete Saw Belts Replacement: étape 6, image 1 de 2 EDCO PRO KL-18 Concrete Saw Belts Replacement: étape 6, image 2 de 2
    • Remove the belt guard.

  7. EDCO PRO KL-18 Concrete Saw Belts Replacement, Loosen the belt-tensioner lock nut: étape 7, image 1 de 1
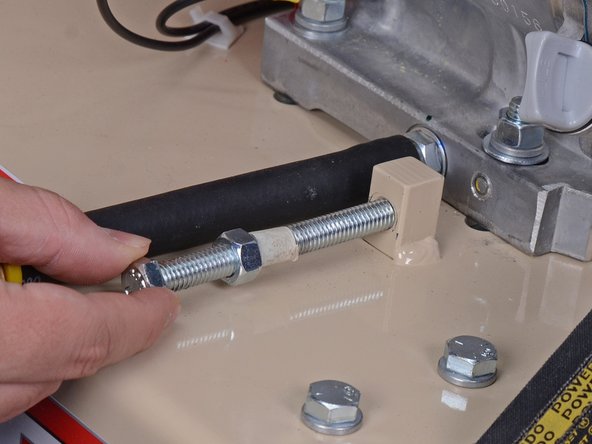
    • Use a 9/16 inch wrench to loosen the lock nut on the belt-tensioner bolt.

  8. EDCO PRO KL-18 Concrete Saw Belts Replacement: étape 8, image 1 de 2 EDCO PRO KL-18 Concrete Saw Belts Replacement: étape 8, image 2 de 2
    • Use your finger to spin the lock nut counterclockwise until there is a about a one inch gap between it and the frame.

    • Wrap a piece of tape around the belt-tensioner bolt where it meets the frame.

    • During reassembly, tighten the belt-tensioner bolt until the tape is flush against the frame (or until the belt is sufficiently tensioned) and then tighten down the belt-tensioner lock nut to the frame.

  9. EDCO PRO KL-18 Concrete Saw Belts Replacement, Remove the belt-tensioner bolt: étape 9, image 1 de 3 EDCO PRO KL-18 Concrete Saw Belts Replacement, Remove the belt-tensioner bolt: étape 9, image 2 de 3 EDCO PRO KL-18 Concrete Saw Belts Replacement, Remove the belt-tensioner bolt: étape 9, image 3 de 3
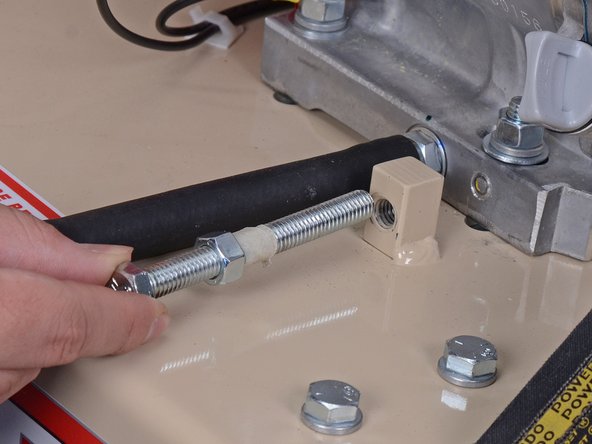
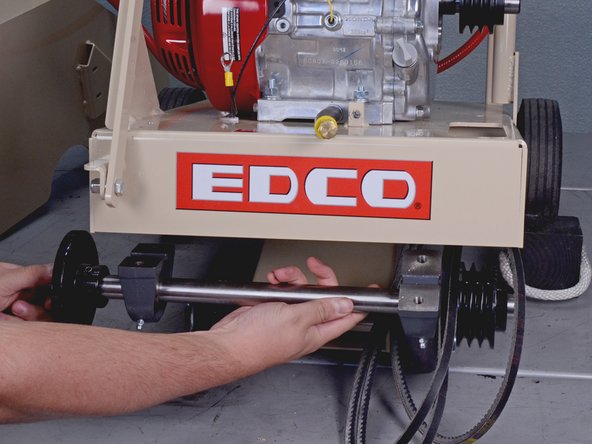
    • Use a 9/16 inch socket to remove the belt-tensioner bolt from the frame.

  10. EDCO PRO KL-18 Concrete Saw Belts Replacement, Disconnect the ground wire: étape 10, image 1 de 1
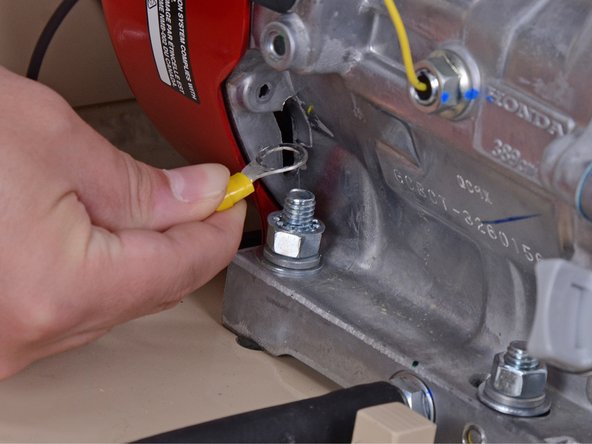
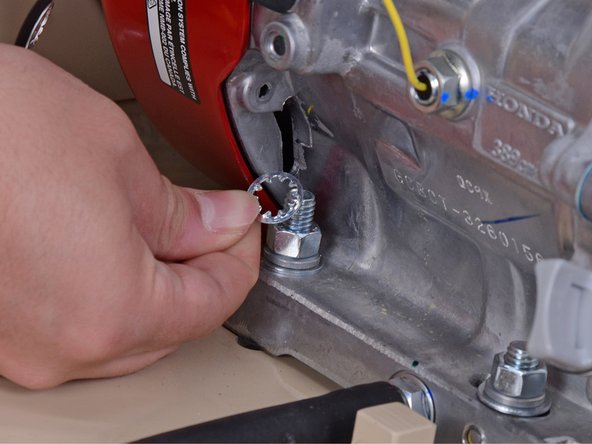
    • Use a 9/16 inch wrench to remove the nut securing the ground wire to the engine block.

  11. EDCO PRO KL-18 Concrete Saw Belts Replacement: étape 11, image 1 de 3 EDCO PRO KL-18 Concrete Saw Belts Replacement: étape 11, image 2 de 3 EDCO PRO KL-18 Concrete Saw Belts Replacement: étape 11, image 3 de 3
    • Remove the ground wire and tooth washer from the engine mount.

  12. EDCO PRO KL-18 Concrete Saw Belts Replacement, Relieve tension on the bolts: étape 12, image 1 de 2 EDCO PRO KL-18 Concrete Saw Belts Replacement, Relieve tension on the bolts: étape 12, image 2 de 2
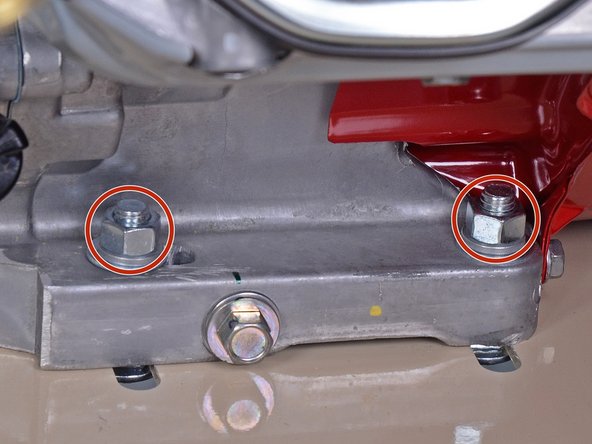
    • Use a 9/16 inch wrench to loosen the four nuts securing the engine block to the frame, two on the front and two on the back.

    • Do not completely remove these nuts.

  13. EDCO PRO KL-18 Concrete Saw Belts Replacement: étape 13, image 1 de 2 EDCO PRO KL-18 Concrete Saw Belts Replacement: étape 13, image 2 de 2
    • Slide the engine towards the front of the frame to relieve tension on the belts.

    • To keep the motor in the de-tensioned position, tighten a couple of the nuts down.

  14. EDCO PRO KL-18 Concrete Saw Belts Replacement, Remove the belts from the motor pulley: étape 14, image 1 de 3 EDCO PRO KL-18 Concrete Saw Belts Replacement, Remove the belts from the motor pulley: étape 14, image 2 de 3 EDCO PRO KL-18 Concrete Saw Belts Replacement, Remove the belts from the motor pulley: étape 14, image 3 de 3
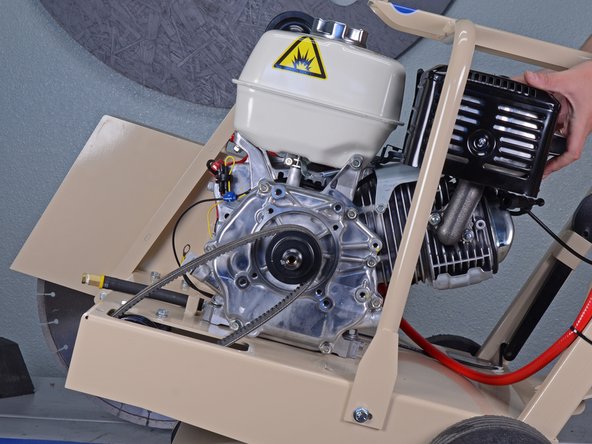
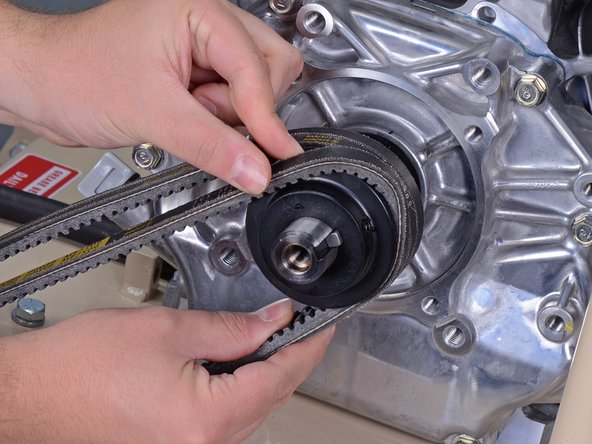
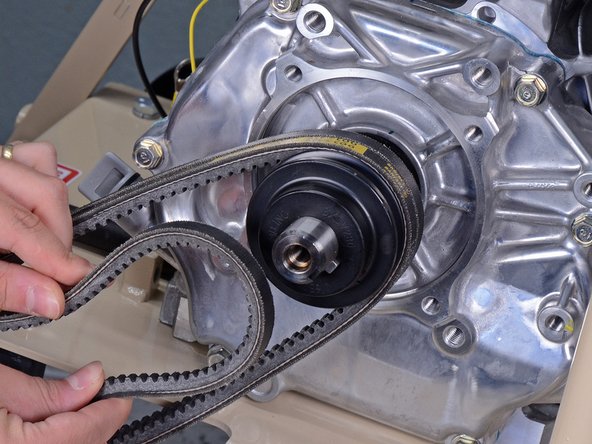
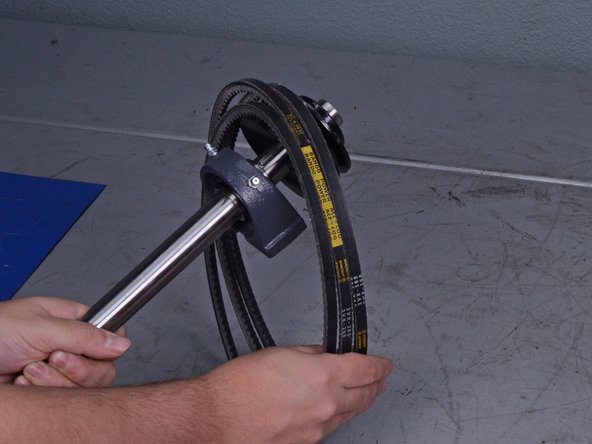
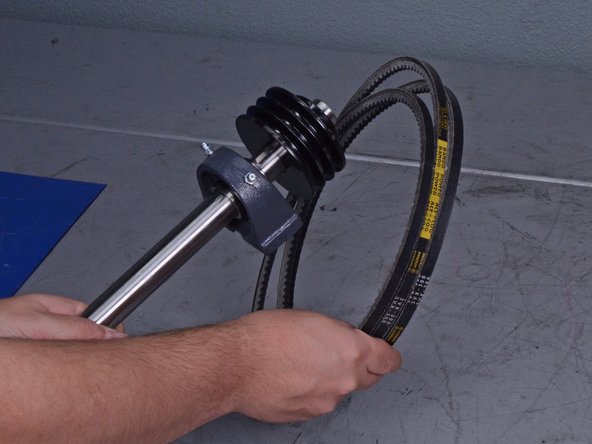
    • Lift the outermost belt out of its pulley groove and rotate the motor pulley to remove it.

    • Repeat for the two remaining belts.

  15. EDCO PRO KL-18 Concrete Saw Belts Replacement, Remove the cutter blade: étape 15, image 1 de 2 EDCO PRO KL-18 Concrete Saw Belts Replacement, Remove the cutter blade: étape 15, image 2 de 2
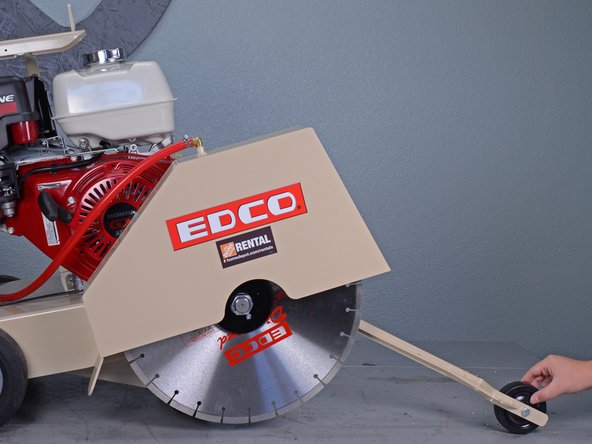
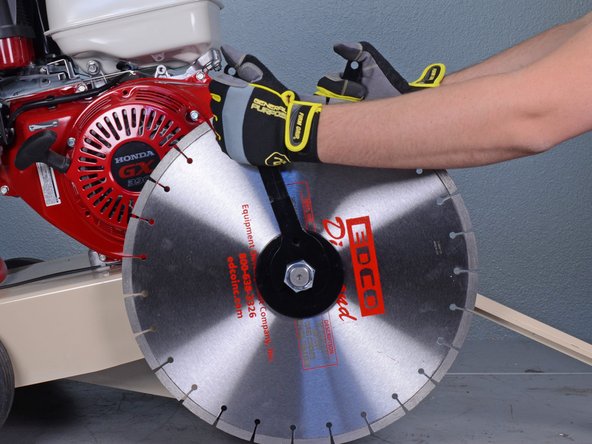
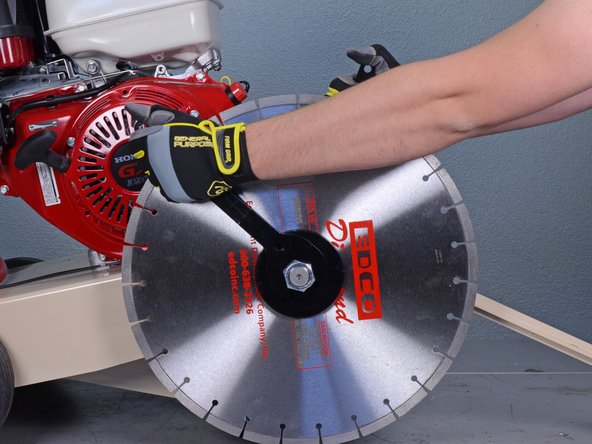
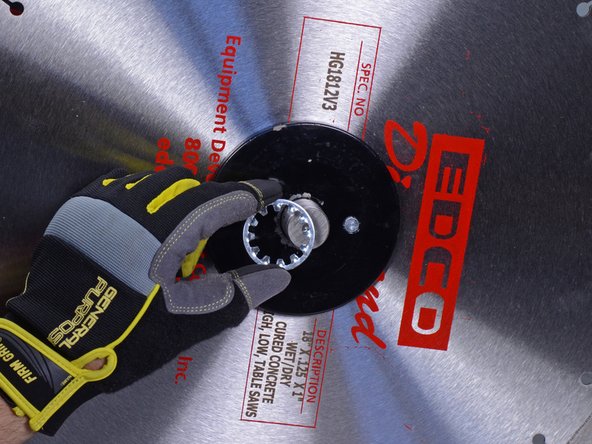
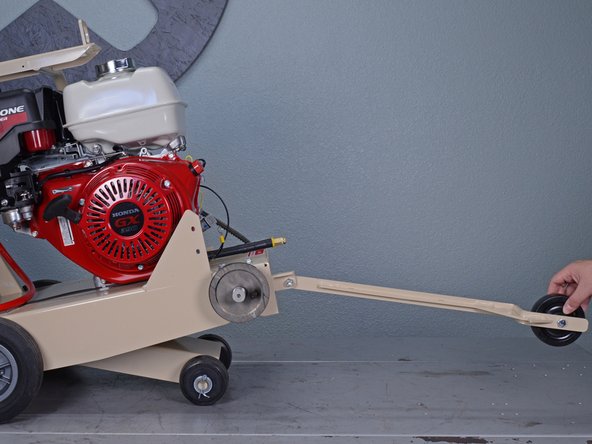
    • Place the guide bar onto the ground out of the way of the blade guard.

  16. EDCO PRO KL-18 Concrete Saw Belts Replacement: étape 16, image 1 de 2 EDCO PRO KL-18 Concrete Saw Belts Replacement: étape 16, image 2 de 2
    • Lift the blade guide straight up and off of the frame and place it next to the machine.

    • The blade guard is still attached to the device via the water hose.

  17. EDCO PRO KL-18 Concrete Saw Belts Replacement: étape 17, image 1 de 3 EDCO PRO KL-18 Concrete Saw Belts Replacement: étape 17, image 2 de 3 EDCO PRO KL-18 Concrete Saw Belts Replacement: étape 17, image 3 de 3
    • When working with the blade, wear gloves. The edges of the blade are sharp. Be careful not to cut your arms on the blade.

    • Use the two included 1-1/2 inch wrenches to twist the arbor shaft nut counterclockwise while holding the backing plate in place.

  18. EDCO PRO KL-18 Concrete Saw Belts Replacement: étape 18, image 1 de 3 EDCO PRO KL-18 Concrete Saw Belts Replacement: étape 18, image 2 de 3 EDCO PRO KL-18 Concrete Saw Belts Replacement: étape 18, image 3 de 3
    • Remove the arbor shaft nut, lock washer, and blade cap from the arbor shaft.

  19. EDCO PRO KL-18 Concrete Saw Belts Replacement: étape 19, image 1 de 3 EDCO PRO KL-18 Concrete Saw Belts Replacement: étape 19, image 2 de 3 EDCO PRO KL-18 Concrete Saw Belts Replacement: étape 19, image 3 de 3
    • Remove the blade.

  20. EDCO PRO KL-18 Concrete Saw Belts Replacement, Remove the arbor shaft: étape 20, image 1 de 3 EDCO PRO KL-18 Concrete Saw Belts Replacement, Remove the arbor shaft: étape 20, image 2 de 3 EDCO PRO KL-18 Concrete Saw Belts Replacement, Remove the arbor shaft: étape 20, image 3 de 3
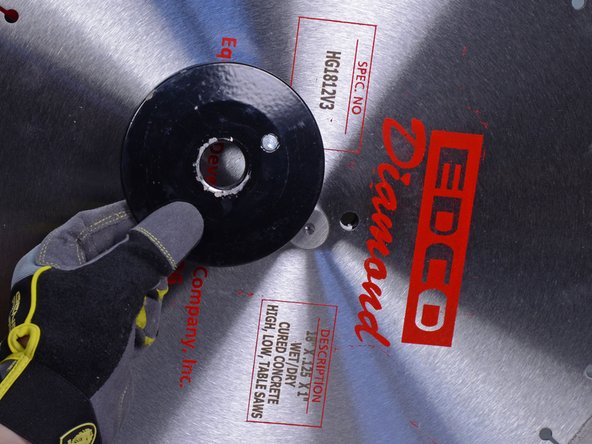
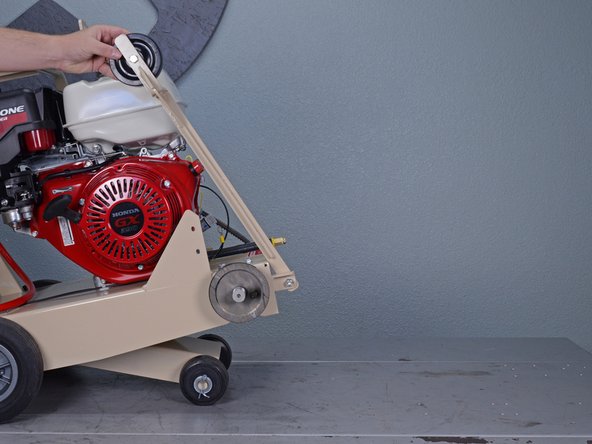
    • Lift the guide bar back up off the ground into its vertical position.

  21. EDCO PRO KL-18 Concrete Saw Belts Replacement: étape 21, image 1 de 1
    • Use a 9/16 inch socket to remove the four bolts securing the arbor shaft bearings to the frame.

    • If necessary, have a second person hold the arbor shaft to prevent it from hitting the ground.

  22. EDCO PRO KL-18 Concrete Saw Belts Replacement: étape 22, image 1 de 2 EDCO PRO KL-18 Concrete Saw Belts Replacement: étape 22, image 2 de 2
    • Remove the arbor shaft.

  23. EDCO PRO KL-18 Concrete Saw Belts Replacement, Remove the belts: étape 23, image 1 de 2 EDCO PRO KL-18 Concrete Saw Belts Replacement, Remove the belts: étape 23, image 2 de 2
    • Remove the belts from the arbor shaft pulley.

Conclusion

To reassemble your device, follow these instructions in reverse order.

Sam Omiotek

Membre depuis le 02/25/19

73 089 Réputation

288 tutoriels rédigés

0 commentaires

Ajouter un commentaire

Nombre de vues :

Dernières 24 heures : 0

7 derniers jours : 0

30 derniers jours : 12

Total : 664