Introduction
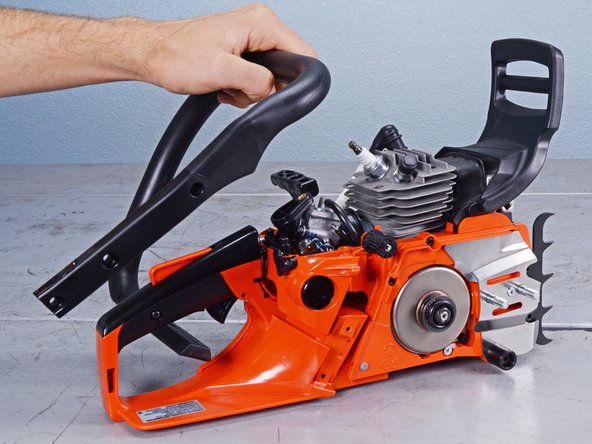
Use this guide to replace the piston assembly in your Echo Chain Saw CS-4910 (2020).
Although it's not necessary to remove the guide bar, it's highly recommended you do so to minimize any damage to the chain and to yourself.
Ce dont vous avez besoin
-
-
Make sure you have the ignition switch turned off before starting your repair.
-
-
-
Use your fingers to pull up and disconnect the spark plug boot.
-
-
-
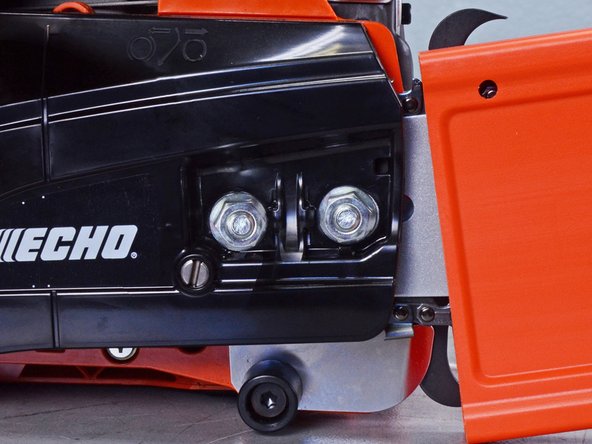
Use a 13 mm wrench to loosen and remove the two nuts securing the sprocket guard.
-
-
-
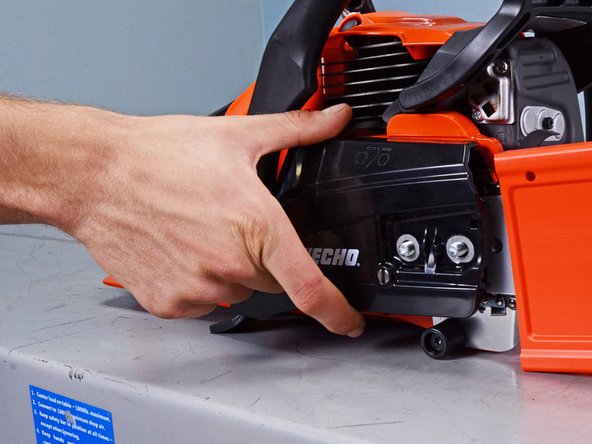
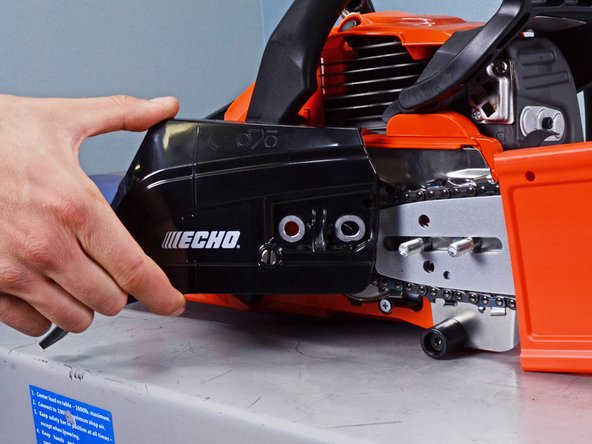
Pull the sprocket guard straight off its two pegs and remove it.
-
-
-
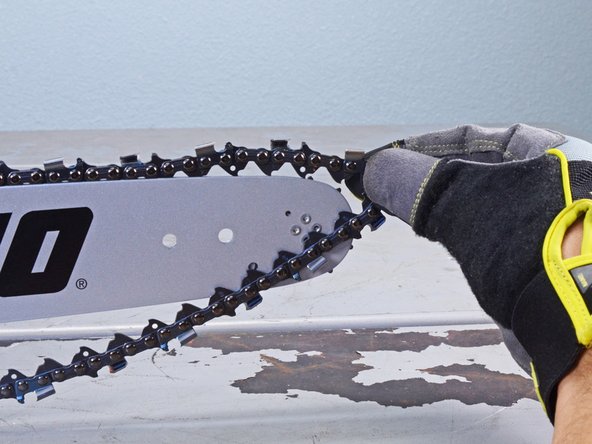
Pull the saw chain away from the tip of the guide bar to unclip it.
-
-
-
Push the guide bar towards the back of the device to unclip the rest of the saw chain.
-
Pull the guide bar away from the device to separate the saw chain from the clutch drum.
-
Remove the guide bar and the saw chain.
-
-
-
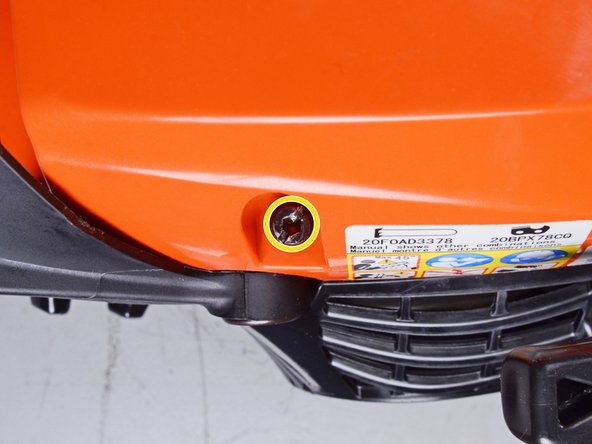
Use a flathead screwdriver, or a 3 mm hex key, to remove the three 18 mm screws securing the engine cover.
-
-
-
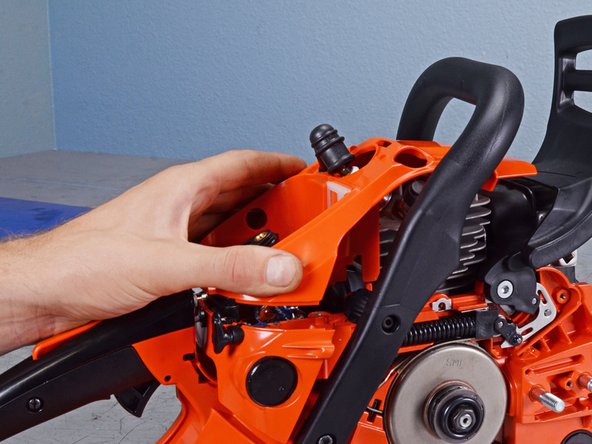
Pull the engine cover straight up off the engine.
-
Remove the engine cover.
-
-
-
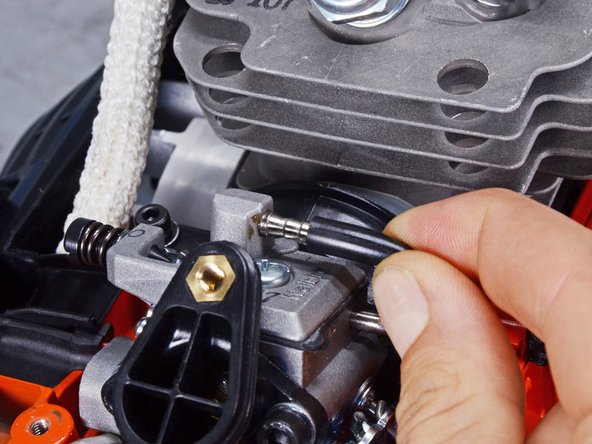
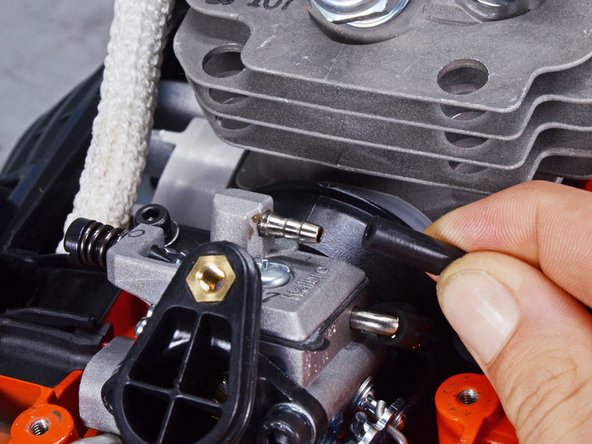
Use your fingers to pull the top-most fuel pipe out of the carburetor.
-
-
-
Remove the four screws securing the carburetor and the air filter adapter:
-
Use a 3 mm hex key to remove the two 20 mm-long screws.
-
Use a 4 mm hex key to remove the two 53 mm-long screws.
-
-
-
-
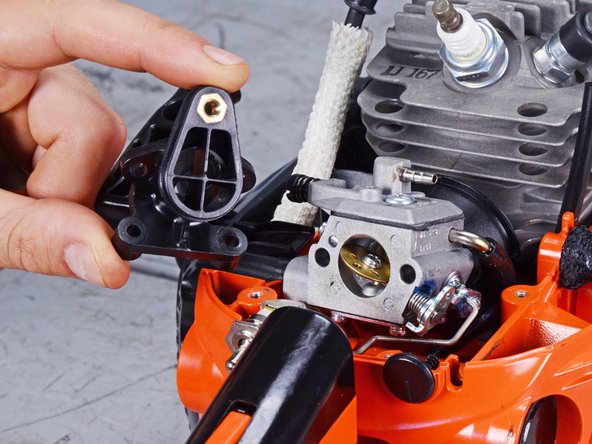
Pull the air filter adapter straight off the carburetor and remove it.
-
-
-
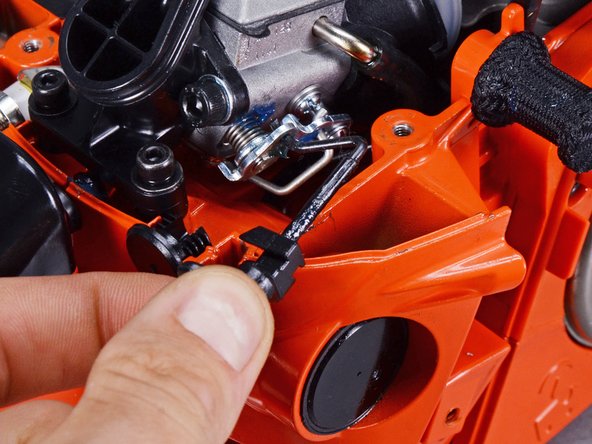
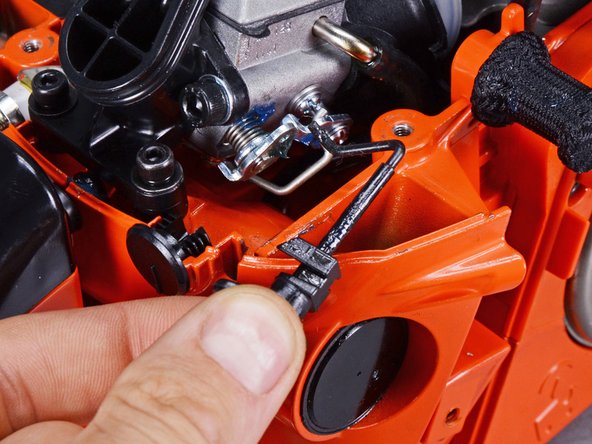
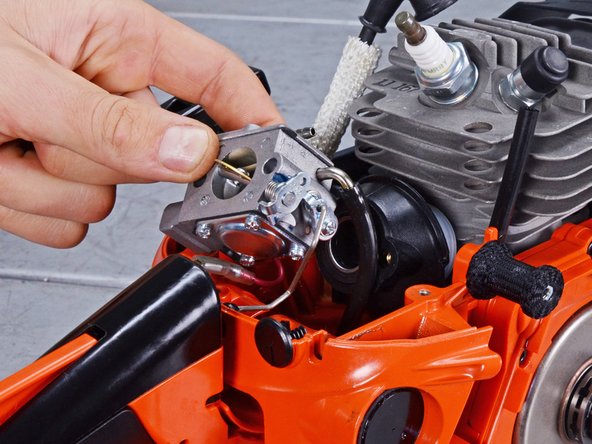
With the carburetor's choke valve facing you, tilt the carburetor up and to the left to expose the right-most fuel pipe.
-
-
-
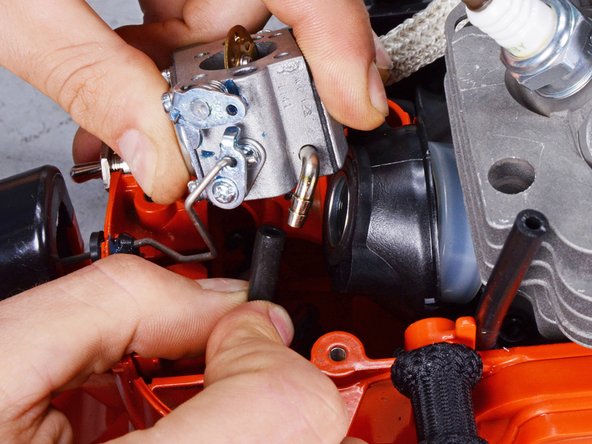
Use your fingers to disconnect the right-most fuel pipe.
-
-
-
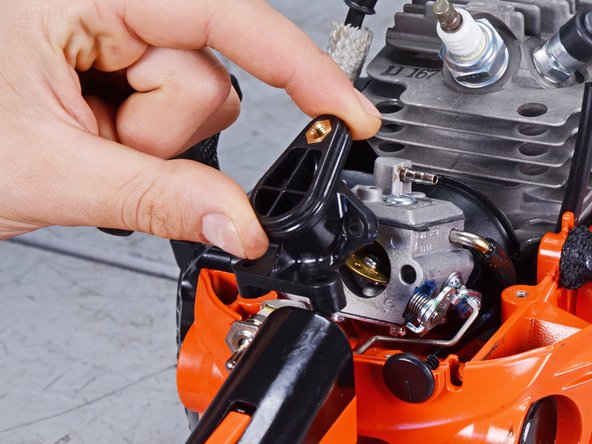
Lift the carburetor straight off the throttle rod and remove it.
-
-
-
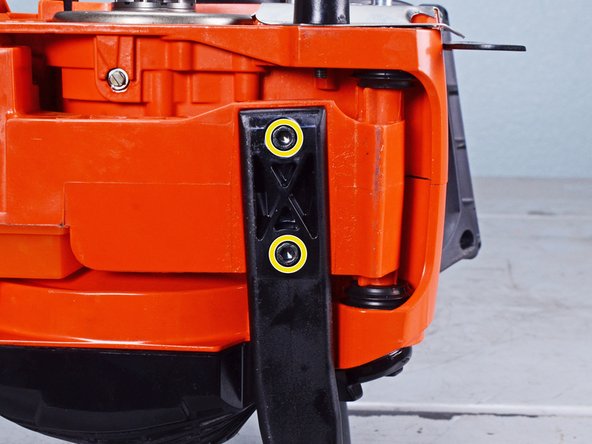
Remove the five screws securing the handle:
-
Use a 4 mm hex key to remove the four 24 mm-long screws (on the side and bottom).
-
Use a 3 mm hex key to remove the 18 mm-long screw.
-
-
-
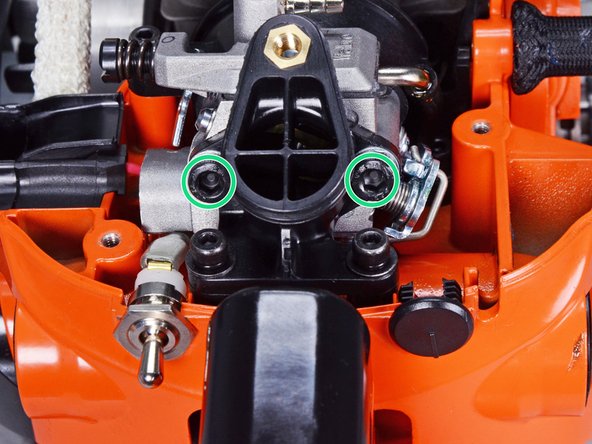
Use a 3 mm hex key to remove the two 20 mm-long screws securing the intake insulator.
-
-
-
Use a flathead screwdriver to fold the lip of the intake bellows inside the intake insulator.
-
-
-
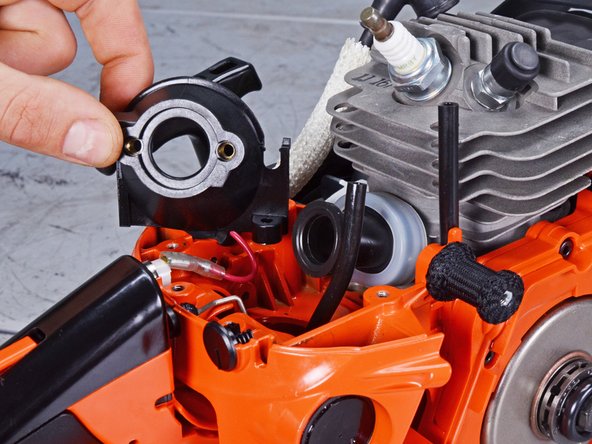
Lift the intake insulator out of its recess and remove it.
-
-
-
Slide the bellows holder off the intake bellows and remove it.
-
-
-
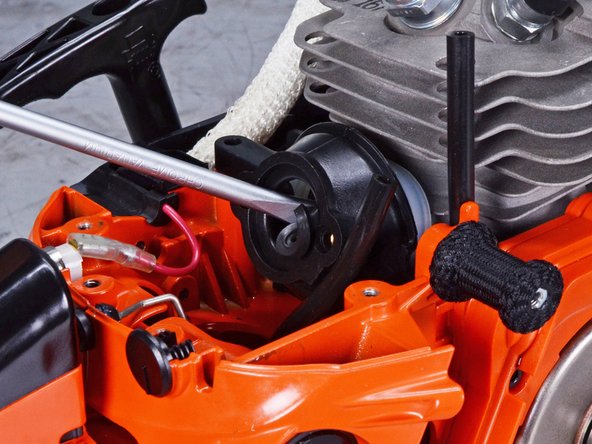
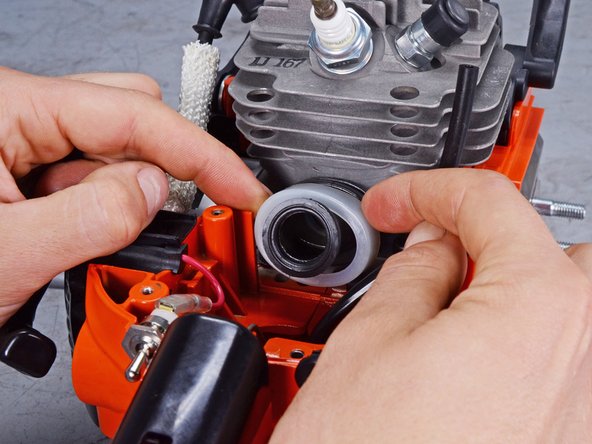
Insert a flathead screwdriver between the intake bellows and the cylinder head.
-
Pry with the screwdriver to separate the intake bellows from the cylinder head.
-
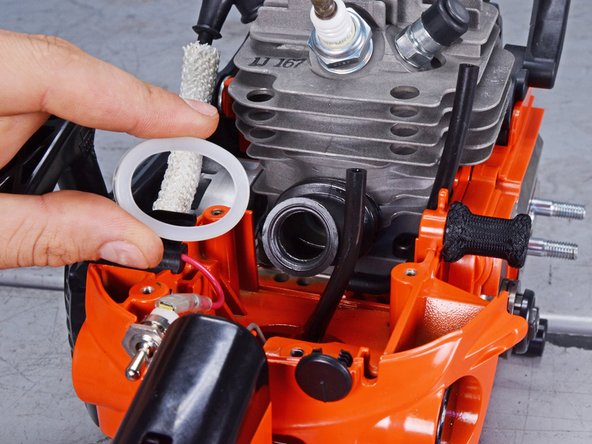
Remove the intake bellows.
-
-
-
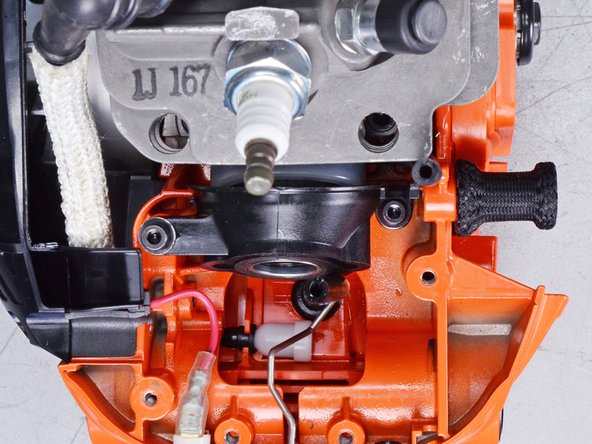
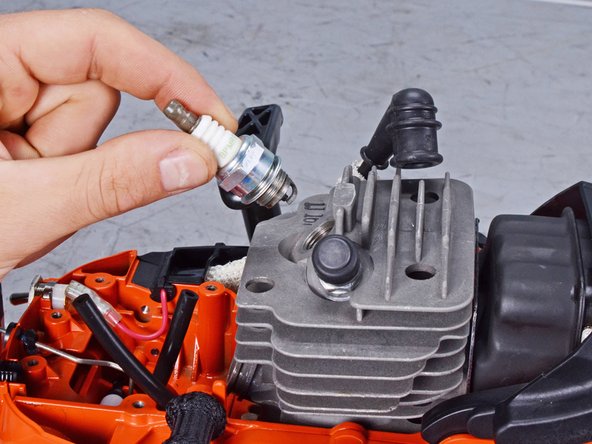
Pull the spark plug straight out of the cylinder head and remove it.
-
-
-
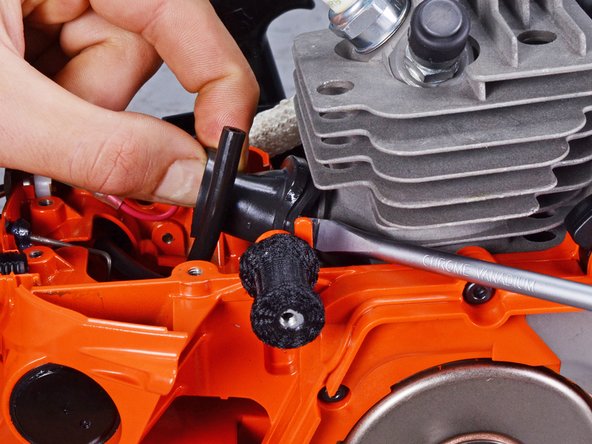
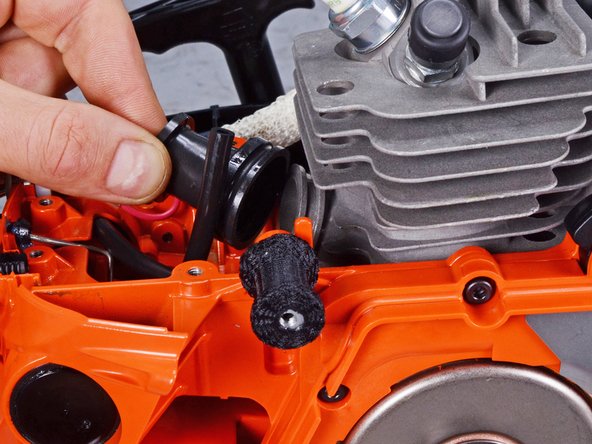
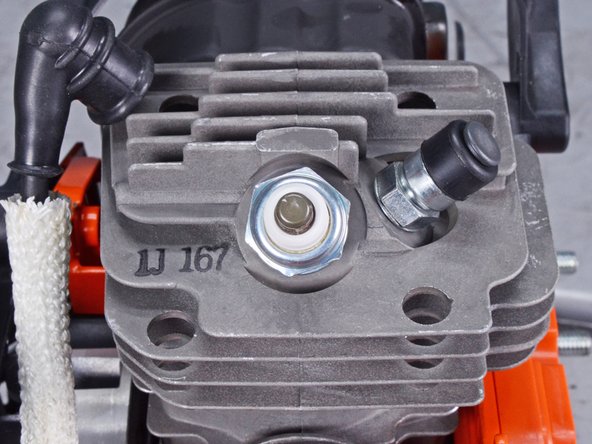
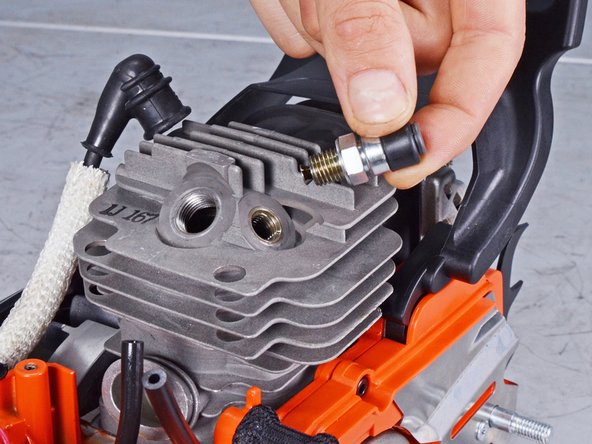
Use a 9/16 inch wrench to loosen the decompression valve assembly.
-
-
-
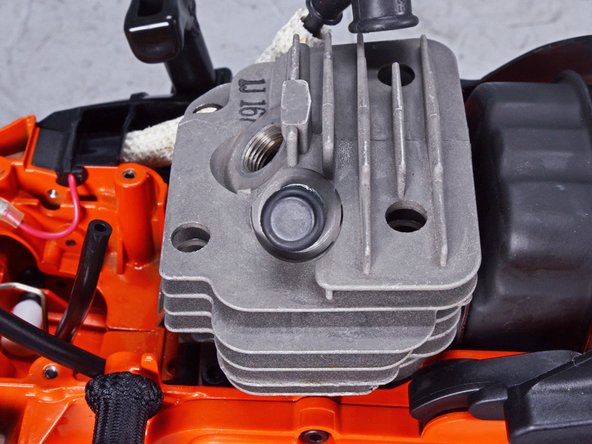
Pull the decompression valve assembly straight out of the cylinder head and remove it.
-
-
-
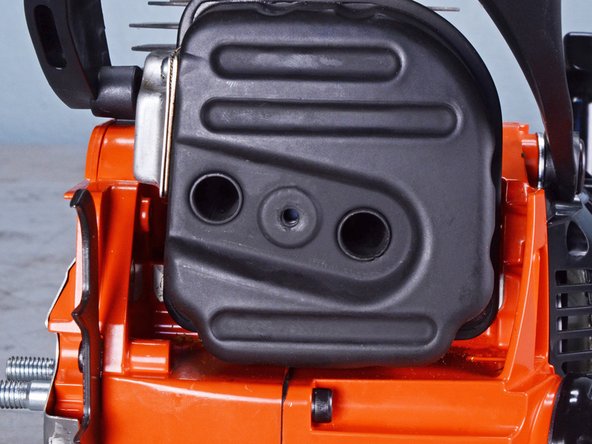
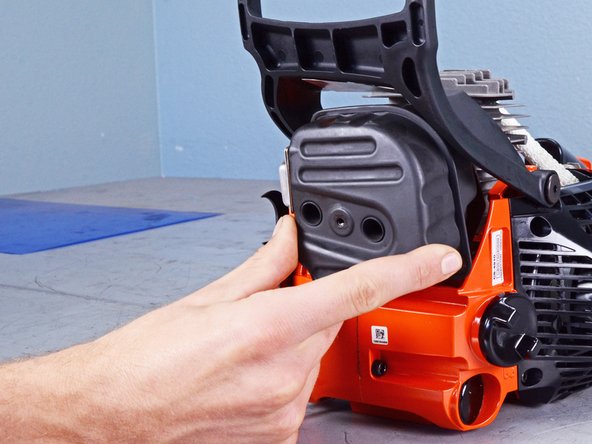
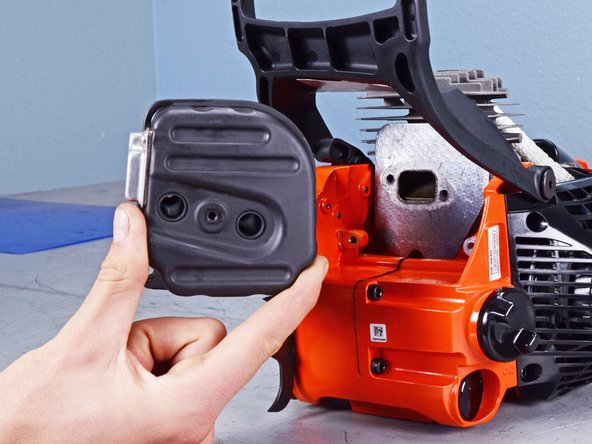
Use a 4 mm hex key to remove the two 23 mm-long screws securing the muffler.
-
Use a 3 mm hex key to remove the 10 mm-long screw securing the muffler plate.
-
-
-
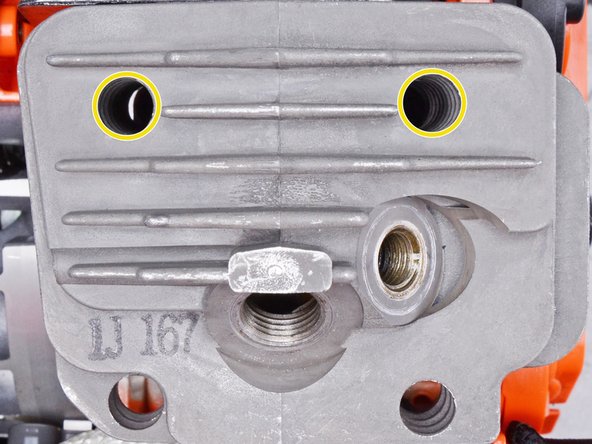
Use a 4 mm hex key to remove the four 25 mm-long screws securing the cylinder head.
-
-
-
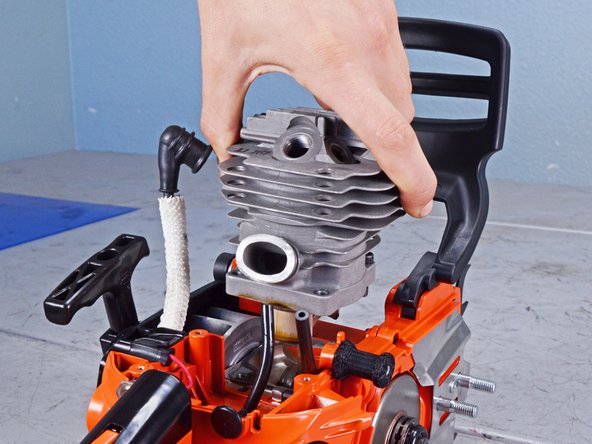
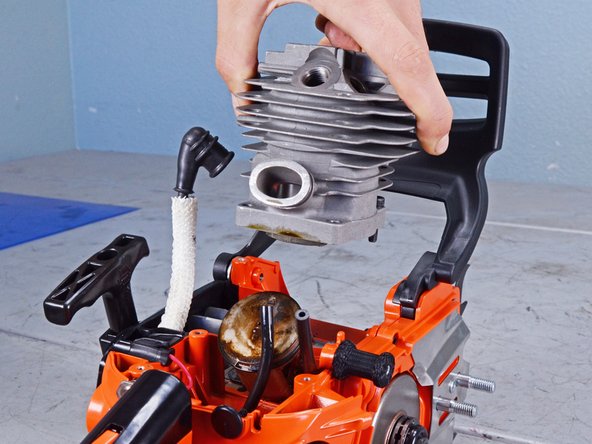
Lift the cylinder head away from the chassis to expose the piston.
-
Remove the cylinder head.
-
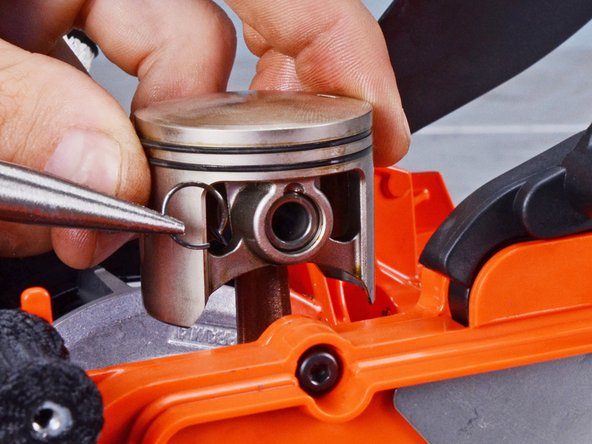
Make sure the two black piston rings are aligned in their grooves so the piston can compress properly in the cylinder head.
-
Apply two-stroke oil to the piston head and the cylinder walls before reinserting the piston.
-
-
-
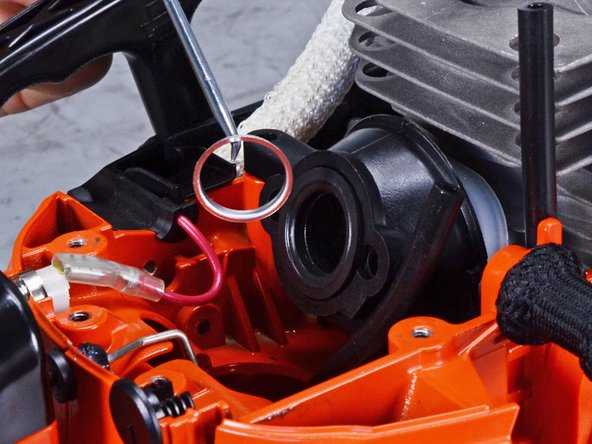
Use snap ring pliers, or a flathead screwdriver, to remove one of the piston snap rings.
-
Repeat this procedure for the snap ring on the opposite side of the piston.
-
-
-
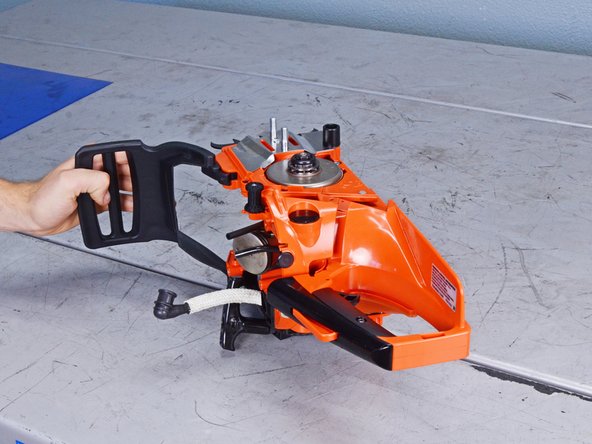
Flip the chain saw on its side so the clutch drum is facing upward.
-
-
-
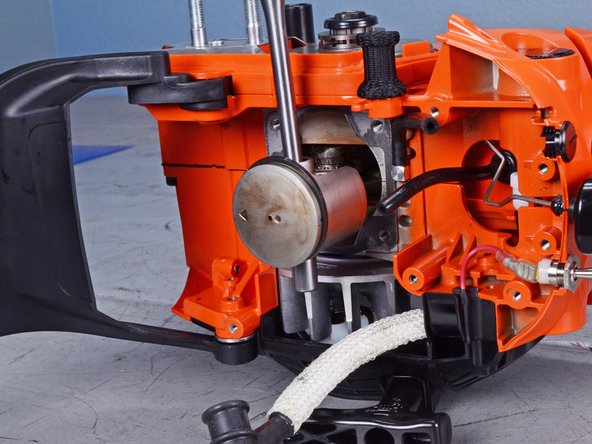
Grip the bottom of the piston.
-
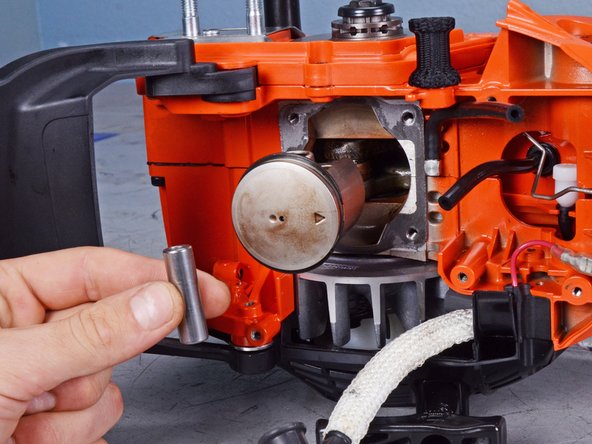
Use a hammer and a pin punch to tap the piston pin through its recess.
-
Remove the piston pin.
-
-
-
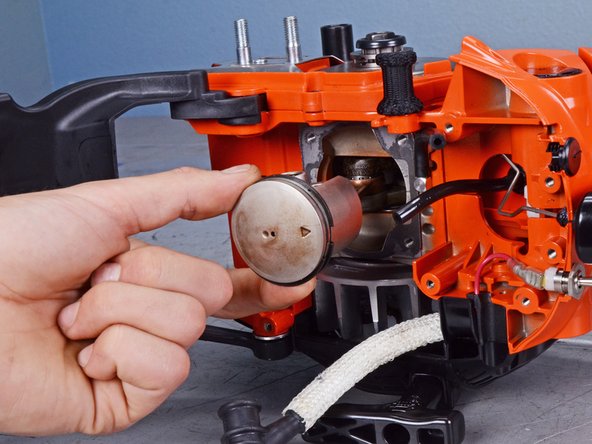
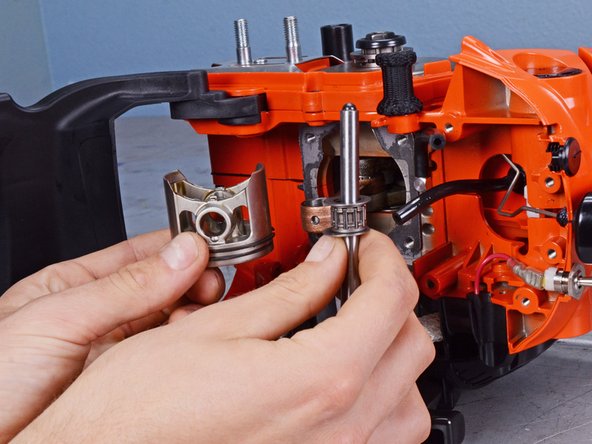
Pull the piston off of the piston rod to disconnect it from the crankshaft.
-
Remove the piston, its needle bearing, and the two washers.
-
-
-
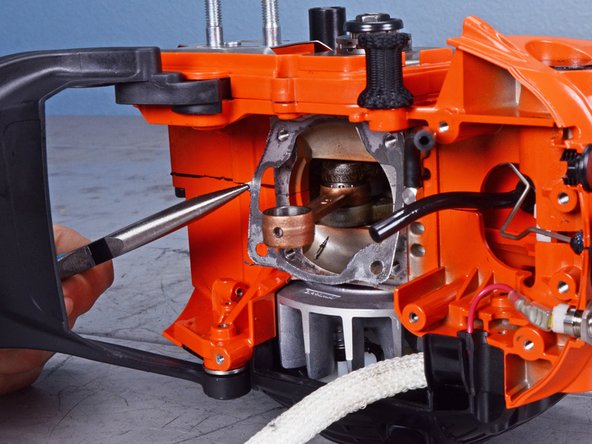
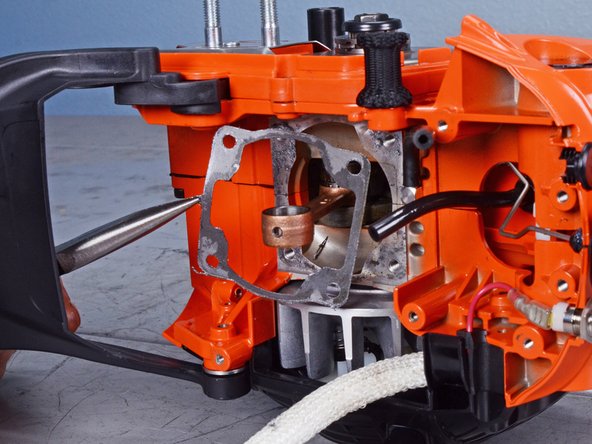
Use a pair of pliers to remove the cylinder head gasket from the crankcase.
-


To reassemble your device, follow these instructions in reverse order.
To reassemble your device, follow these instructions in reverse order.
Annulation : je n'ai pas terminé ce tutoriel.
Une autre personne a terminé cette réparation.

