Introduction
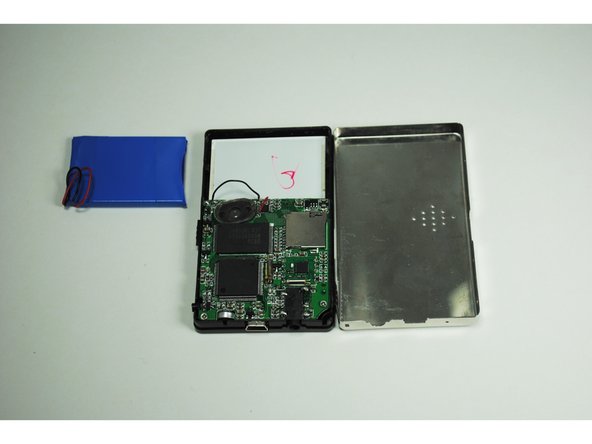
The battery in the GC-1020 device have two wires soldered (similar to being glued) to the logic board. It is fragile and needs to be handled with care.
Ce dont vous avez besoin
-
-
Unscrew the four screws (size: 3.175mm) on the left and right side of the Element Electronics GC-1020 device using the PH#0 screwdriver.
-
-
-
-
Then remove the battery from the device through soldering the black and red wires connected to the motherboard.
-


To reassemble your device, follow these instructions in reverse order.
To reassemble your device, follow these instructions in reverse order.
Annulation : je n'ai pas terminé ce tutoriel.
2 autres ont terminé cette réparation.
Équipe

University of Tampa, Team 1-4, Whiteside Fall 2015 Membre de l'équipe University of Tampa, Team 1-4, Whiteside Fall 2015
UT-WHITESIDE-F15S1G4
4 membres
5 tutoriels rédigés