Introduction
The lamp is the most important part of the Epson Brightlink 450Wi; it allows the image to be projected onto the screen by shining a light through the LCD system. Without a working lamp, your device is essentially useless; so it is very important to make sure your lamp is properly working.
For such an important part, it is luckily a replacement that just about anyone can perform. In the event your lamp isn't working right or when in need of replacement, follow this guide.
Ce dont vous avez besoin
-
-
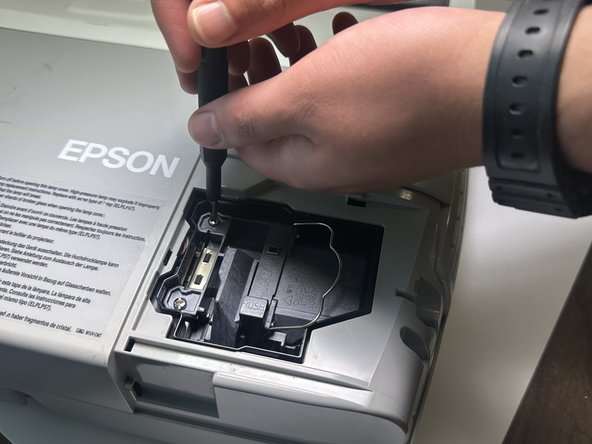
Rotate Projector so you are looking at the right corner, next to the white EPSON logo.
-
On the right side, begin to unscrew the 11 mm screw.
-
-


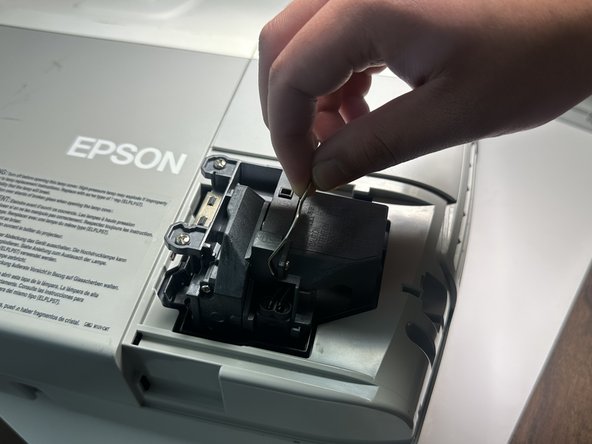
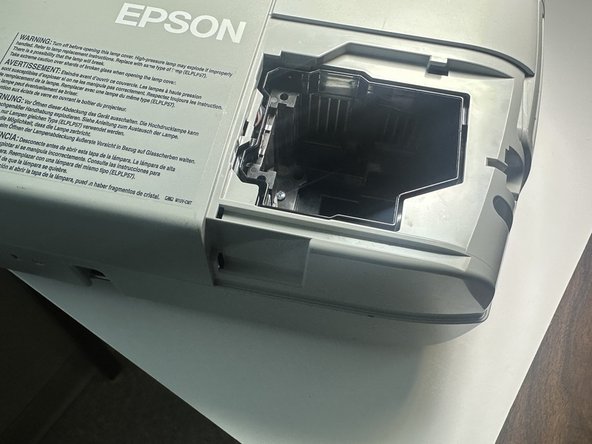
To reassemble your device, follow these instructions in reverse order.
To reassemble your device, follow these instructions in reverse order.

Équipe

Austin Community College, Team 9-1, Watkins Spring 2024 Membre de l'équipe Austin Community College, Team 9-1, Watkins Spring 2024
AUSTINCC-WATKINS-S24S9G1
4 membres
9 tutoriels rédigés