Introduction
If your device is on and there is no light coming from the bulb it is safe to say that the bulb itself is no longer functioning properly or has burned out. Replacement lamps can be found on the market, but you can buy bulbs to replace from the bulb cannister and replace them that way. Bulbs do tend to burn out throughout time because of use and time, it is important to make sure to check on these parts and replace them if they no longer functioning.
Ce dont vous avez besoin
-
-
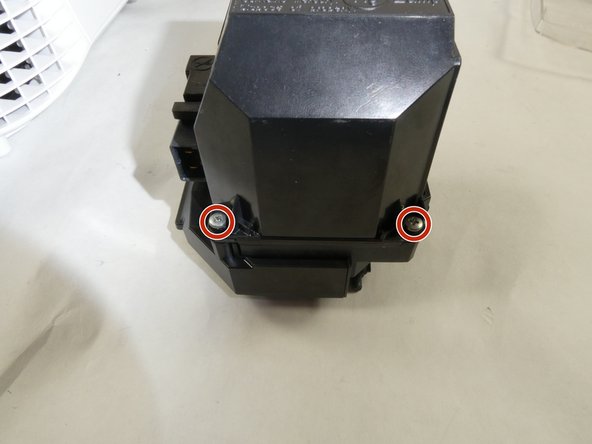
Remove the screw from the corner panel that houses the bulb chamber using a Phillips #0 screwdriver.
-
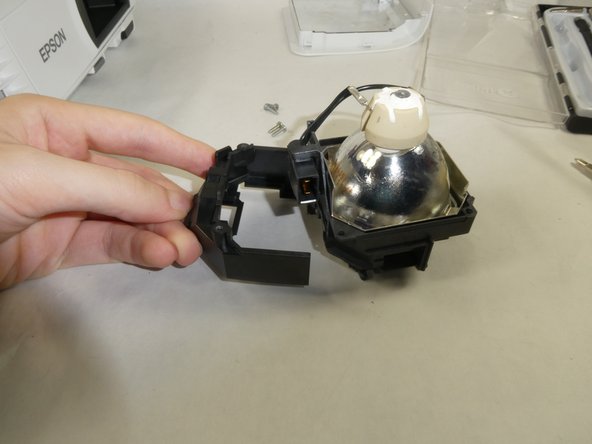
Slide off the panel by pulling it away from the machine.
-
-


To reassemble your device, follow these instructions in reverse order.
To reassemble your device, follow these instructions in reverse order.
Annulation : je n'ai pas terminé ce tutoriel.
Une autre personne a terminé cette réparation.

Équipe

UMass Dartmouth, Team 3-1, Botvin Fall 2022 Membre de l'équipe UMass Dartmouth, Team 3-1, Botvin Fall 2022
UMASSD-BOTVIN-F22S3G1
3 membres
1 tutoriel rédigé