Aller au contenu principal

Expobar Office Lever Pressurestat Replacement

Ce dont vous avez besoin

  1. Expobar Office Lever Pressurestat Replacement, Remove accessories: étape 1, image 1 de 3 Expobar Office Lever Pressurestat Replacement, Remove accessories: étape 1, image 2 de 3 Expobar Office Lever Pressurestat Replacement, Remove accessories: étape 1, image 3 de 3
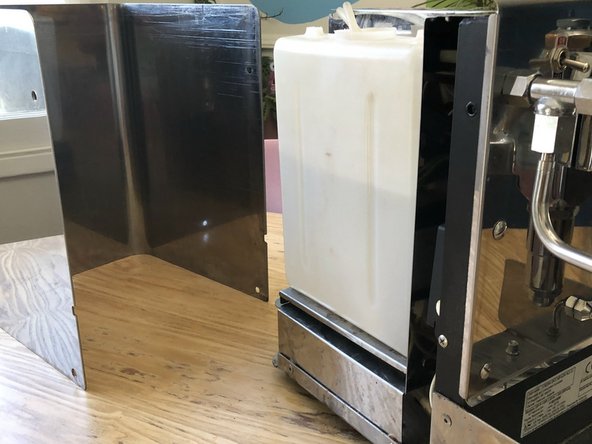
    • Set aside the following

    • The drip tray grid

    • The drip tray

    • The housing cup holder

  2. Expobar Office Lever Pressurestat Replacement, Remove the housing screws: étape 2, image 1 de 3 Expobar Office Lever Pressurestat Replacement, Remove the housing screws: étape 2, image 2 de 3 Expobar Office Lever Pressurestat Replacement, Remove the housing screws: étape 2, image 3 de 3
    • Remove the 5 Phillips #2 screws securing the housing

    • There are two on each side of the machine and one in the rear

  3. Expobar Office Lever Pressurestat Replacement, Set the housing aside: étape 3, image 1 de 2 Expobar Office Lever Pressurestat Replacement, Set the housing aside: étape 3, image 2 de 2
    • Tip back the housing and set it off to the side

    • The housing is a solid 5mm sheet of steel. It weighs about 10lb / 5kg

  4. Expobar Office Lever Pressurestat Replacement, Remove the water tank: étape 4, image 1 de 3 Expobar Office Lever Pressurestat Replacement, Remove the water tank: étape 4, image 2 de 3 Expobar Office Lever Pressurestat Replacement, Remove the water tank: étape 4, image 3 de 3
    • The water tank can be lifted off and set to the side

    • The hose line connecting to the water tank needs to be carefully slotted out of the metal sheet

  5. Expobar Office Lever Pressurestat Replacement, Remove the Divider: étape 5, image 1 de 3 Expobar Office Lever Pressurestat Replacement, Remove the Divider: étape 5, image 2 de 3 Expobar Office Lever Pressurestat Replacement, Remove the Divider: étape 5, image 3 de 3
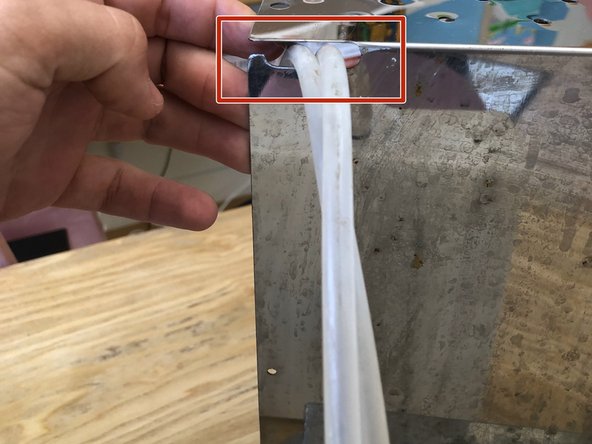
    • Remove the two Phillips #2 screws at the top of the divider

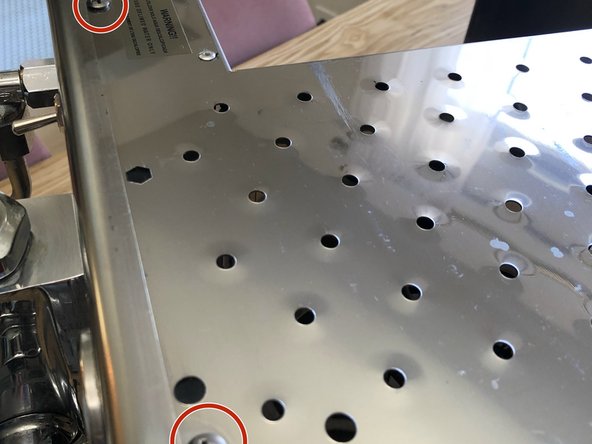
    • Remove the two Hex 3mm screws securing the bottom of the divider

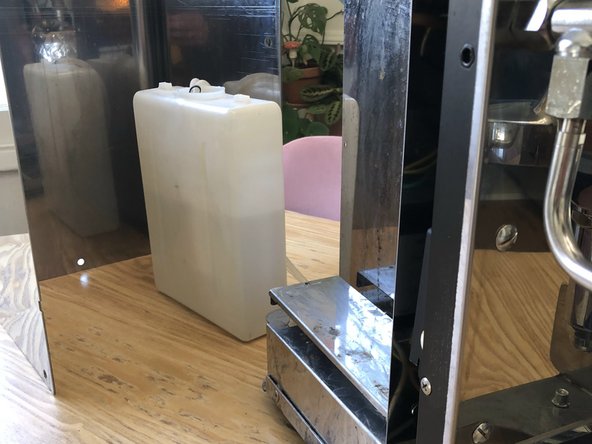
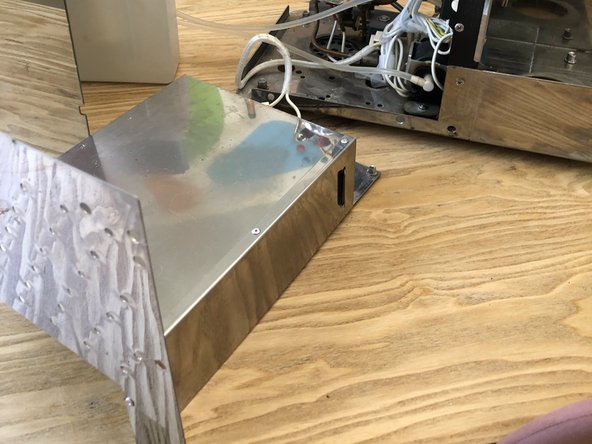
    • Carefully tip the divider down

    • There will be wires connected to the water weight sensor

  6. Expobar Office Lever Pressurestat Replacement, Locate the pressurestat: étape 6, image 1 de 2 Expobar Office Lever Pressurestat Replacement, Locate the pressurestat: étape 6, image 2 de 2
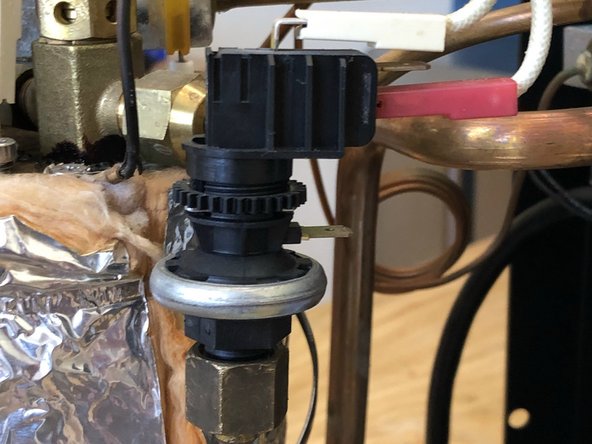
    • The pressurestat should be covered by a small plastic clip-on protector. Remove it.

    • Note the white and red wiring connections to ensure correct installation of the new pressurestat

  7. Expobar Office Lever Pressurestat Replacement, Remove the pressurestat: étape 7, image 1 de 3 Expobar Office Lever Pressurestat Replacement, Remove the pressurestat: étape 7, image 2 de 3 Expobar Office Lever Pressurestat Replacement, Remove the pressurestat: étape 7, image 3 de 3
    • Use two crescent wrenches to remove the pressure stats. The bottom nut will unscrew while the top is used for grip.

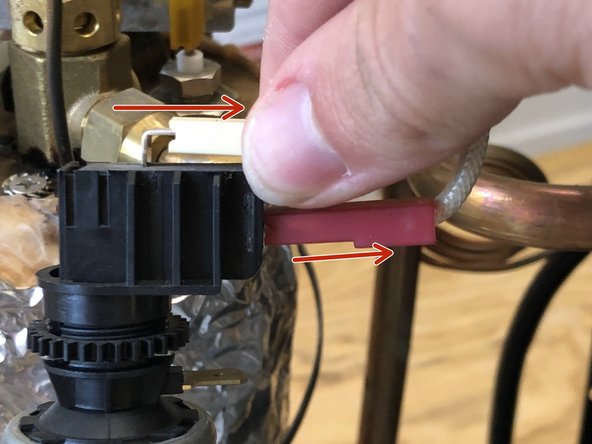
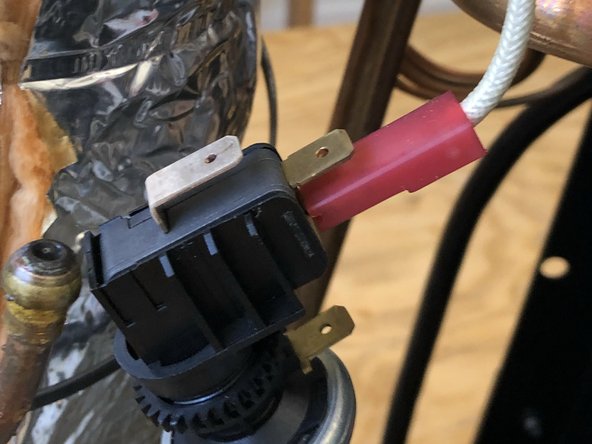
    • Remove the wire connections by sliding them carefully away from the pressurestat

  8. Expobar Office Lever Pressurestat Replacement, Adjust the pressurestat: étape 8, image 1 de 1
    • The pressurestat has a spring tension system which can be adjusted the turning the plastic gear

    • It is only possible to test the adjustment of the pressure stat while the machine is open

    • You have to have it on and open to adjust it. Doing so exposes you to a risk of shock and burns.

    • If you are nervous of the risks, you can close up the machine and test the pressure. If any adjustments are needed wait for the machine to cool and reopen

Conclusion

To reassemble your device, follow these instructions in reverse order.

Une autre personne a terminé cette réparation.

Jarred Stelfox

Membre depuis le 09/04/18

207 Réputation

1 tutoriel rédigé

Équipe

iFixit Membre de l'équipe iFixit

Staff

136 membres

17 392 tutoriels rédigés

0 commentaires

Ajouter un commentaire

Nombre de vues :

Dernières 24 heures : 0

7 derniers jours : 6

30 derniers jours : 40

Total : 464