Aller au contenu principal
Pour réparer ensemble - Je crée un compte

Eyelash Extensions Replacement

Ce dont vous avez besoin

    1. Eyelash Extensions Replacement, Eyelash Extensions: étape 1, image 1 de 1
      • Wash hands thoroughly and make sure that the station and tools are cleaned and disinfected.

      Demander à FixBot

      Ajouter un commentaire

    2. Eyelash Extensions Replacement: étape 2, image 1 de 1
      • Place the medical-grade tape under each eye, making sure that all the lower lashes are secured.

      Demander à FixBot

      Ajouter un commentaire

    3. Eyelash Extensions Replacement: étape 3, image 1 de 1
      • Make sure that the client feels comfortable with the tape on with their eyes closed.

      Demander à FixBot

      Ajouter un commentaire

    4. Eyelash Extensions Replacement: étape 4, image 1 de 1
      • Brush the eyelashes thoroughly using a mascara wand to remove the eyelashes that are ready to shed.

      Demander à FixBot

      Ajouter un commentaire

    5. Eyelash Extensions Replacement: étape 5, image 1 de 2 Eyelash Extensions Replacement: étape 5, image 2 de 2
      Outil utilisé dans cette étape :
      Tweezers
      $4.99
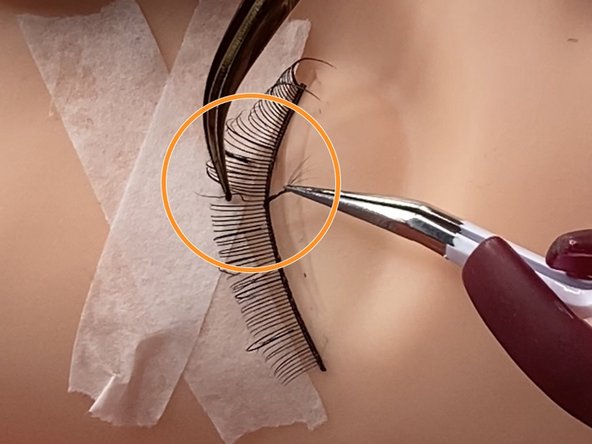
      • Remove all the grown-out lashes using the banana peel method.

      • Hold the natural lash in one clean tweezer and the eyelash extension in the other set of clean tweezers.

      • Gently pull the natural lash and the lash extension in opposite directions and peel the lashes apart like a banana.

      Demander à FixBot

      Ajouter un commentaire

    6. Eyelash Extensions Replacement: étape 6, image 1 de 1
      • Brush the eyelashes again using a mascara wand after removing all the grown-out lashes.

      Demander à FixBot

      Ajouter un commentaire

    7. Eyelash Extensions Replacement: étape 7, image 1 de 3 Eyelash Extensions Replacement: étape 7, image 2 de 3 Eyelash Extensions Replacement: étape 7, image 3 de 3
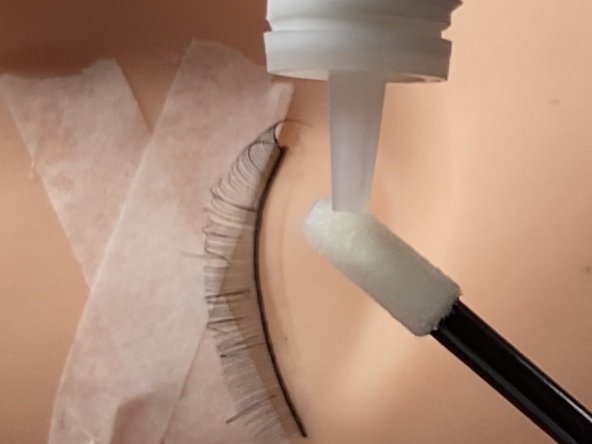
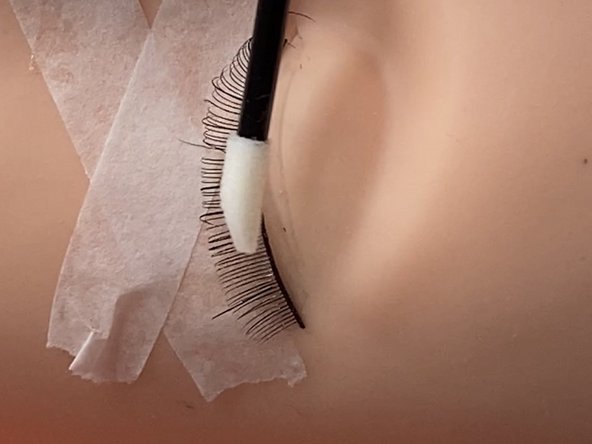
      • Put a drop or two of the eyelash primer on the micro swabs.

      • Dab the micro swabs on the eyelashes while making sure that it does not touch the eyelids as it can sting the client’s eyes.

      Demander à FixBot

      Ajouter un commentaire

    8. Eyelash Extensions Replacement: étape 8, image 1 de 1
      • Let it air dry or use a fan for a faster dry time.

      Demander à FixBot

      Ajouter un commentaire

    9. Eyelash Extensions Replacement: étape 9, image 1 de 1
      • Place a new lash extension using the eyelash extension adhesive of choice onto the natural eyelash, making sure that the eyelashes are isolated.

      Demander à FixBot

      Ajouter un commentaire

    10. Eyelash Extensions Replacement: étape 10, image 1 de 2 Eyelash Extensions Replacement: étape 10, image 2 de 2
      • Repeat Step 9 for both eyes until you are completely satisfied with your work.

      Demander à FixBot

      Ajouter un commentaire

    11. Eyelash Extensions Replacement: étape 11, image 1 de 1
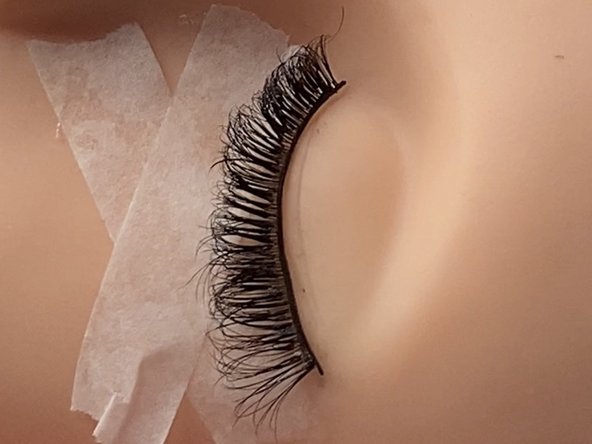
      • Inspect, separate, and brush the lashes to make sure that there are no upper lashes stuck on the lower lashes.

      Demander à FixBot

      Ajouter un commentaire

    12. Eyelash Extensions Replacement: étape 12, image 1 de 1
      • Use a fan for 5-10 minutes to make sure that the adhesive is cured.

      Demander à FixBot

      Ajouter un commentaire

    13. Eyelash Extensions Replacement: étape 13, image 1 de 1
      • Gently remove the tape from under each eye.

      Demander à FixBot

      Ajouter un commentaire

Ligne d'arrivée

Annulation : je n'ai pas terminé ce tutoriel.

April Pantaleon

Membre depuis le 09/20/20

349 Réputation

2 tutoriels rédigés

0 commentaires de tutoriel

Ajouter un commentaire

Nombre de vues :

Dernières 24 heures : 2

7 derniers jours : 10

30 derniers jours : 38

Total : 862