Aller au contenu principal

Fast Fix Dryer Vent Hose Replacement

Ce dont vous avez besoin

  1. Fast Fix Dryer Vent Hose Replacement, Dryer Vent Hose: étape 1, image 1 de 3 Fast Fix Dryer Vent Hose Replacement, Dryer Vent Hose: étape 1, image 2 de 3 Fast Fix Dryer Vent Hose Replacement, Dryer Vent Hose: étape 1, image 3 de 3
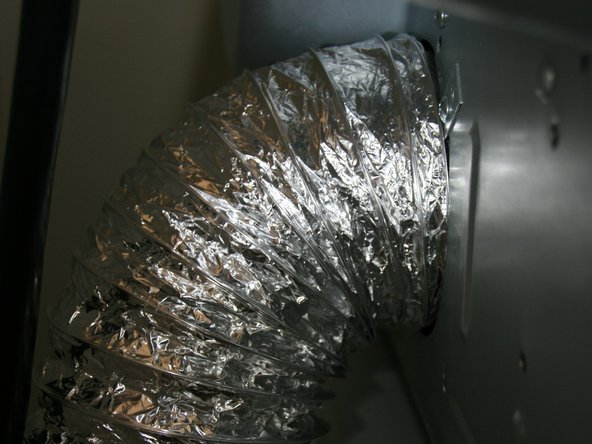
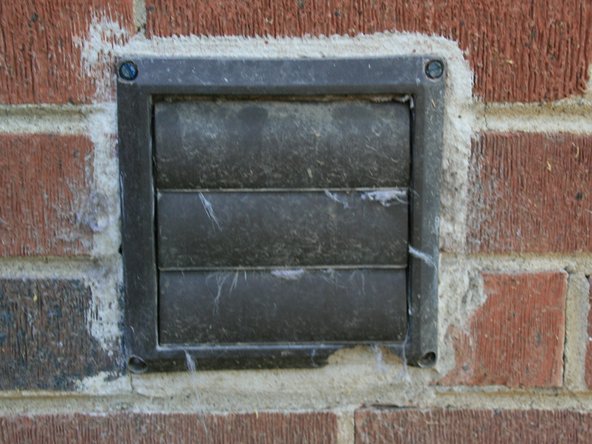
    • The first step is to locate the dryer vent hose where it attaches to the dryer. You will then detach the dryer hose from the exhaust port, and clean any lint that has gathered there.

  2. Fast Fix Dryer Vent Hose Replacement: étape 2, image 1 de 3 Fast Fix Dryer Vent Hose Replacement: étape 2, image 2 de 3 Fast Fix Dryer Vent Hose Replacement: étape 2, image 3 de 3
    • The next step is to locate the dryer vent, which should be on the outside of the house. You will detach the dryer vent by unscrewing the four screws holding it to the house. Then you will dispose of the old dryer hose/tube.

  3. Fast Fix Dryer Vent Hose Replacement: étape 3, image 1 de 2 Fast Fix Dryer Vent Hose Replacement: étape 3, image 2 de 2
    • The third step is to attach the new dryer vent hose. You will slip it onto the dryer's exhaust port.

  4. Fast Fix Dryer Vent Hose Replacement: étape 4, image 1 de 1
    • The fourth step is to secure the new dryer hose with a dryer tube clamp.

  5. Fast Fix Dryer Vent Hose Replacement: étape 5, image 1 de 3 Fast Fix Dryer Vent Hose Replacement: étape 5, image 2 de 3 Fast Fix Dryer Vent Hose Replacement: étape 5, image 3 de 3
    • The fifth step is to make sure your new dryer hose is strung through to the outside dryer vent.

  6. Fast Fix Dryer Vent Hose Replacement: étape 6, image 1 de 2 Fast Fix Dryer Vent Hose Replacement: étape 6, image 2 de 2
    • The sixth step is to slip on the other dryer tube clamp in order to secure it to the outdoor dryer vent.

  7. Fast Fix Dryer Vent Hose Replacement: étape 7, image 1 de 2 Fast Fix Dryer Vent Hose Replacement: étape 7, image 2 de 2
    • The last step is to rescuer the clean dryer vent to the outside of the house using screws.

Conclusion

To reassemble your device, follow these instructions in reverse order.

2 autres ont terminé cette réparation.

Rachel Chapman

Membre depuis le 06/07/23

181 Réputation

1 tutoriel rédigé

Équipe

University of Memphis, Team 1-5, Lane Summer 2023 Membre de l'équipe University of Memphis, Team 1-5, Lane Summer 2023

UM-LANE-SU23S1G5

4 membres

2 tutoriels rédigés

0 commentaires

Ajouter un commentaire

Nombre de vues :

Dernières 24 heures : 2

7 derniers jours : 3

30 derniers jours : 21

Total : 131