Introduction
Vacuums are like the hidden MVPs of clean floors, working non-stop to pick up all the dirt. But after a while, even the best ones start having problems, mostly with the parts that hit the floor all the time. Learning how to fix the bottom part of your vacuum can save you some cash and it's better for the planet because you're not throwing it away too soon.
In this guide, I'm going to break down the usual issues that mess with the bottom of your vacuum, like beat-up brushes or wheels that are all caught up in something. I'll walk you through how to fix these step by step so you can get your vacuum back in game shape.
Ce dont vous avez besoin
-
-
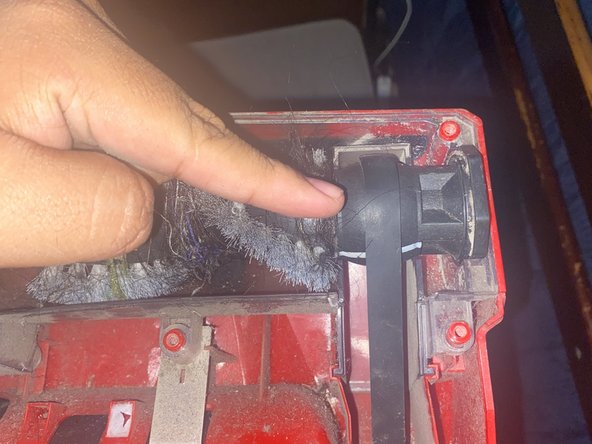
Flip the vacuum over
-
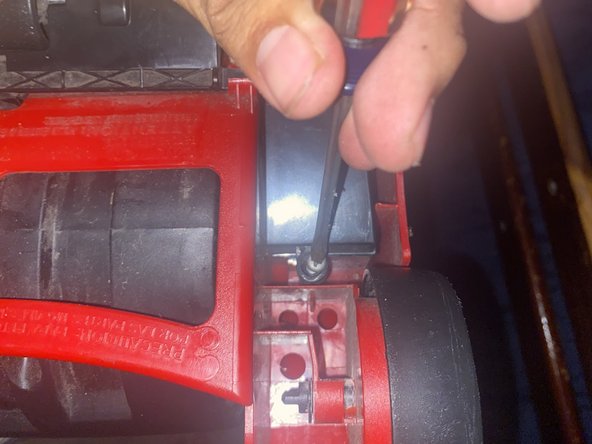
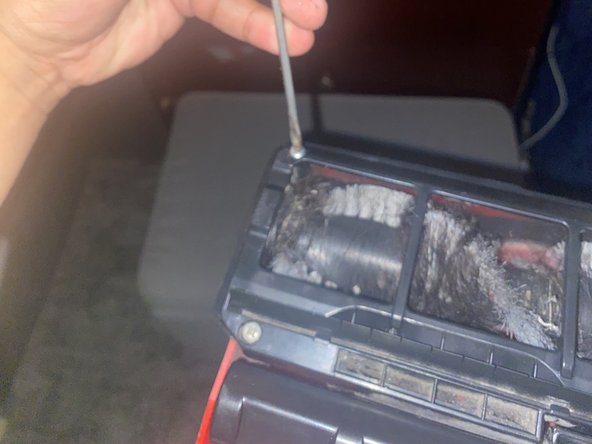
Use your Torx drive to unscrew 6 to 8 M2-0.89 x 4.5 mm Type PT Style Thread Forming Screws
-
-


By tackling the typical bottom-of-the-vacuum issues if its busted brushes or wheels that just won't turn, you're not only keeping your trusty dust-buster in action, but you're also cutting down on waste. Plus, there's a certain satisfaction that comes from fixing things with your own hands. With the steps outlined in this guide, you're well on your way to not just maintaining but mastering the inner workings of your home's silent hero
By tackling the typical bottom-of-the-vacuum issues if its busted brushes or wheels that just won't turn, you're not only keeping your trusty dust-buster in action, but you're also cutting down on waste. Plus, there's a certain satisfaction that comes from fixing things with your own hands. With the steps outlined in this guide, you're well on your way to not just maintaining but mastering the inner workings of your home's silent hero
Annulation : je n'ai pas terminé ce tutoriel.
Une autre personne a terminé cette réparation.
Équipe

CSU Los Angeles, Team 1-96, Harris Spring 2024 Membre de l'équipe CSU Los Angeles, Team 1-96, Harris Spring 2024
CSULA-HARRIS-S24S1G96
1 membre
1 tutoriel rédigé