Cette version peut contenir des modifications incorrectes. Passez au dernier aperçu vérifié.
Ce dont vous avez besoin
-
Cette étape n’est pas traduite. Aidez à la traduire
-
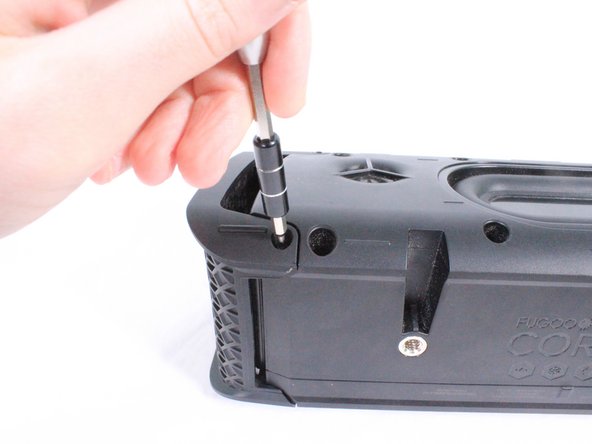
Using your hand, unscrew the large screws underneath the speaker.
-
-
Cette étape n’est pas traduite. Aidez à la traduire
-
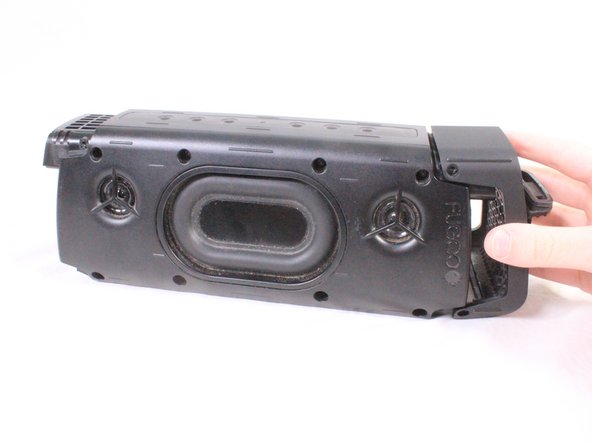
Using your hand, gently lift the large plastic tab secured to the rubber holding.
-
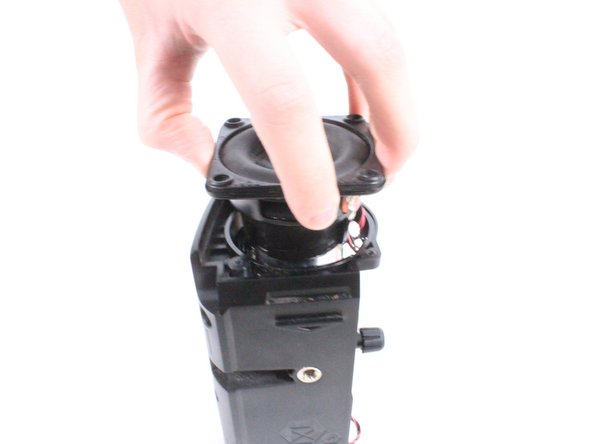
After lifting the tab, slide the speaker out of its case.
-
-
Cette étape n’est pas traduite. Aidez à la traduire
-
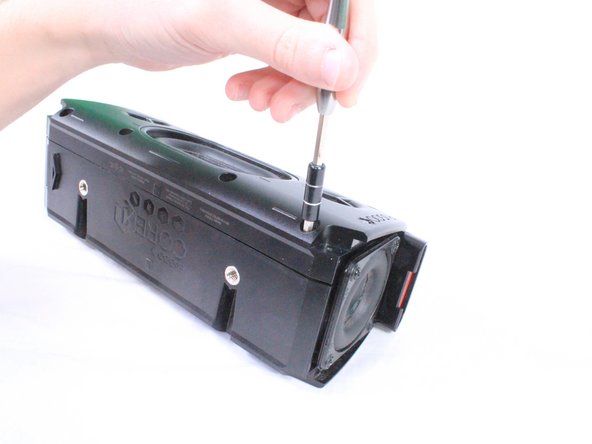
Remove the 8 screws (4 on each side) that hold the covers that conceal the bass speakers. Remove these 3mm screws using a #2.0 Hex screwdriver.
-
-
Cette étape n’est pas traduite. Aidez à la traduire
-
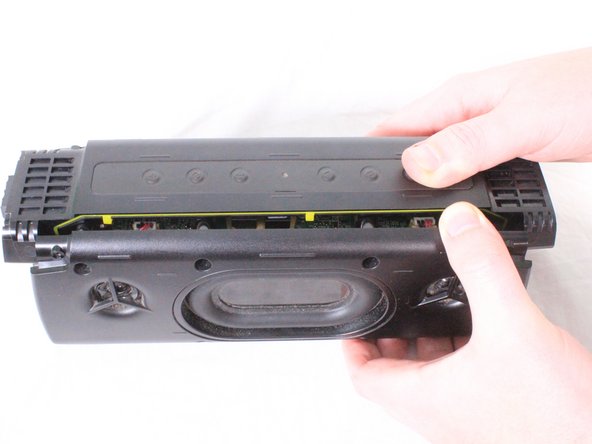
Using your hand, pull the covers away from the speaker.
-
-
Cette étape n’est pas traduite. Aidez à la traduire
-
Use a #2.0 Hex screwdriver to unscrew the 8 screws shown in the image.
-
-
-
Cette étape n’est pas traduite. Aidez à la traduire
-
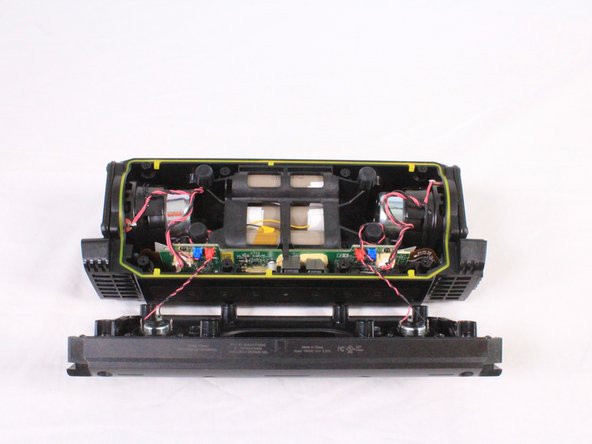
Gently pull apart the front casing from the back casing.
-
-
Cette étape n’est pas traduite. Aidez à la traduire
-
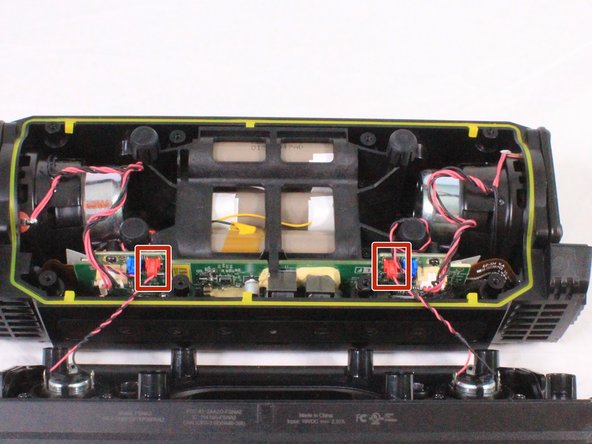
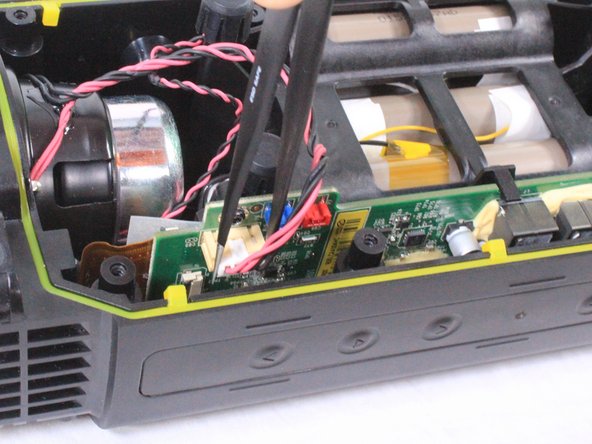
Using a pair of tweezers or your hand, carefully remove the red bundled cable connectors from the motherboard.
-
When the red bundled cable connectors are disconnected, set the outer casing aside.
-
-
Cette étape n’est pas traduite. Aidez à la traduire
-
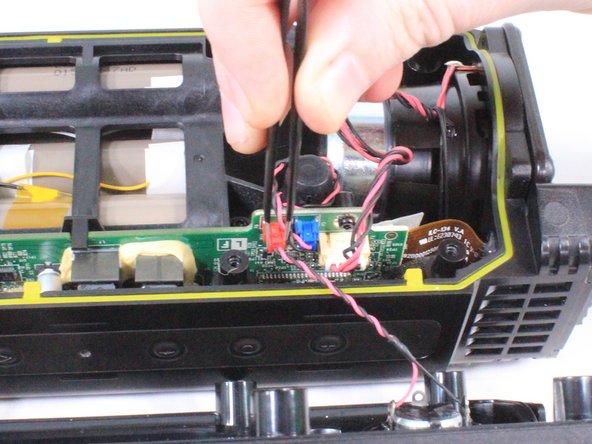
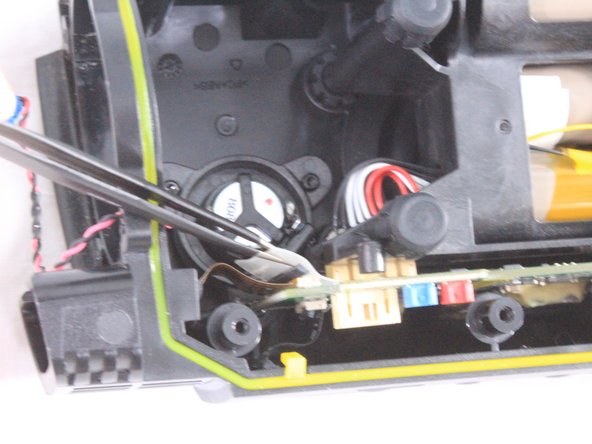
Untangle any blue bundled cable connectors and gently remove them from the motherboard using a pair of tweezers.
-
-
Cette étape n’est pas traduite. Aidez à la traduire
-
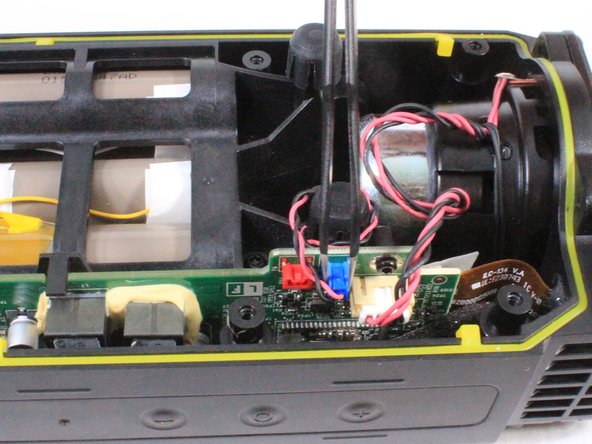
Carefully untangle and remove the white bundled cable connectors from the motherboard.
-
-
Cette étape n’est pas traduite. Aidez à la traduire
-
Using a T9 screwdriver, remove the 8 screws (4 on each speaker) surrounding the midwoofers.
-
Using your hand, carefully remove the midwoofers.
-
-
Cette étape n’est pas traduite. Aidez à la traduire
-
Using a pair of tweezers, lift the padded holding that secures the ZIF connector to the motherboard. The connector will release from the motherboard once the padding is lifted.
-
-
Cette étape n’est pas traduite. Aidez à la traduire
-
Carefully lift the battery and motherboard unit halfway out of the casing. The motherboard is connected to the battery directly.
-
When the cable is disconnected, fully remove the motherboard and battery unit.
-
-
Cette étape n’est pas traduite. Aidez à la traduire
-
Remove the 3mm screws using a #2.0 Hex screwdriver. There are 4 of these screws (2 on each side) that connect the motherboard to the battery unit.
-
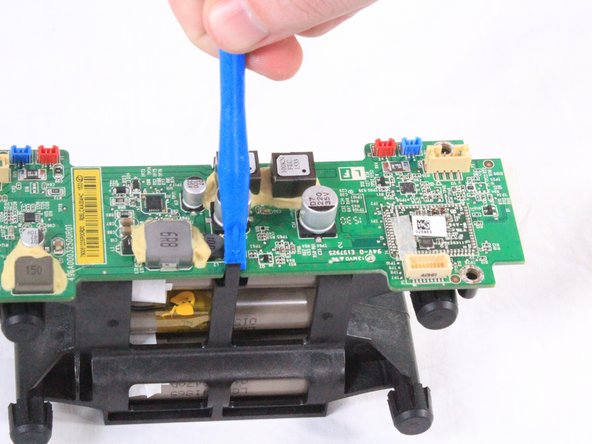
When the screws are removed, use an iFixit opening tool to remove the motherboard from the two clamps securing it to the battery pack.
-
-
Cette étape n’est pas traduite. Aidez à la traduire
-
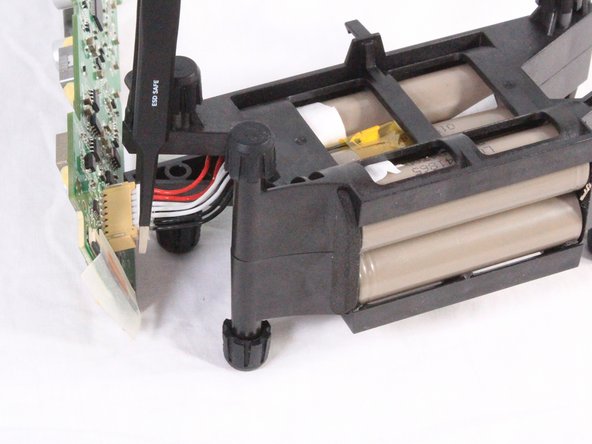
Using tweezers or your hand, carefully disconnect the bundled cables connecting the battery to the motherboard.
-


Annulation : je n'ai pas terminé ce tutoriel.
Une autre personne a terminé cette réparation.

Équipe

USF Tampa, Team S3-G4, Cannon Fall 2017 Membre de l'équipe USF Tampa, Team S3-G4, Cannon Fall 2017
USFT-CANNON-F17S3G4
4 membres
5 tutoriels rédigés
6 commentaires
Where can I purchase a replacement battery?
Thanks, it was clear and very help full, fortunately for me it was a solder defect on battery PCB, I just refresh the solder joint with new solder and the speaker works perfectly.
Also I found in Ebay some batteries replacement of 3.7V and 3000mah, but you will need to assembly the battery pack , that will need some electronic knowledge, but I think is not really hard to do.
This guide is very helpful, but does not state which type of batteries are required. Please state which type of battery (or batteries) would suit as a replacement. Thank you!