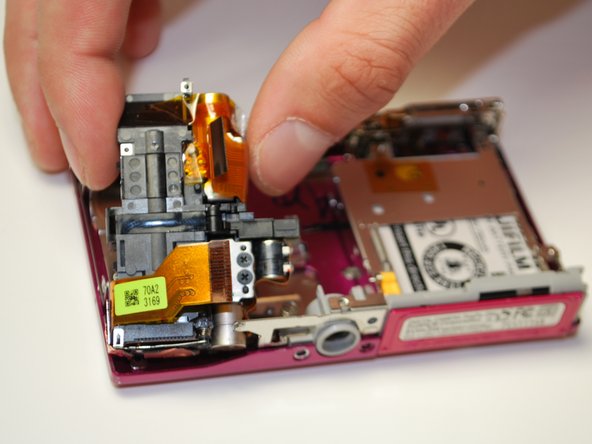
Aller au contenu principal

Fujifilm FinePix Z5 Optical Lens Replacement

Ce dont vous avez besoin

  1. Fujifilm FinePix Z5 Optical Lens Replacement, Optical Lens: étape 1, image 1 de 3 Fujifilm FinePix Z5 Optical Lens Replacement, Optical Lens: étape 1, image 2 de 3 Fujifilm FinePix Z5 Optical Lens Replacement, Optical Lens: étape 1, image 3 de 3
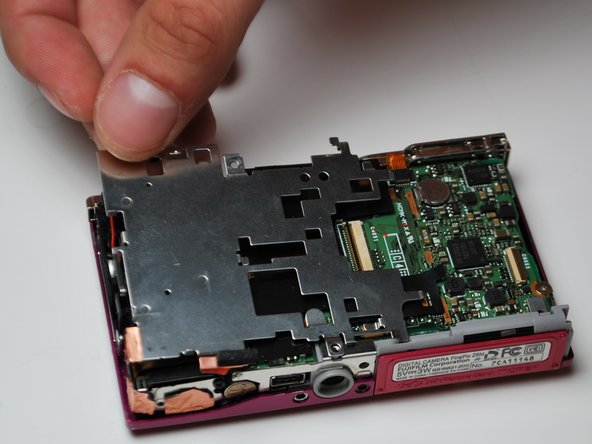
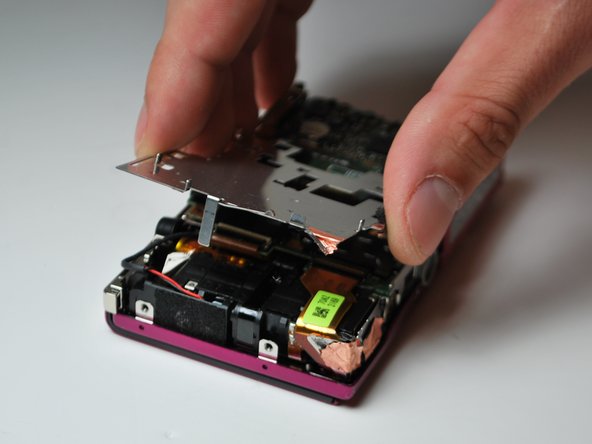
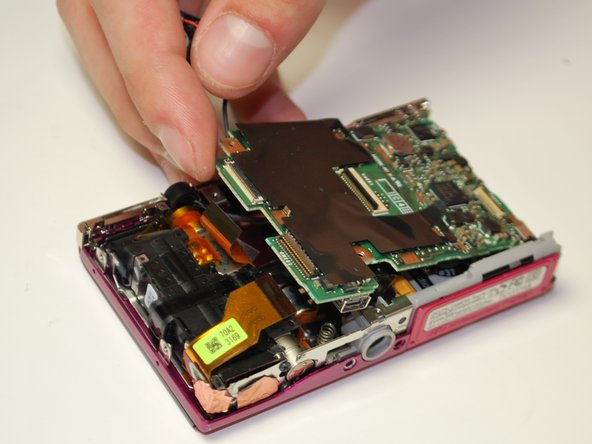
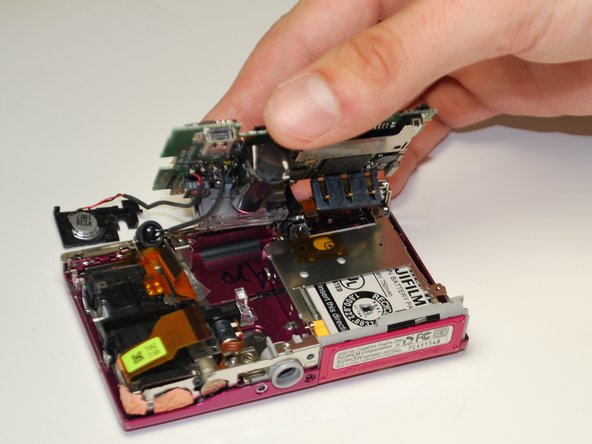
    • Remove the two screws from the right side of the camera and the two screws from the left side.

    • Use a small #00 Phillips flat head screwdriver.

    • Keep all the screws in a container and the two different types separate.

  2. Fujifilm FinePix Z5 Optical Lens Replacement: étape 2, image 1 de 1
    • Remove the three screws from the bottom of the camera.

    • Use a three-prong screwdriver for two of the three screws; keep these screws separate.

  3. Fujifilm FinePix Z5 Optical Lens Replacement: étape 3, image 1 de 3 Fujifilm FinePix Z5 Optical Lens Replacement: étape 3, image 2 de 3 Fujifilm FinePix Z5 Optical Lens Replacement: étape 3, image 3 de 3
    • Remove the back by carefully flipping it open to the right side.

    • There will be a ribbon cable attaching the front panel to the motherboard, be sure not to tear this.

  4. Fujifilm FinePix Z5 Optical Lens Replacement: étape 4, image 1 de 2 Fujifilm FinePix Z5 Optical Lens Replacement: étape 4, image 2 de 2
    • Pull the LCD screen to the left slightly, then lift and flip it open to the right.

    • There is an orange ribbon cable attaching the LCD screen to the motherboard, be careful not to tear it.

  5. Fujifilm FinePix Z5 Optical Lens Replacement: étape 5, image 1 de 2 Fujifilm FinePix Z5 Optical Lens Replacement: étape 5, image 2 de 2
    • Using a plastic opening tool to flip open the black lever to release the ribbon cable.

    • Gently slide the cable out of the lock; the LCD screen is now free to be removed.

  6. Fujifilm FinePix Z5 Optical Lens Replacement: étape 6, image 1 de 3 Fujifilm FinePix Z5 Optical Lens Replacement: étape 6, image 2 de 3 Fujifilm FinePix Z5 Optical Lens Replacement: étape 6, image 3 de 3
    • Remove the two screws that are holding the silver paneling on.

    • There is a gold foil which will tear upon removal of the silver paneling, this is normal.

    • Remove the screw anchoring the motherboard on the right.

  7. Fujifilm FinePix Z5 Optical Lens Replacement: étape 7, image 1 de 3 Fujifilm FinePix Z5 Optical Lens Replacement: étape 7, image 2 de 3 Fujifilm FinePix Z5 Optical Lens Replacement: étape 7, image 3 de 3
    • Detach the two ribbon cables on the left side of the camera the same way the LCD cable was detached.

    • Detach the gold ribbon cable on the top middle of the camera as well.

  8. Fujifilm FinePix Z5 Optical Lens Replacement: étape 8, image 1 de 3 Fujifilm FinePix Z5 Optical Lens Replacement: étape 8, image 2 de 3 Fujifilm FinePix Z5 Optical Lens Replacement: étape 8, image 3 de 3
    • Hold wires on the left with an index finger, to keep them out of the way.

    • Carefully wiggle out the motherboard. The flash and the speaker will come with it.

    • Make sure you have a motherboard that includes the flash and the speaker; these items are both soldered onto the motherboard.

  9. Fujifilm FinePix Z5 Optical Lens Replacement: étape 9, image 1 de 3 Fujifilm FinePix Z5 Optical Lens Replacement: étape 9, image 2 de 3 Fujifilm FinePix Z5 Optical Lens Replacement: étape 9, image 3 de 3
    • Lift the lens off of the camera base (there is nothing anchoring it down).

Conclusion

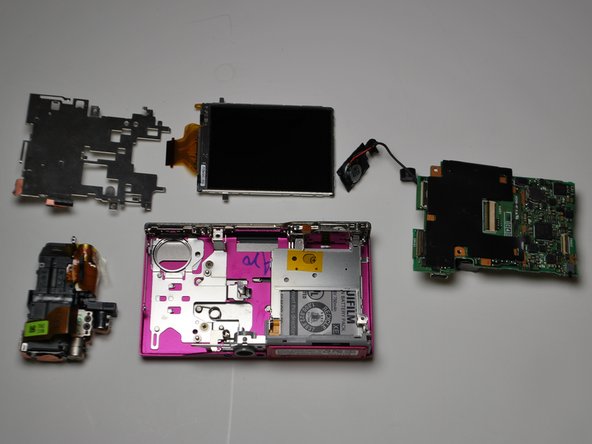
To reassemble your device, follow these instructions in reverse order.

Inga Direktorchuk

Membre depuis le 02/10/12

72 Réputation

2 tutoriels rédigés

Équipe

James Madison, Team 3-4, Klein Spring 2012 Membre de l'équipe James Madison, Team 3-4, Klein Spring 2012

JMU-KLEIN-S12S3G4

3 membres

8 tutoriels rédigés

0 commentaires

Ajouter un commentaire

Nombre de vues :

Dernières 24 heures : 0

7 derniers jours : 0

30 derniers jours : 6

Total : 798