Introduction
Addressing joystick wear or malfunction, this guide assists GameSir G7 SE owners in replacing their joystick modules. Common symptoms that necessitate this repair include drifting, sticking, or unresponsiveness, affecting game control accuracy.
Disconnect the controller from all power sources before beginning the repair to ensure safety. Troubleshooting page sections such as “Joystick Drift” or “Sticky Joystick” might offer additional insights before you start.
Ce dont vous avez besoin
-
-
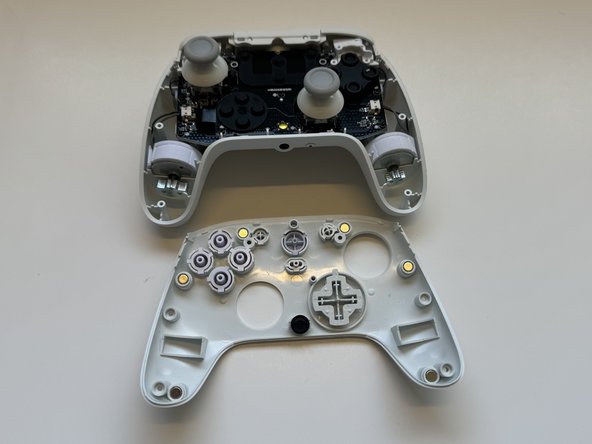
Remove the faceplate by prying upwards with a plastic opening tool.
-
-
-
-
Remove the plastic joystick that is covering the joystick module by pulling up on from the gray grip.
-


To reassemble your device, follow these instructions in reverse order.
To reassemble your device, follow these instructions in reverse order.
Équipe

Western Carolina University, Team 1-6, Virtue Spring 2024 Membre de l'équipe Western Carolina University, Team 1-6, Virtue Spring 2024
WCU-VIRTUE-S24S1G6
4 membres
5 tutoriels rédigés