Introduction
The GameSir G7 SE motherboard replacement guide is intended for users facing complex operational issues stemming from the device's central circuit board. Such problems could range from power issues to unresponsive controls.
Prior to beginning this repair, disconnect the controller from all power sources and prepare ESD-safe tools to prevent damage to electronic components. Due to the complexity of this task, it’s important to follow each step meticulously to avoid further issues.
Ce dont vous avez besoin
-
-
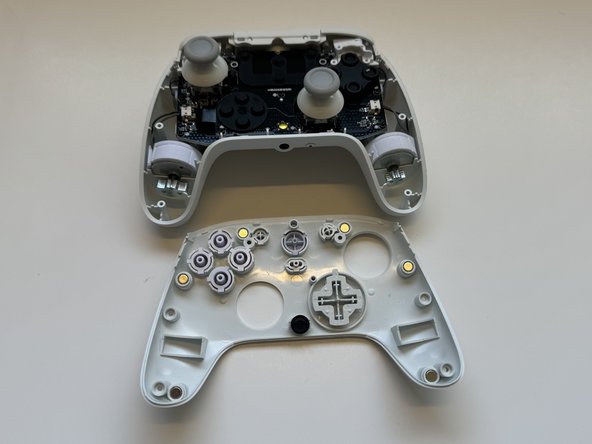
Remove the faceplate by prying upwards with a plastic opening tool.
-
-
-
-
Use the Phillips #0 screwdriver bit to remove the four 9 mm screws holding the motherboard in place.
-


To reassemble your device, follow these instructions in reverse order.
To reassemble your device, follow these instructions in reverse order.
Équipe

Western Carolina University, Team 1-6, Virtue Spring 2024 Membre de l'équipe Western Carolina University, Team 1-6, Virtue Spring 2024
WCU-VIRTUE-S24S1G6
4 membres
5 tutoriels rédigés