Introduction
This guide covers the replacement of the rumble motors in the GameSir G7 SE controller. If your controller has stopped vibrating or the feedback feels off, it might be time to check the rumble motors. Ensure the controller is powered off before starting and handle all components gently, especially when disconnecting wires, to prevent damage.
Required Tools: Plastic spudger (for initial disassembly).
Ce dont vous avez besoin
-
-
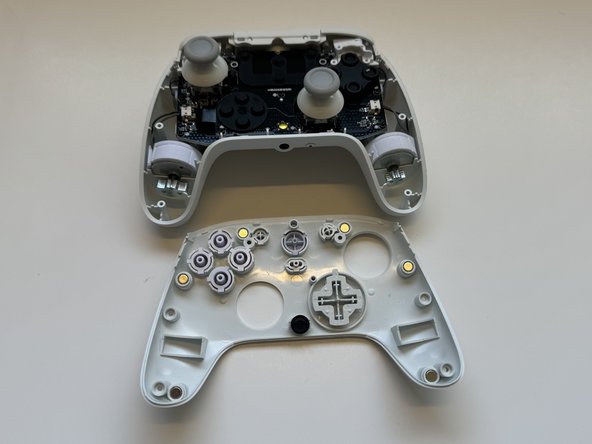
Remove the faceplate by prying upwards with a plastic opening tool.
-
-
-
-
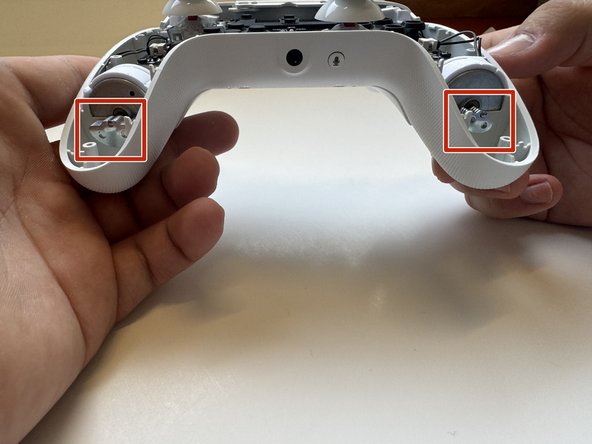
Once you can see the internals of the controller, you need to remove the plug for the rumble motors. This plug is easy to remove and can be pulled straight out using your hands.
-


To reassemble your device, follow these instructions in reverse order.
To reassemble your device, follow these instructions in reverse order.

Équipe

Western Carolina University, Team 1-6, Virtue Spring 2024 Membre de l'équipe Western Carolina University, Team 1-6, Virtue Spring 2024
WCU-VIRTUE-S24S1G6
4 membres
5 tutoriels rédigés