Aller au contenu principal

Garmin GPSmap 60CSx Keypad Buttons Replacement

Ce dont vous avez besoin

  1. Garmin GPSmap 60CSx Keypad Buttons Replacement, Back Cover and AA Batteries: étape 1, image 1 de 1
    • Lift and twist the battery cover release 90 degrees counterclockwise on the back of the device.

  2. Garmin GPSmap 60CSx Keypad Buttons Replacement: étape 2, image 1 de 1
    • Lift battery release up to remove battery cover.

  3. Garmin GPSmap 60CSx Keypad Buttons Replacement: étape 3, image 1 de 2 Garmin GPSmap 60CSx Keypad Buttons Replacement: étape 3, image 2 de 2
    • Pull AA batteries out.

  4. Garmin GPSmap 60CSx Keypad Buttons Replacement, Keypad Buttons: étape 4, image 1 de 2 Garmin GPSmap 60CSx Keypad Buttons Replacement, Keypad Buttons: étape 4, image 2 de 2
    • Remove the six 10 mm screws on the back of the device with a Phillips #0 screwdriver.

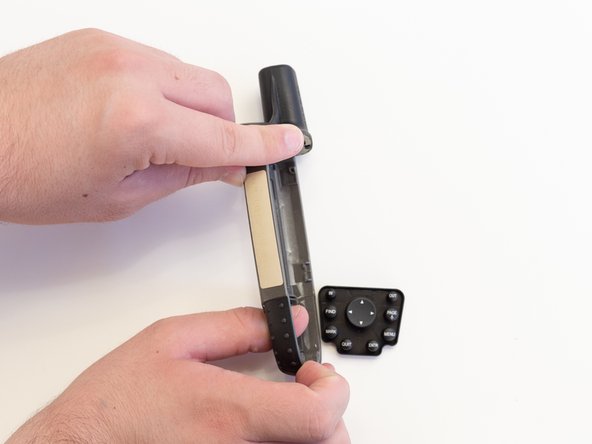
    • Flip the back panel over to view the green electronics board (the PCB) and the PCB covering.

    • Remove the black, yellow, blue, and red wires connected to the PCB with light force.

  5. Garmin GPSmap 60CSx Keypad Buttons Replacement: étape 5, image 1 de 1
    • Place the spudger in the bottom right corner of the black PCB cover and pry the corner out.

    • The previous step will need to be done to the other three corners.

    • It is best to do the two bottom corners first.

    • Pull the black PCB board out of the GPSMap 60 CSx.

  6. Garmin GPSmap 60CSx Keypad Buttons Replacement: étape 6, image 1 de 2 Garmin GPSmap 60CSx Keypad Buttons Replacement: étape 6, image 2 de 2
    • Carefully use a spudger to lift the PCB a few centimeters.

    • Pull the PCB out towards the bottom of the GPSMap 60CSx.

    • This will pull out all the main components including the antenna and the screen.

  7. Garmin GPSmap 60CSx Keypad Buttons Replacement: étape 7, image 1 de 2 Garmin GPSmap 60CSx Keypad Buttons Replacement: étape 7, image 2 de 2
    • Take the front panel and apply light force to the buttons.

    • The buttons are part of one unit and should all pop out at once.

Conclusion

To reassemble your device, follow these instructions in reverse order.

3 autres ont terminé cette réparation.

Thomas Humphrey

Membre depuis le 04/05/18

540 Réputation

4 tutoriels rédigés

0 commentaires

Ajouter un commentaire

Nombre de vues :

Dernières 24 heures : 1

7 derniers jours : 12

30 derniers jours : 24

Total : 2,623