Aller au contenu principal

HASEE Z6-SL7D1 RAM Replacement

Ce dont vous avez besoin

  1. HASEE Z6-SL7D1 RAM Replacement, RAM: étape 1, image 1 de 2 HASEE Z6-SL7D1 RAM Replacement, RAM: étape 1, image 2 de 2
    • Flip your laptop over so the bottom is facing up and set it on a flat surface.

    • Use a Phillips #0 screwdriver to remove the two 6 mm screws that secure the battery.

  2. HASEE Z6-SL7D1 RAM Replacement: étape 2, image 1 de 2 HASEE Z6-SL7D1 RAM Replacement: étape 2, image 2 de 2
    • Gently lift the battery from the laptop.

  3. HASEE Z6-SL7D1 RAM Replacement: étape 3, image 1 de 2 HASEE Z6-SL7D1 RAM Replacement: étape 3, image 2 de 2
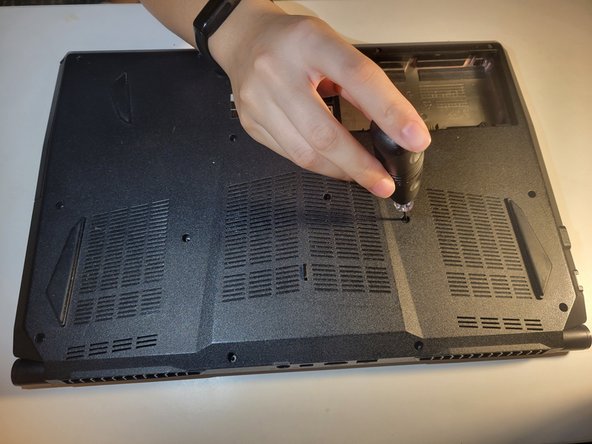
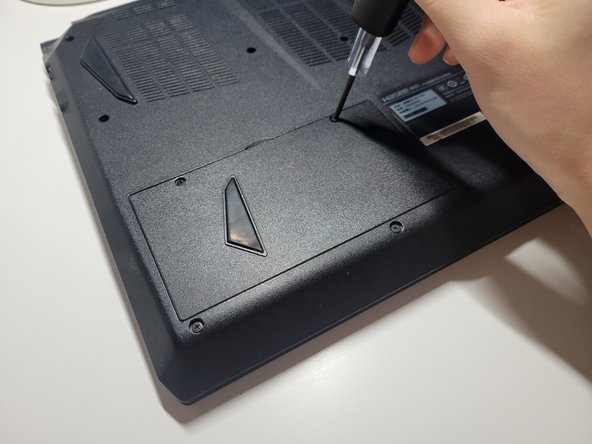
    • Use a Phillips #0 screwdriver to remove fourteen 6 mm screws from the back panel.

  4. HASEE Z6-SL7D1 RAM Replacement: étape 4, image 1 de 2 HASEE Z6-SL7D1 RAM Replacement: étape 4, image 2 de 2
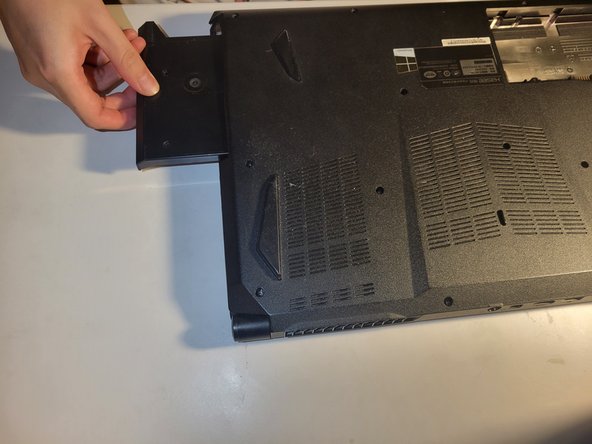
    • If your laptop is equipped with an optical drive, carefully slide it out.

    • Alternatively, if the optical drive bay houses a hard drive tray, remove the tray by unscrewing any securing screws and gently pulling it out.

  5. HASEE Z6-SL7D1 RAM Replacement: étape 5, image 1 de 2 HASEE Z6-SL7D1 RAM Replacement: étape 5, image 2 de 2
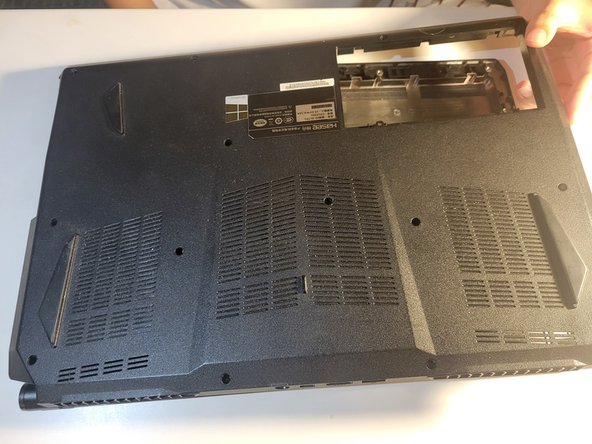
    • Carefully slide a plastic spudger or opening tool along the edges of the back panel.

    • Gradually lift the panel away from the laptop chassis, ensuring not to force it and risking damage to internal components.

  6. HASEE Z6-SL7D1 RAM Replacement: étape 6, image 1 de 3 HASEE Z6-SL7D1 RAM Replacement: étape 6, image 2 de 3 HASEE Z6-SL7D1 RAM Replacement: étape 6, image 3 de 3
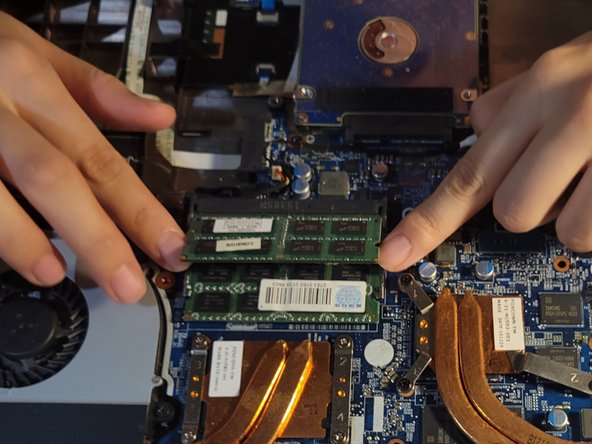
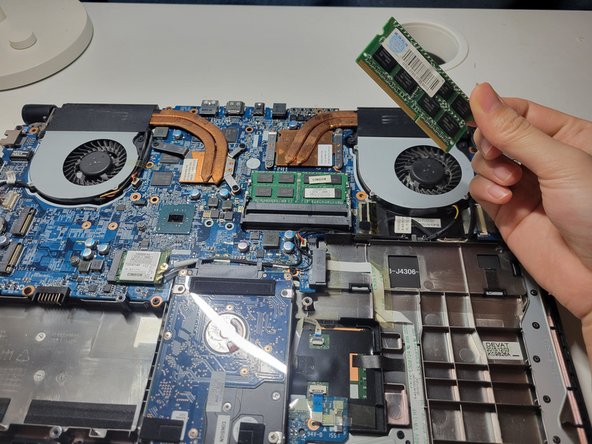
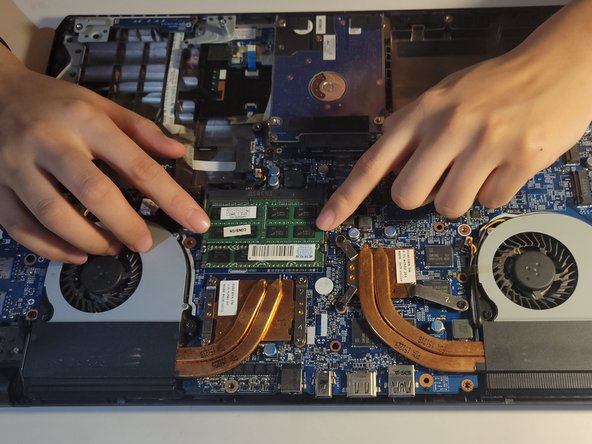
    • Use your fingers or a spudger to gently press the clips on the sides of the SO-DIMM slots outward to release the memory modules.

    • The RAM sticks will pop out at about a 45-degree angle.

    • Once the RAM sticks disengage, carefully slide them out of the slot at the same angle.

  7. HASEE Z6-SL7D1 RAM Replacement: étape 7, image 1 de 2 HASEE Z6-SL7D1 RAM Replacement: étape 7, image 2 de 2
    • When installing new memory sticks, align them with the SO-DIMM slots at the same angle and gently press them downward.

    • You will hear a click, indicating that it is securely in place.

  8. HASEE Z6-SL7D1 RAM Replacement: étape 8, image 1 de 2 HASEE Z6-SL7D1 RAM Replacement: étape 8, image 2 de 2
    • Replace the back case.

    • Insert the optical drive back into its designated slot.

    • Replace the battery.

    • Use a Phillips #0 screwdriver to secure the fourteen 6 mm screws on the back case.

    • Use a Phillips #0 screwdriver to replace the two 6 mm screws that secure the battery.

Conclusion

To reassemble your device, follow these instructions in reverse order.

2 autres ont terminé cette réparation.

Jiayi Liu

Membre depuis le 02/11/24

175 Réputation

1 tutoriel rédigé

Équipe

York University, Team M-7, Allen Winter 2024 Membre de l'équipe York University, Team M-7, Allen Winter 2024

YORK-ALLEN-W24SMG7

3 membres

1 tutoriel rédigé

0 commentaires

Ajouter un commentaire

Nombre de vues :

Dernières 24 heures : 0

7 derniers jours : 0

30 derniers jours : 17

Total : 77