Aller au contenu principal

HP 14-am052nr Keyboard Replacement

Ce dont vous avez besoin

  1. HP 14-am052nr Keyboard Replacement, Battery: étape 1, image 1 de 3 HP 14-am052nr Keyboard Replacement, Battery: étape 1, image 2 de 3 HP 14-am052nr Keyboard Replacement, Battery: étape 1, image 3 de 3
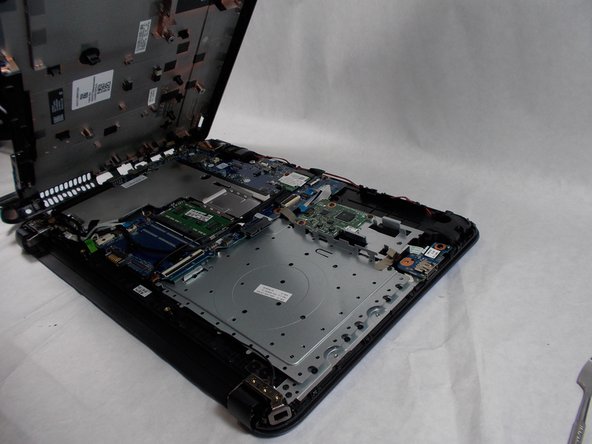
    • Turn the laptop over to its bottom so that the backside is facing you.

    • Using your fingers, push the two locking tabs inwards to release the battery.

    • Remove the battery from the device.

  2. HP 14-am052nr Keyboard Replacement, Back Panel: étape 2, image 1 de 2 HP 14-am052nr Keyboard Replacement, Back Panel: étape 2, image 2 de 2
    • After removing the battery with the laptop on its back, expose screws that are hidden under the rubber feet and the center label.

    • Using the Phillips #0 screwdriver, remove fourteen (14) 6 mm screws from the back panel.

  3. HP 14-am052nr Keyboard Replacement: étape 3, image 1 de 2 HP 14-am052nr Keyboard Replacement: étape 3, image 2 de 2
    • Use a prying tool to remove the back panel from the base of the computer.

  4. HP 14-am052nr Keyboard Replacement, Motherboard: étape 4, image 1 de 1
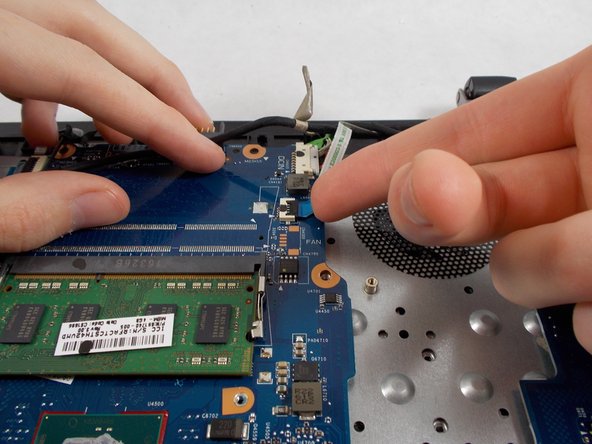
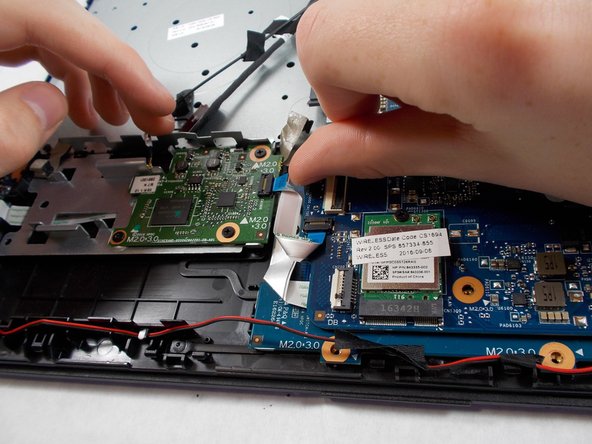
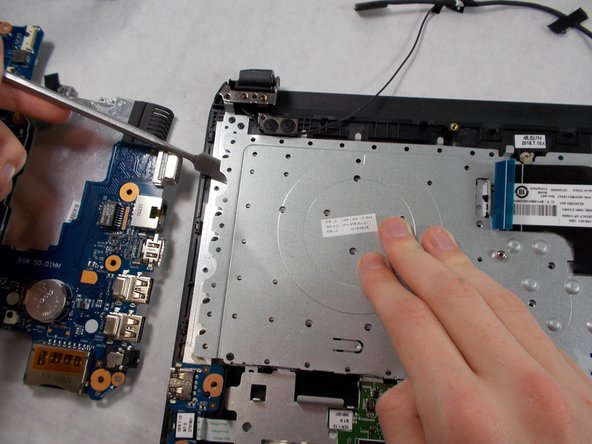
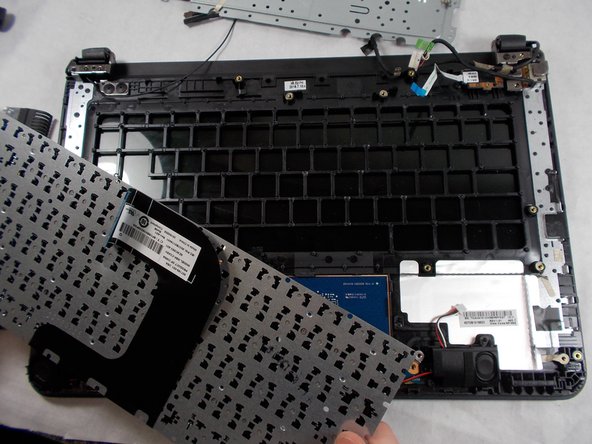
    • Using the Phillips #0 screwdriver, remove three 3 mm screws and five 3.5 mm screws from the motherboard.

  5. HP 14-am052nr Keyboard Replacement: étape 5, image 1 de 2 HP 14-am052nr Keyboard Replacement: étape 5, image 2 de 2
    • Using the Phillips #0 screwdriver, remove four 1.5 mm screws from the silver cover.

    • Remove the silver cover from the device.

  6. HP 14-am052nr Keyboard Replacement: étape 6, image 1 de 3 HP 14-am052nr Keyboard Replacement: étape 6, image 2 de 3 HP 14-am052nr Keyboard Replacement: étape 6, image 3 de 3
    • Unplug all connectors attached to the motherboard.

  7. HP 14-am052nr Keyboard Replacement: étape 7, image 1 de 1
    • Once all plugs and screws disconnected, remove the motherboard from the device.

  8. HP 14-am052nr Keyboard Replacement, Keyboard: étape 8, image 1 de 2 HP 14-am052nr Keyboard Replacement, Keyboard: étape 8, image 2 de 2
    • Carefully pry up the metal plate and detach it from the base.

  9. HP 14-am052nr Keyboard Replacement: étape 9, image 1 de 1
    • Pull the plate away from the base while pulling the keyboard connecting cable through.

  10. HP 14-am052nr Keyboard Replacement: étape 10, image 1 de 2 HP 14-am052nr Keyboard Replacement: étape 10, image 2 de 2
    • Pull the keyboard out carefully from the base.

Conclusion

To reassemble your device, follow these instructions in reverse order.

Corwin DeFeo

Membre depuis le 10/25/21

228 Réputation

1 tutoriel rédigé

Équipe

UMass Dartmouth, Team 3-3, Sinclaire Fall 2021 Membre de l'équipe UMass Dartmouth, Team 3-3, Sinclaire Fall 2021

UMASSD-SINCLAIRE-F21S3G3

3 membres

7 tutoriels rédigés

0 commentaires

Ajouter un commentaire

Nombre de vues :

Dernières 24 heures : 0

7 derniers jours : 1

30 derniers jours : 6

Total : 154